Patterned Pillars Mosaic Crochet Square Design – Free pattern
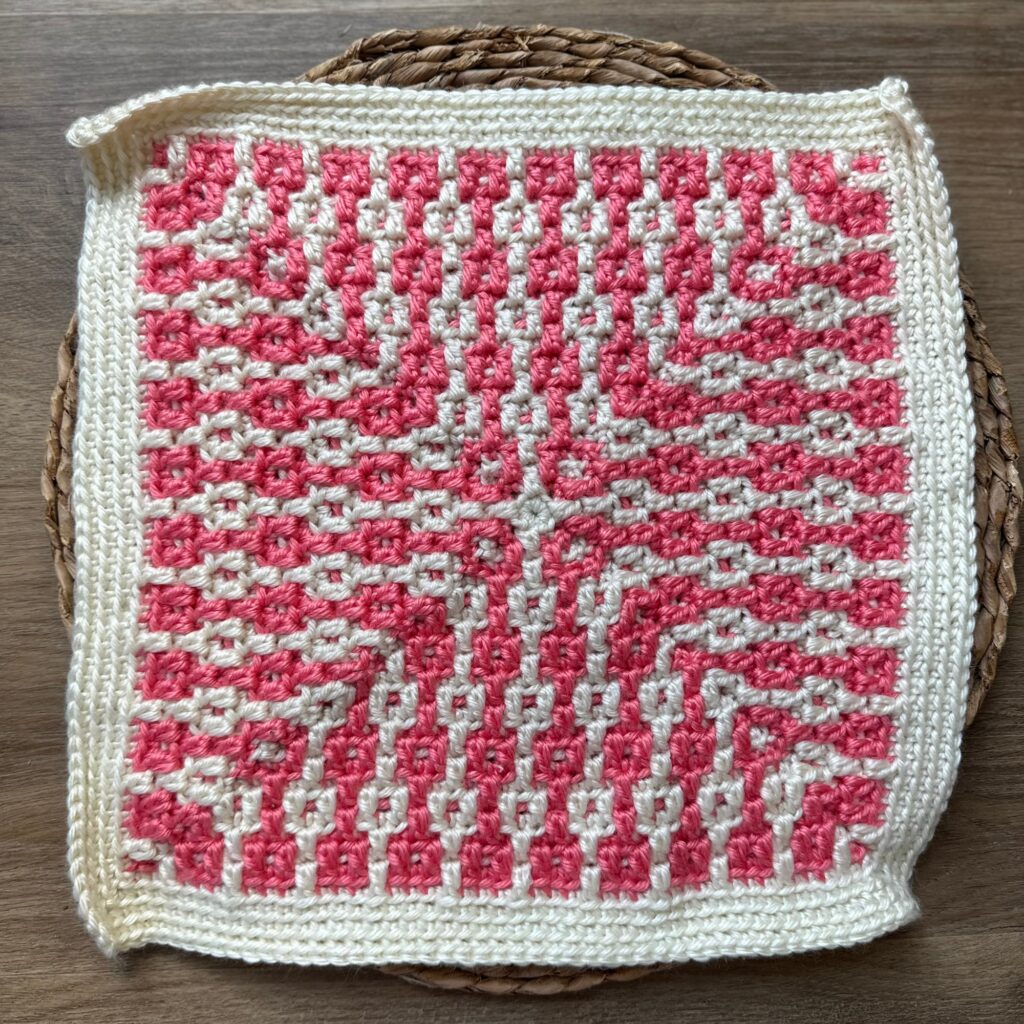
Ready for a mosaic crochet square design that’s both bold and soothing to stitch? The Patterned Pillars Square builds from the center out in a beautifully balanced way, creating striking geometric lines with a strong, grounded feel. Check out the free pattern and chart below and put your own spin on this eye-catching design.
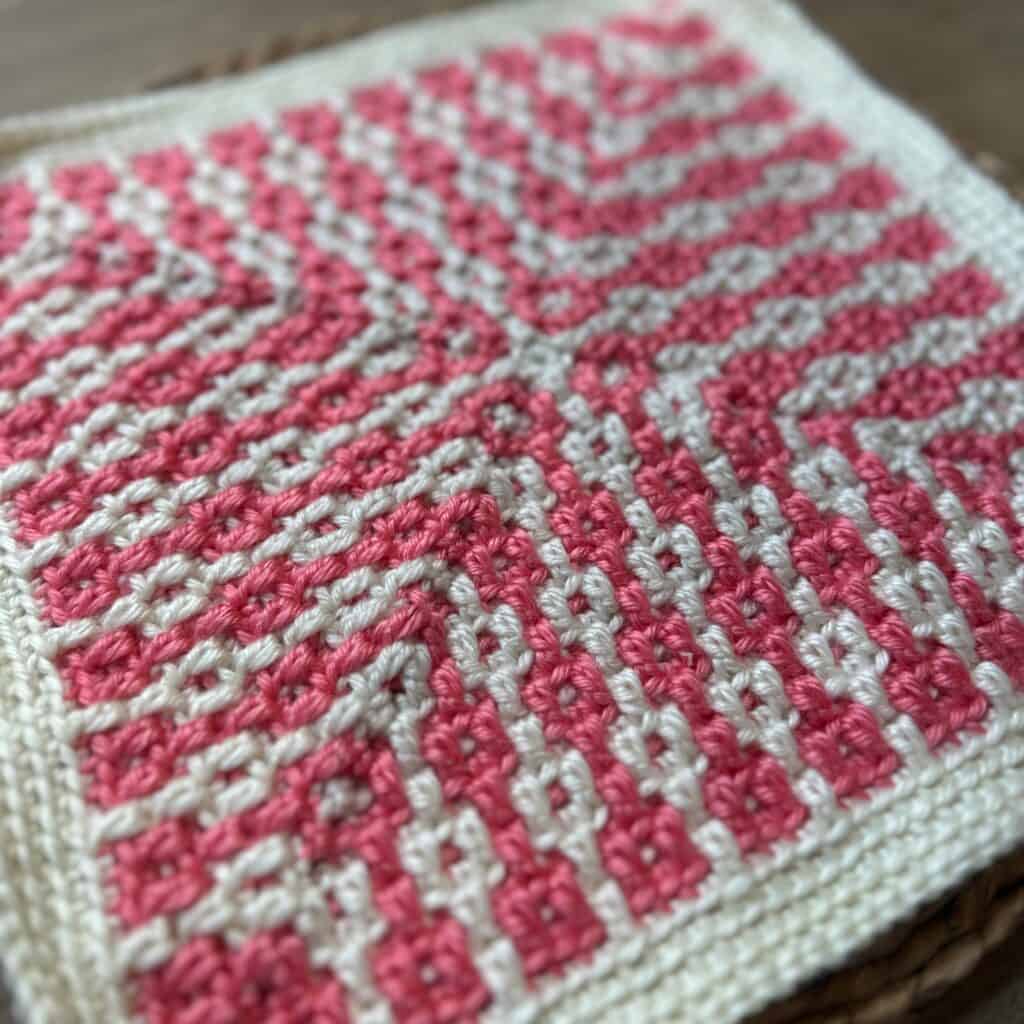
The vertical lines in this mosaic crochet square give it a bit of an architectural feel, like tiny pillars anchoring the design. But it never feels too rigid or formal. The stepped details throughout soften the look just enough for a square that’s structured, but in a comforting, predictable way. It’s the kind of pattern that keeps your hands busy and your mind relaxed.
Notice anything odd about this square? It has a wide, white border. Why? Well, simply because I ran out of pink yarn. Oops! Oh well! I made it work by finishing my rounds off with just BLOsc using Color A. You can do that, or continue working the intuitive pattern—your choice!
At a Glance
- Finished Size: 12” x 12″ square
- Skill Level: Easy
- Technique(s): Overlay mosaic crochet in the round, from the center out
- Yarn: Worsted/medium (#4) weight yarn
- Hook: H/8 (5.00mm)
A Mosaic Crochet Square Design Worked in the Round
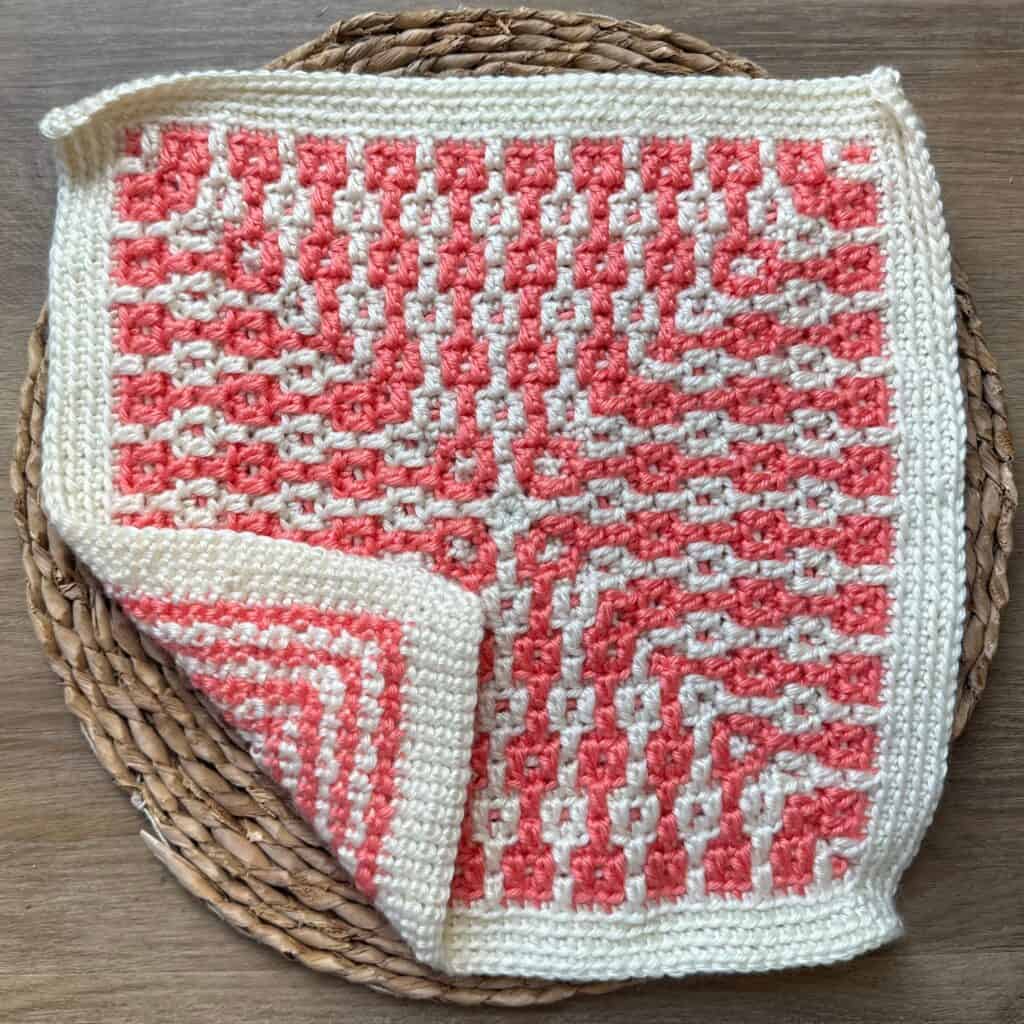
The Patterned Pillars Square is worked using overlay mosaic crochet in the round, a technique that creates bold, graphical designs by stitching over previous rounds. Rather than working through both loops, you’ll make your single crochets in the back loop only. Then some double crochets will drop down to pick up the unworked front loops from earlier rounds. Those overlay stitches are what bring the design to life.
Mosaic crochet can look a little intimidating at first, but it’s surprisingly approachable once you get started. This pattern uses only simple single and double crochet stitches, repeated in a relaxing rhythm that quickly starts to click. Before long, you’ll be watching the design grow round by round without even thinking about the technique.
Because this square is worked in the round, the yarn is carried along as you crochet instead of being cut after every round. That means far fewer ends to weave in—and more uninterrupted stitching time while the pattern unfolds.
If you’re brand new to overlay mosaic crochet, don’t worry! You can check out my YouTube tutorial that walks you through the technique step-by-step from the center out.
This post contains affiliate links. While I may receive compensation when you purchase and item from a link, your price doesn’t change and all recommendations are my own. See affiliate disclosure policy.
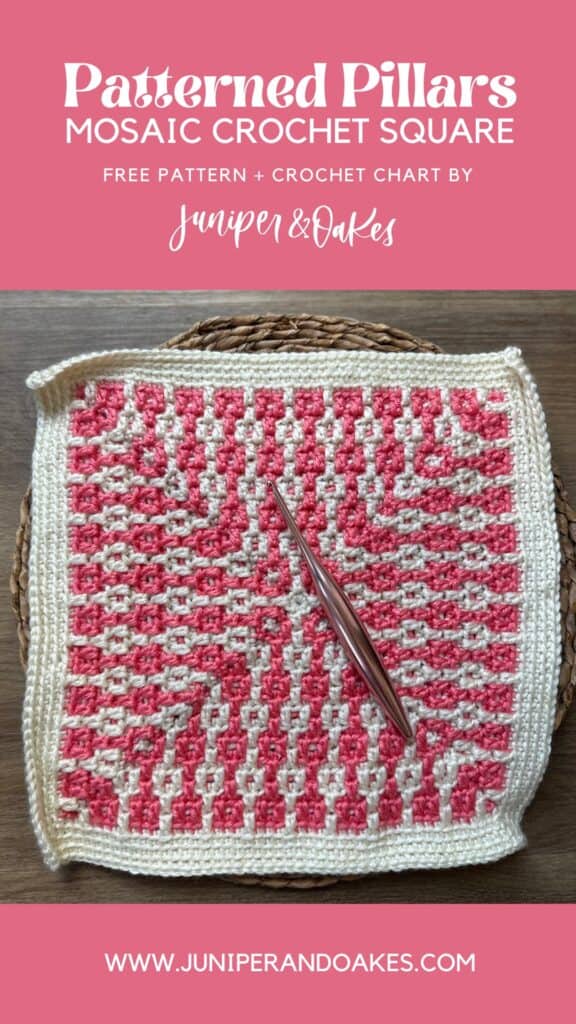
Don’t have time to make this now? Pin the image below for later.
What You’ll Love About This Square
- Bold mosaic crochet square design that’s relaxing to stitch
- Worked from the center out using overlay mosaic crochet in the round
- Beginner-friendly introduction to mosaic crochet in the round
- Features striking pillar-like lines and rhythmic repeating details
- Includes easy-to-follow written instructions, mosaic crochet chart, and stitch tutorials
- Perfect for the Mosaic Grannies Collection, blankets, pillows, and other modern projects
More Mosaic Granny Square Patterns
Patterned Pillars is just one mosaic crochet square design of several available on the blog. If you like this square, be sure to check out these other ones:
- Mosaic Squares Mosaic Square
- Crossroads Mosaic Crochet Square
- Radiating Ripples Mosaic Crochet Square
- Celtic Knot Mosaic Crochet Square
- Dogwood Mosaic Crochet Square
- Mosaic Hearts Granny Square
- Mosaic Starburst Square or Washcloth
More Granny Square Blanket Crochet Alongs (CALs)
The Mosaic Grannies Collection

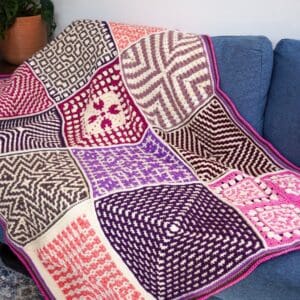
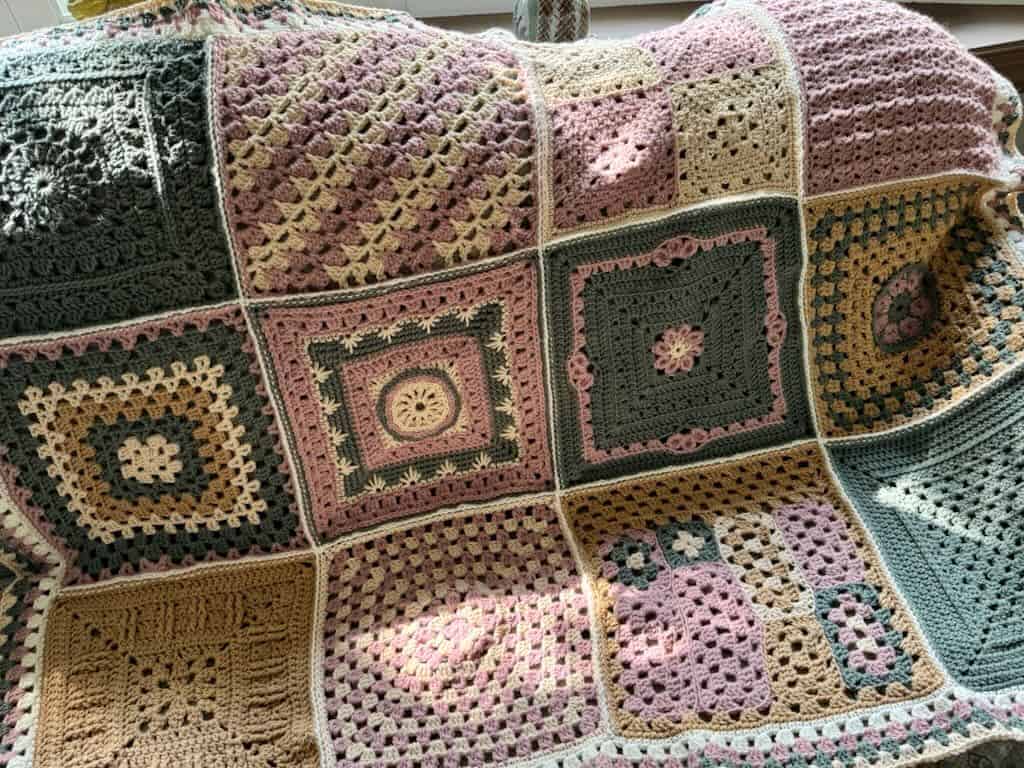
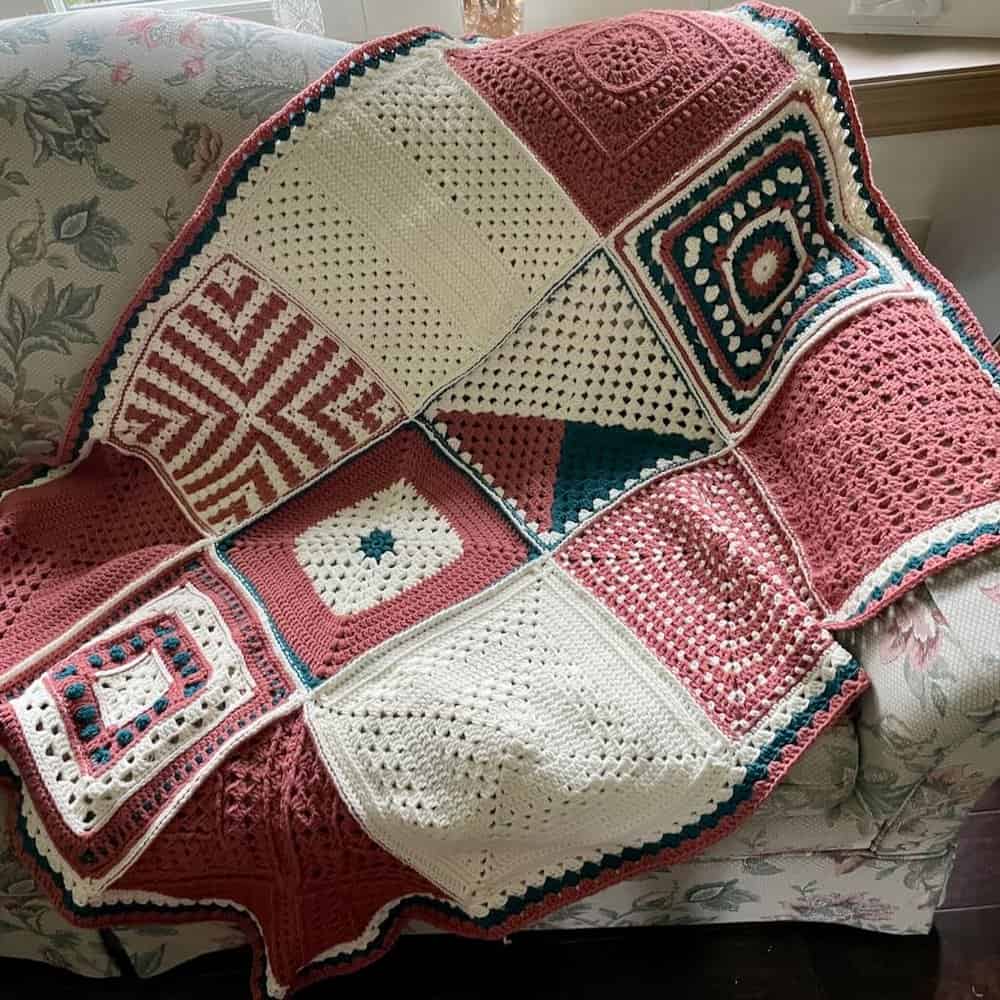
This square is part of the Mosaic Grannies Collection, a year-long crochet-along.
The full experience – including community, early access, and bonuses – lives inside the Crochet Collective.
Bonuses included inside the Collective:
- Monthly Sip & Stitches to show off your squares
- Written instructions AND mosaic chart AND color blocks for each square (not guaranteed on the blog)
- Early access to squares – there’s several in there already!
- Multiple Seaming & Border Options


You can also purchase all 12 granny square patterns in an eBook from my shop (you can add the pattern to your Ravelry library from there). The patterns will be released gradually throughout the year, allowing you to enjoy a slow, relaxed crochet rhythm. You’re welcome to work along month by month—or jump in and stitch at your own pace as patterns become available.

The Patterned Pillars Mosaic Square Crochet Square Pattern
If you make this pattern be sure to post pictures on social media and tag @juniperandoakes and use the hashtag #juniperandoakes. I would love to see your work!
The mosaic crochet pattern and chart are provided free for you on this website further down below, but if you would like a ad-free, printable version of this granny square pattern, you can join the Crochet Collective or buy the eBook from my shop (you will be able to add the patterns to your Ravelry product library). Either of these options gives you lifetime access to the chart and written instructions for this square and 11 others to make a whole mosaic crochet blanket.
Or you can grab just this square pattern from Etsy or Ravelry, using the links below.
Purchase the Pattern from the Juniper & Oakes Shop
The Patterned Pillars Square is the Square 7 in the Mosaic Grannies Collection.
Skill Level: Easy
Materials
- Yarn: Medium (4) Worsted Weight
- Color A: Cream – 100 yards
- Color B: Purple – 100 yards
- Hook: H/8 – 5.0mm
- Yarn needle
- Scissors
Gauge
9 Rounds in 4″ x 4″ square
May change hook size, or add/subtract rounds to meet 12″ square measurement
Finished Measurements
12″ x 12″ square
Stitch Abbreviations (US Terminology)
- BLOsc – Back Loop Only Single Crochet
- ch – Chain
- FLOdc – Front Loop Only Double Crochet
- mc – Magic Circle
- sc – Single Crochet
- sk – Skip
- sl st – Slip Stitch
- st – Stitch
- sp – Space
Special Stitches
Corner
BLOsc, ch1, BLOsc
Worked together into the BLO of the ch 1 of the corner in the row below.
Back Loop Only Single Crochet (BLOsc)
Insert hook through the back loop of indicated stitch, yo, pull up a loop, yo pull through both loops on hook.
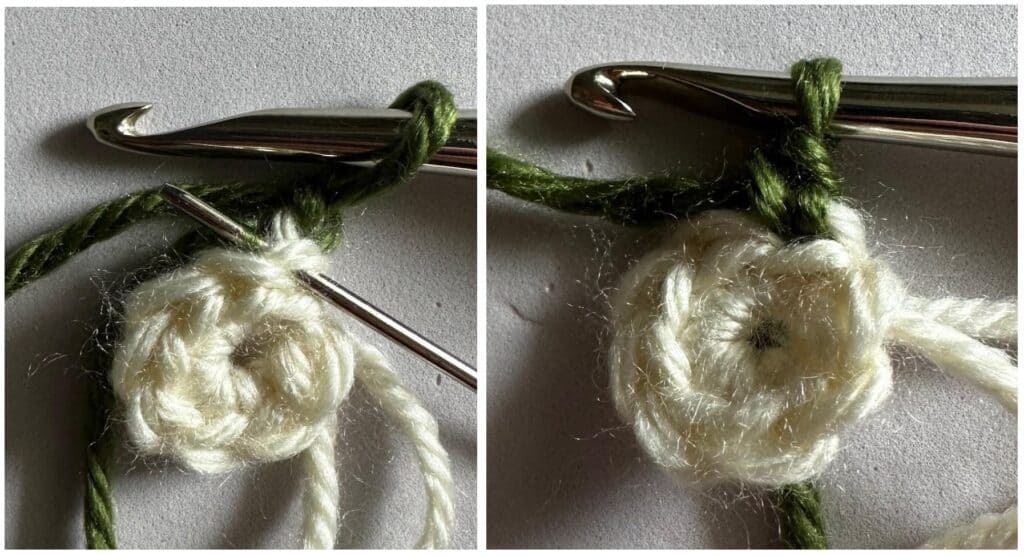
Front Loop Only Double Crochet (FLOdc)
Yo, insert hook through the front loop of the stitch 2 rows below, yo, pull up a loop, yo, pull through two loops on hook, yo, pull through remaining loops.
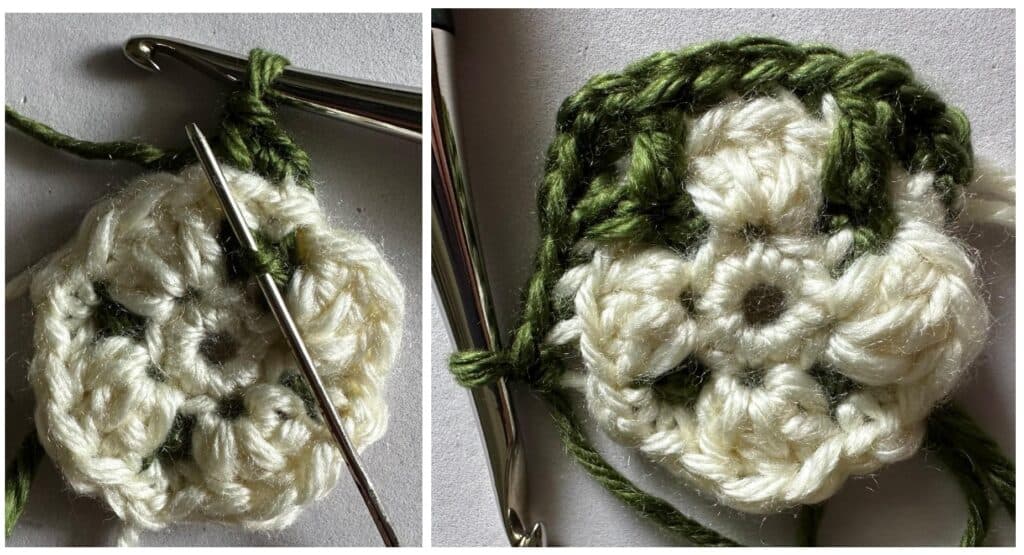
Invisible Join
Work last stitch, Remove hook from loop, Insert hook through back of 1st stitch of row, Grab dropped loop, Pull yarn loop though. (May also use sl st to join.) Click here for a video tutorial.

Pattern Notes
- Pattern is overlay mosaic crochet worked in the round from the center out. Watch this video to learn more about how to mosaic crochet from the center out. *Note: This video demonstrates the technique on another pattern but the basics are the same.
- Ch 1 at the beginning of a round does not count as a stitch.
- If you tend to have loose tension when you crochet, you may need to go down a hook size or choose a light worsted weight yarn to make this a 12″ square.
- Sts between *asterisks* are repeated on each side of the square
- Each round (except Round 1) begins with the corner sts.
- The Corner stitches (BLOsc, ch1, BLOsc) are worked together into the BLO of the ch1 of the corner in the row below.
- Carry the unworked yarn under the first BLOsc of each corner, then drop the unworked yarn to the wrong side of the work and continue working.
- The single FLOdc worked just before & after the corners are worked into the same ch st. (See Rounds 7, 8, 12, 13, 19, and 20)
- Work an invisible join after each round.
- You can add a wide, white border as written. Or if you prefer, you can keep going in the pillars pattern all the way to the edge. This motif is intuitive once you get going.
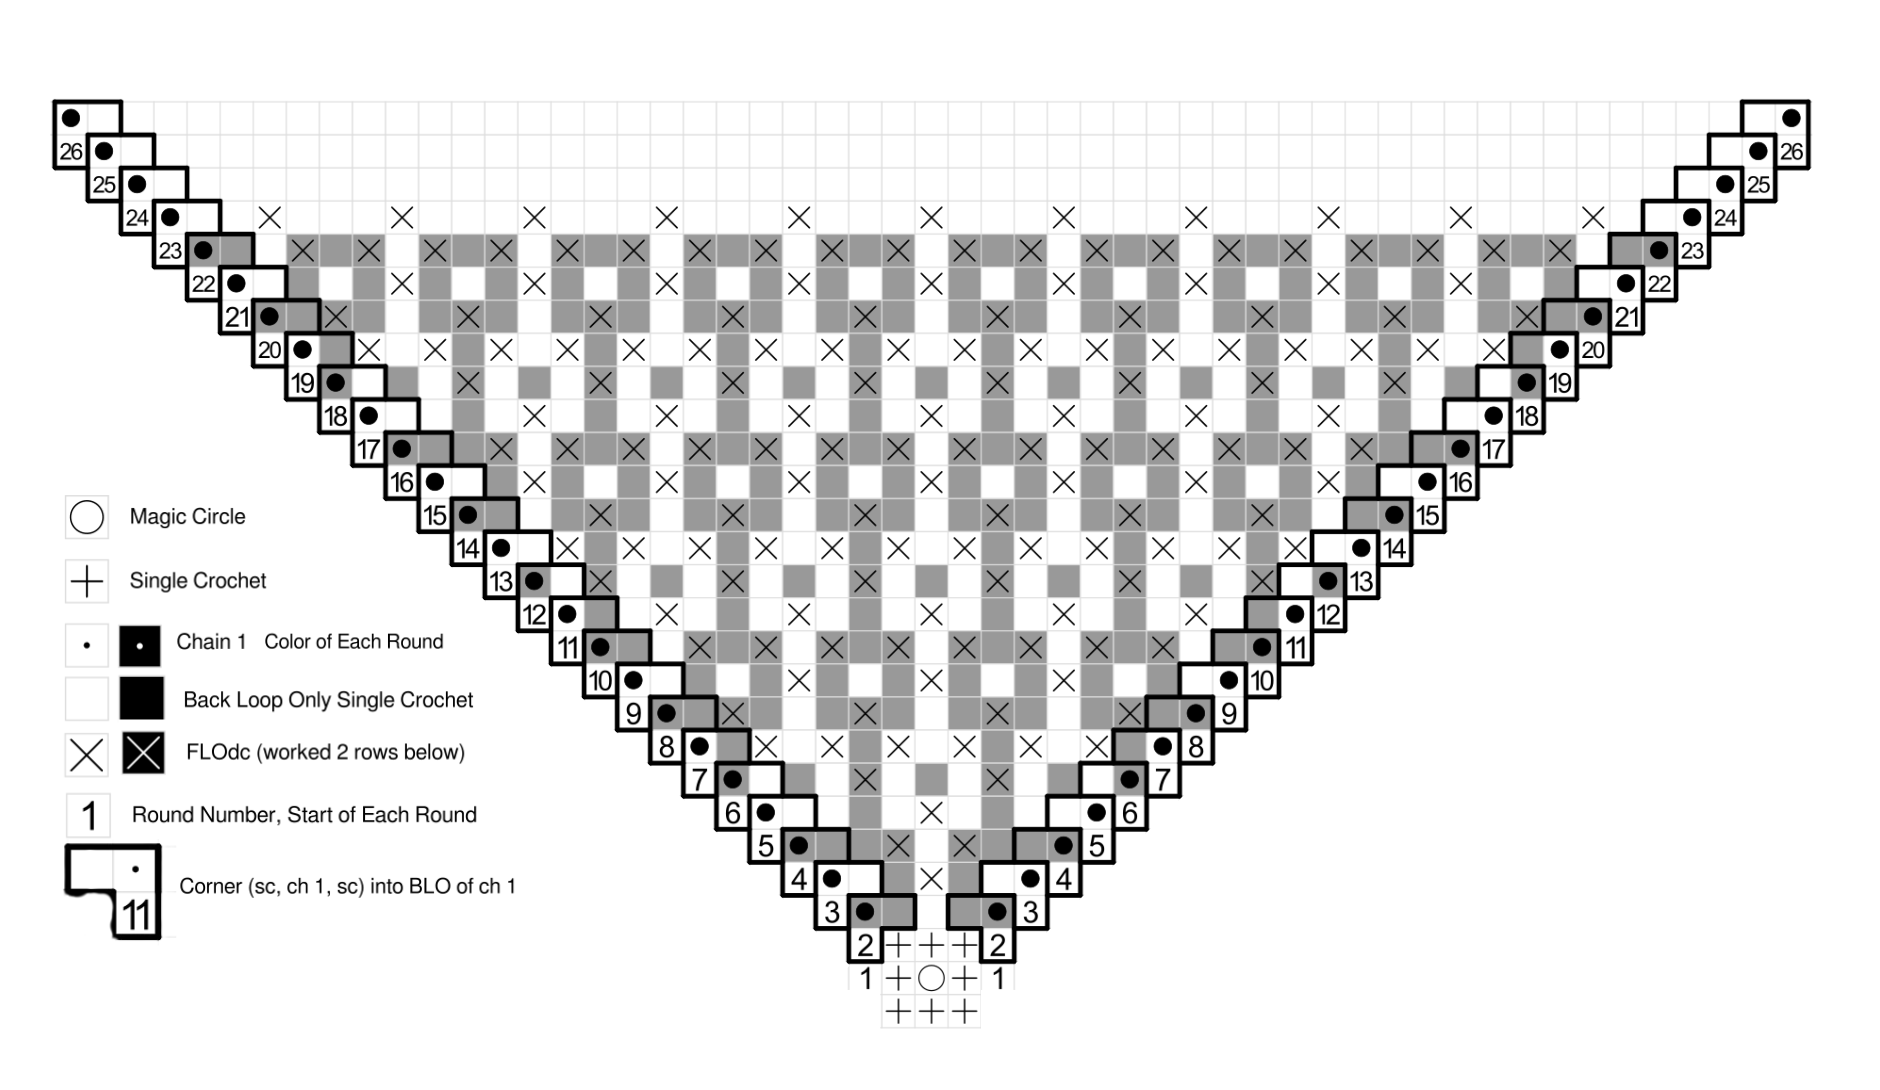
- A chart for this pattern is included as well.
Crochet Chart for the Patterned Pillars Mosaic Square
Written pattern for the Patterned Pillars Square
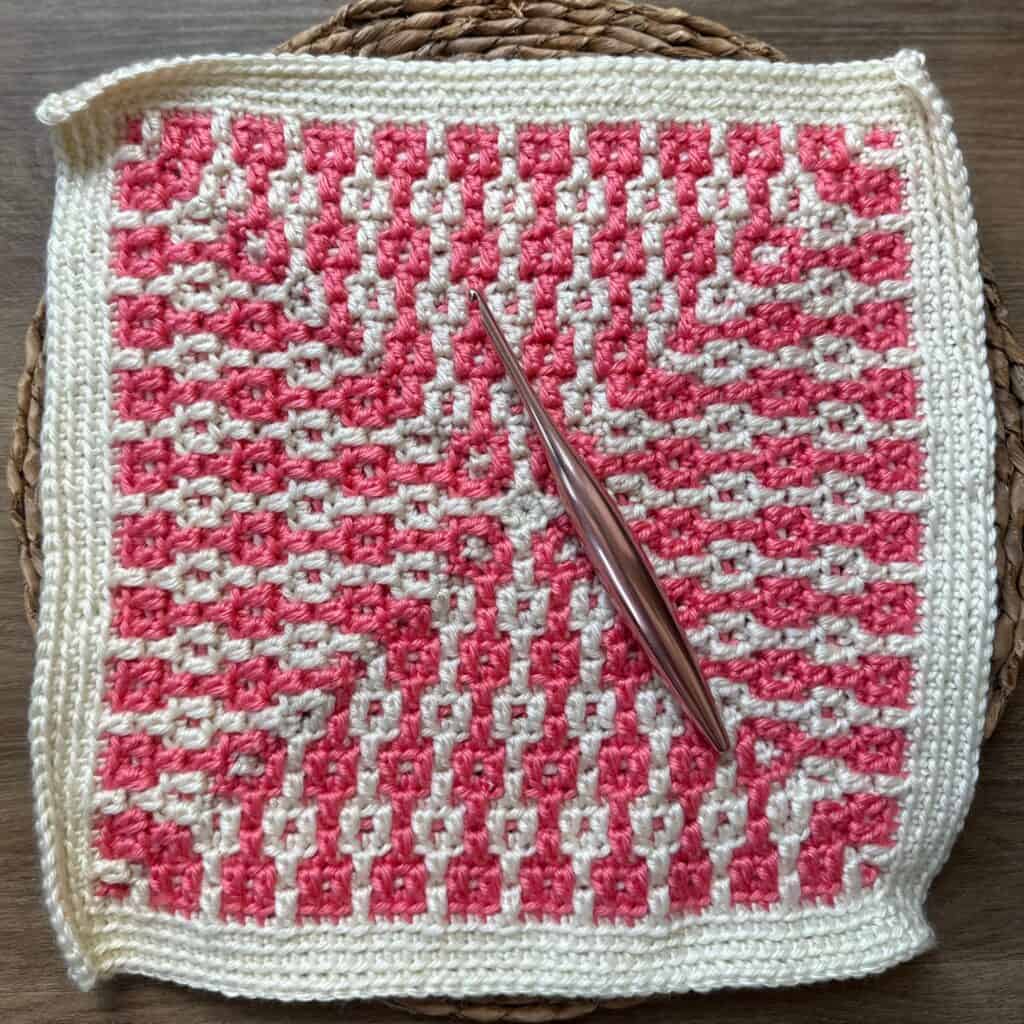
Round 1: With Color A, make a mc, ch 1, 8 sc in mc.
Round 2: With Color B, ch 1, *Corner (see Special Stitches), BLOsc, repeat from * around.
Round 3: With Color A, ch 1, *Corner, BLOsc x1, FLOdc x1, BLOsc x1, repeat from * around.
Round 4: With Color B ch 1, *Corner, BLOsc x1, [FLOdc x1, BLOsc x1] x2, repeat from * around.
Round 5: With Color A, ch 1, *Corner, BLOsc x3, FLOdc x1, BLOsc x3, repeat from * around.
Round 6: With Color B, ch 1, *Corner, BLOsc x2, FLOdc x1, BLOsc x3, FLOdc x1, BLOsc x2, repeat from * around.
Round 7: With Color A, ch 1, *Corner, FLOdc x1, [BLOsc x1, FLOdc x1] x5, repeat from * around.
Round 8: With Color B, ch 1, *Corner, FLOdc x1, [BLOsc x3, FLOdc x1] x3, repeat from * around.
Round 9: With Color A, ch 1, *Corner, BLOsc x3, [FLOdc x1, BLOsc x3] x3, repeat from * around.
Round 10: With Color B, ch 1, *Corner, BLOsc x1, [FLOdc x1, BLOsc x1] x8, repeat from * around.
Round 11: With Color A, ch 1, *Corner, BLOsc x1, FLOdc x1, [BLOsc x3, FLOdc x1] x4, BLOsc x1, repeat from * around.
Round 12: With Color B, ch 1, *FLOdc x1, [BLOsc x3, FLOdc x1] x5, repeat from * around.
Round 13: With Color A, ch 1, *Corner, FLOdc x1, [BLOsc x1, FLOdc x1] x11, repeat from * around.
Round 14: With Color B, ch 1, *Corner, BLOsc x2, FLOdc x1, [BLOsc x3, FLOdc x1] x5, BLOsc x2, repeat from * around.
Round 15: With Color A, ch 1, *Corner, BLOsc x1, FLOdc x1, [BLOsc x3, FLOdc x1] x6, BLOsc x1, repeat from * around.
Round 16: With Color B, ch 1, *Corner, [BLOsc x1, FLOdc x1] x14, BLOsc x1, repeat from * around.
Round 17: With Color A, ch 1, *Corner, [BLOsc x3, FLOdc x1] x7, BLOsc x3, repeat from * around.
Round 18: With Color B, ch 1, *Corner, BLOsc x2, FLOdc x1, [BLOsc x3, FLOdc x1] x7, BLOsc x2, repeat from * around.
Round 19: With Color A, ch 1, *Corner, FLOdc x1, [BLOsc x1, FLOdc x1] x17, repeat from * around.
Round 20: With Color B, ch 1, *Corner, FLOdc x1, [BLOsc x3, FLOdc x1] x9, repeat from * around.
Round 21: With Color A, ch 1, *Corner, [BLOsc x3, FLOdc x1] x9, BLOsc x3, repeat from * around.
Round 22: With Color B, ch 1, *Corner, [BLOsc x1, FLOdc x1] x20, BLOsc x1, repeat from * around.
Round 23: With Color A, ch 1, *Corner, BLOsc x1, FLOdc x1, [BLOsc x3, FLOdc x1] x10, BLOsc x1, repeat from * around.
Round 24: With Color B, ch 1, *Corner, BLOsc x45, repeat from * around.
Round 25: With Color A, ch 1, *Corner, BLOsc x47, repeat from * around.
Round 26: With Color B, ch 1, *Corner, BLOsc x49, repeat from * around.
Fasten off.
Weave in ends.
Block to 12″.
The Fine Print
This pattern and its images are the property of Juniper and Oakes ©2026. The pattern is for your personal use only. Please do not copy/paste, distribute, or alter and claim as your own. You may sell products made by this pattern, but please credit @juniperandoakes.
Please post pictures on social media and tag @juniperandoakes and use the hashtag #juniperandoakes. You can also post pictures in the Juniper + Oakes Crochet Community Facebook Page.
Let me know if you run into a problem. I respond quickly and will help any way I can to clarify any confusion or challenging stitches.