Mosaic 4-Patch Square – Unique Granny Square pattern (Free)
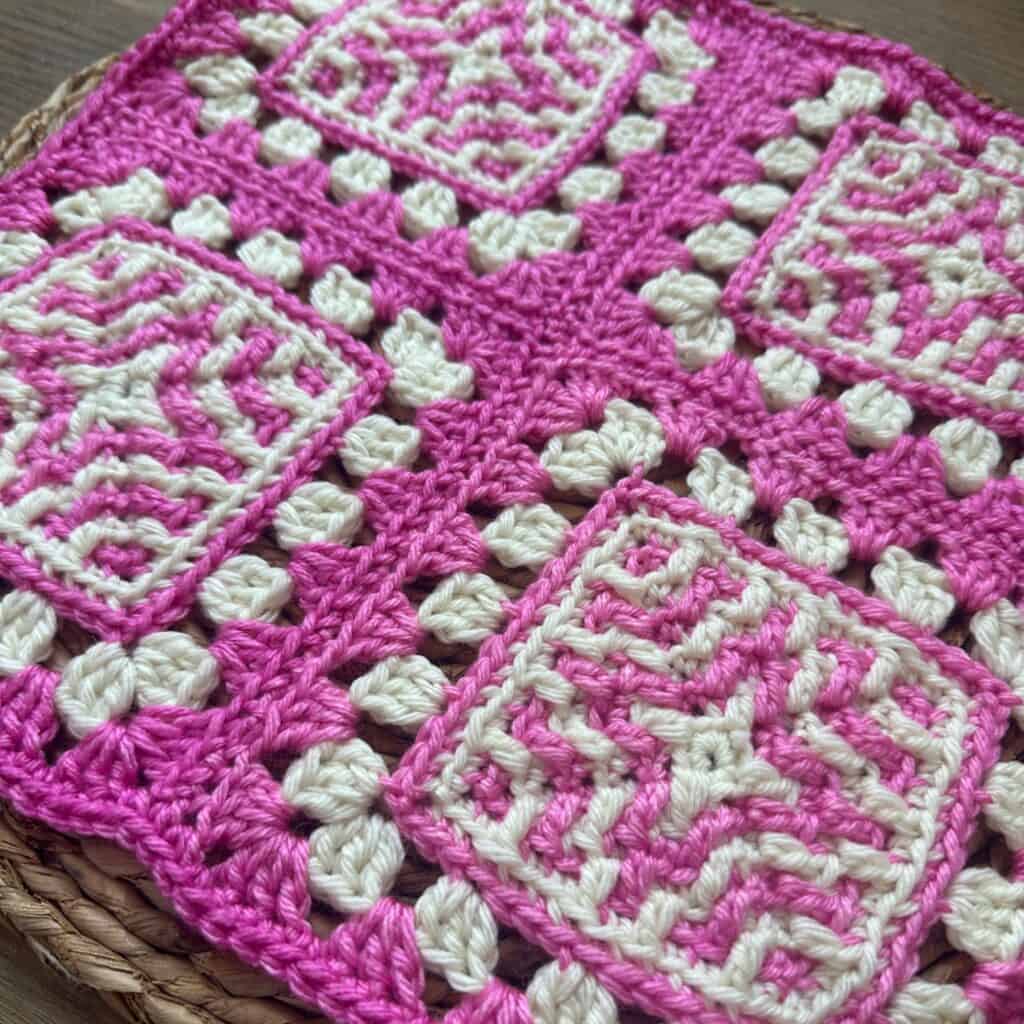
If you’ve spent any time around here, you know how much I love mosaic crochet. But I also have a soft spot for a good old-fashioned granny square! So for this design, I decided to combine the two into one unique granny square pattern.
The Mosaic 4-Patch Granny Square blends overlay mosaic crochet with the classic granny stitch to create a pattern that’s both eye-catching and fun to make. If you enjoy mixing techniques and trying something a little different, I think you’re going to have a lot of fun with this one.
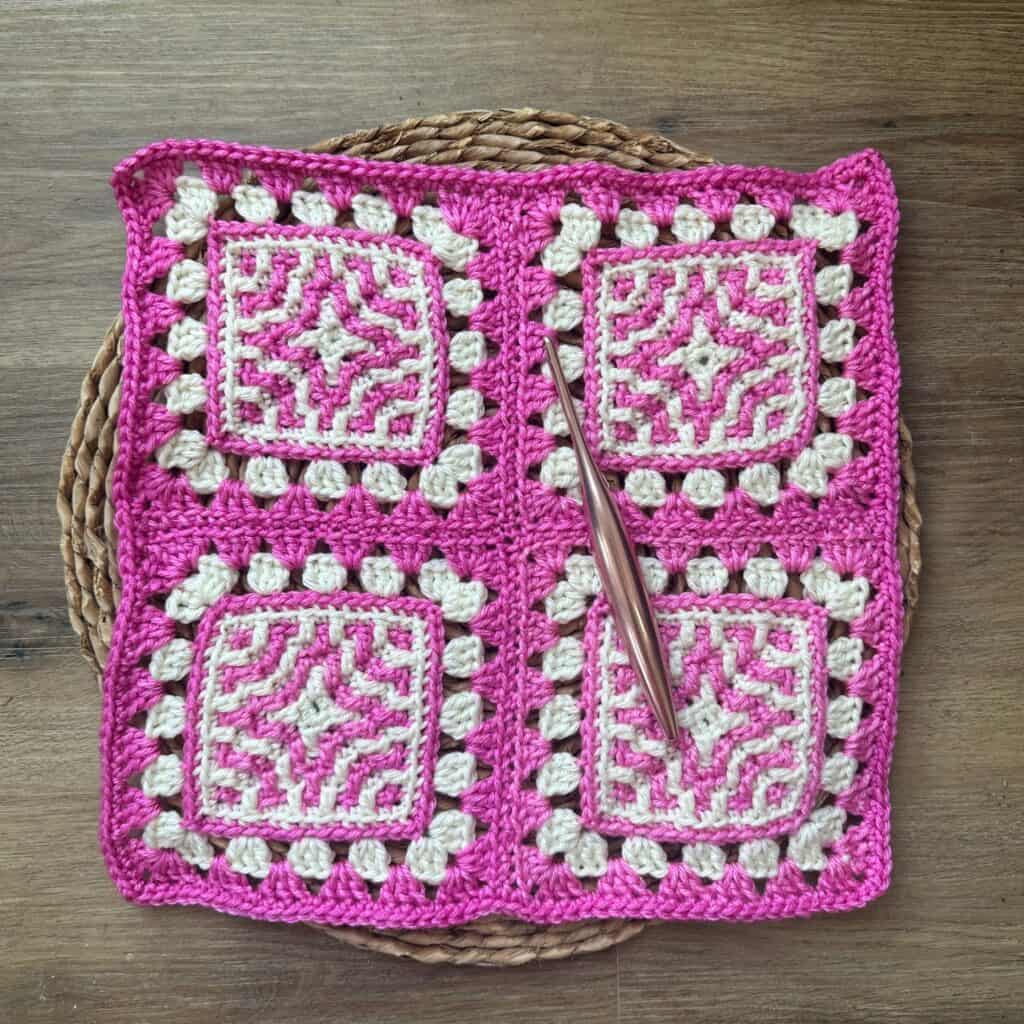
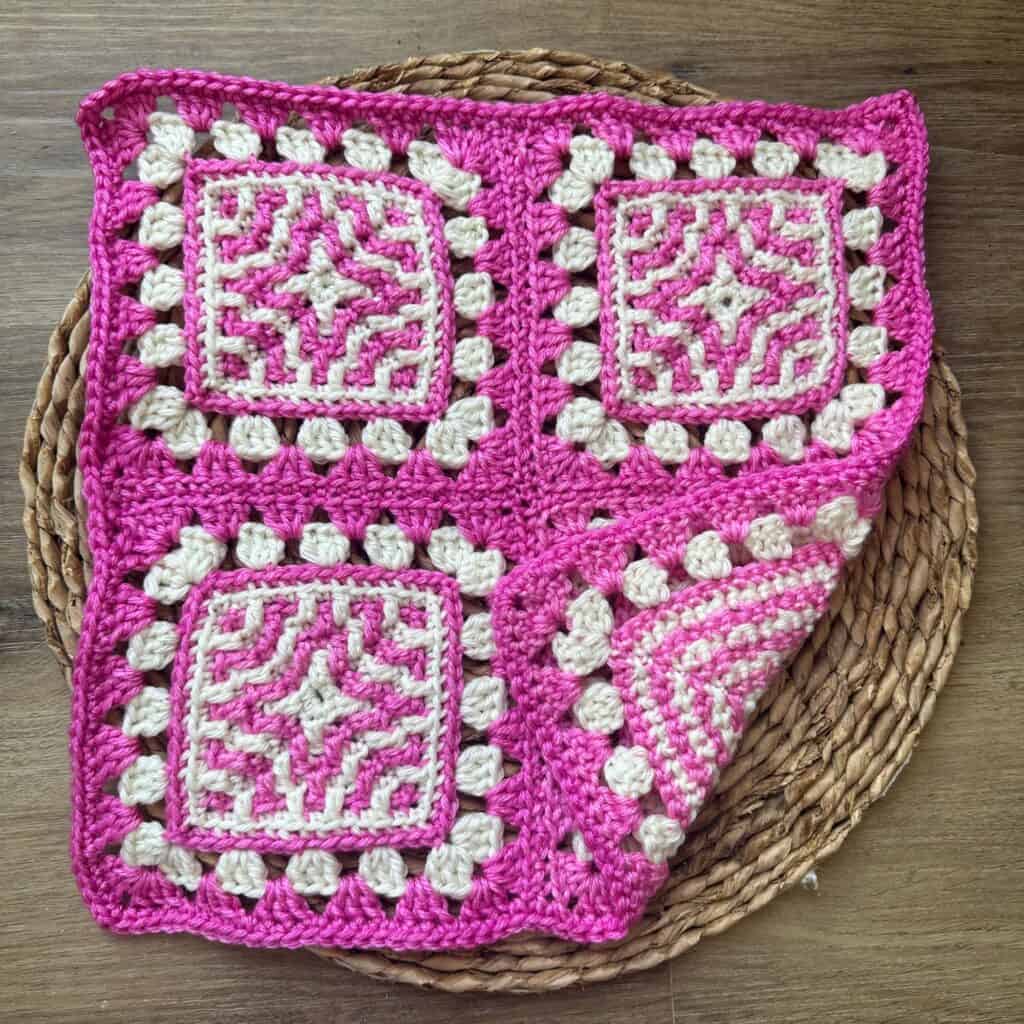
This mosaic granny square begins with four miniature mosaic crochet squares, each framed with rounds of the classic granny stitch. Once they’re complete, you’ll join the four sections together to create one larger square, much like a traditional four-patch quilt block.
This granny square pattern is a wonderful opportunity to play with a unique color scheme. You can give each mini square and granny stitch round its own personality with a colorful palette, or keep things more coordinated for a clean, modern look. Either way, the combination of mosaic crochet and granny stitches creates a square that’s full of charm and visual interest.
And don’t forget, those smaller mosaic squares can be projects in their own right! They would be perfect for coasters, small decorative accents, or other creative makes.
At a Glance
- Finished Size: 12” x 12″ square
- Skill Level: Easy
- Technique(s): Overlay mosaic crochet in the round, from the center out; granny stitch
- Yarn: Worsted/medium (#4) weight yarn
- Hook: H/8 (5.00mm)
A Unique Granny Square Pattern with Mosaic Crochet
The Mosaic 4-Patch Granny Square begins with four miniature overlay mosaic crochet squares worked in the round. This technique creates bold, graphic designs by stitching over previous rounds. Instead of working through both loops, you’ll crochet your single crochets in the back loop only, then use double crochets to reach down and pick up the unworked front loops from earlier rounds. Those overlay stitches are what create the mosaic pattern.
If mosaic crochet looks a little complicated at first glance, don’t worry! It becomes surprisingly intuitive once you get started. The small mosaic centers work up quickly, and before long you’ll transition into the familiar rhythm of granny stitch rounds. It’s a fun combination that keeps the project interesting from start to finish.
Since the mosaic sections are worked in the round, you’ll carry the unused yarn as you go rather than cutting it after every round. That means fewer ends to weave in and more time to enjoy watching the design take shape.
If you’re brand new to overlay mosaic crochet, I’ve got you covered! Be sure to check out my YouTube tutorial, where I walk through the technique step-by-step from the center out.
This post contains affiliate links. While I may receive compensation when you purchase and item from a link, your price doesn’t change and all recommendations are my own. See affiliate disclosure policy.
Don’t have time to make this now? Pin the image below for later.
What You’ll Love About This Square
- Combines two beloved crochet stitches in a unique granny square pattern
- Begins with overlay mosaic crochet in the round and finishes with classic granny stitches
- A fun mix of graphic texture and vintage-inspired charm
- Four mini squares offer endless possibilities for playing with color
- Includes easy-to-follow written instructions, a mosaic crochet chart, and stitch tutorials
- Beautiful as part of blankets, pillows, and other cozy home decor projects
More Unique Granny Square Patterns
The Mosaic 4-Patch Granny Square is just one unique granny square pattern I have designed that uses multiple stitches. If you love interesting stitches, you may also enjoy these squares:
- Mosaic Hearts Granny Square, which also uses overlay mosaic crochet and granny stitch
- Mosaic Granny Square, which fuses granny stitch with overlay mosaic crochet for a square unlike anything you’ve seen before
- Elizabeth Square, also made up of smaller squares, combining granny stitch with moss stitch
More Granny Square Blanket Crochet Alongs (CALs)
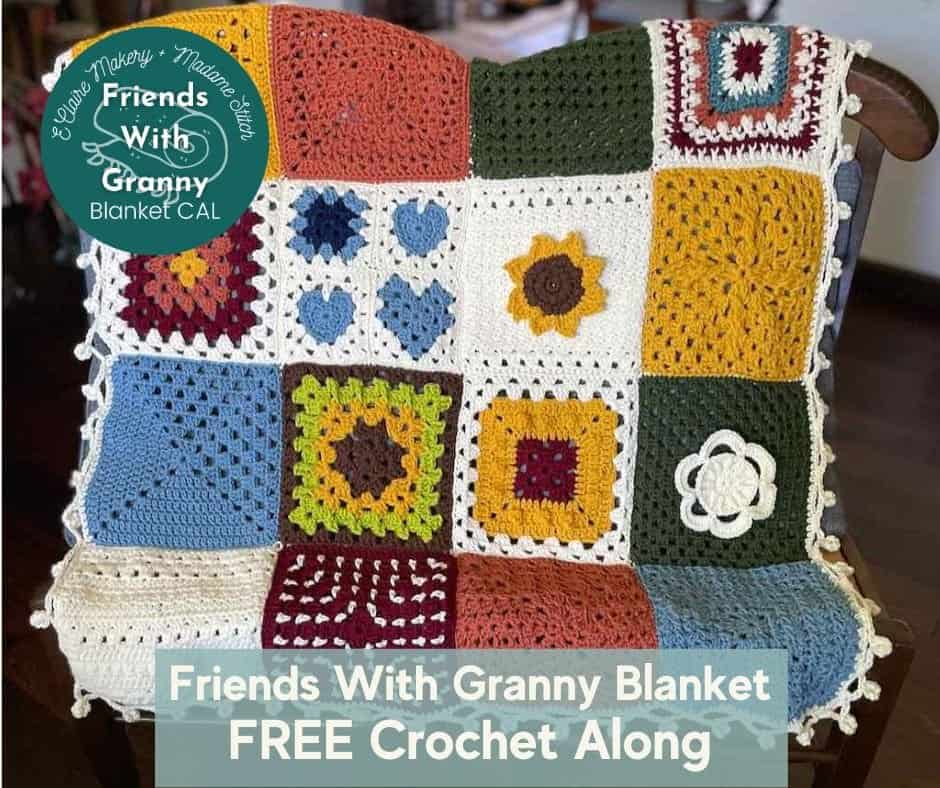
The 2026 Granny Stitch Sampler Blanket CAL
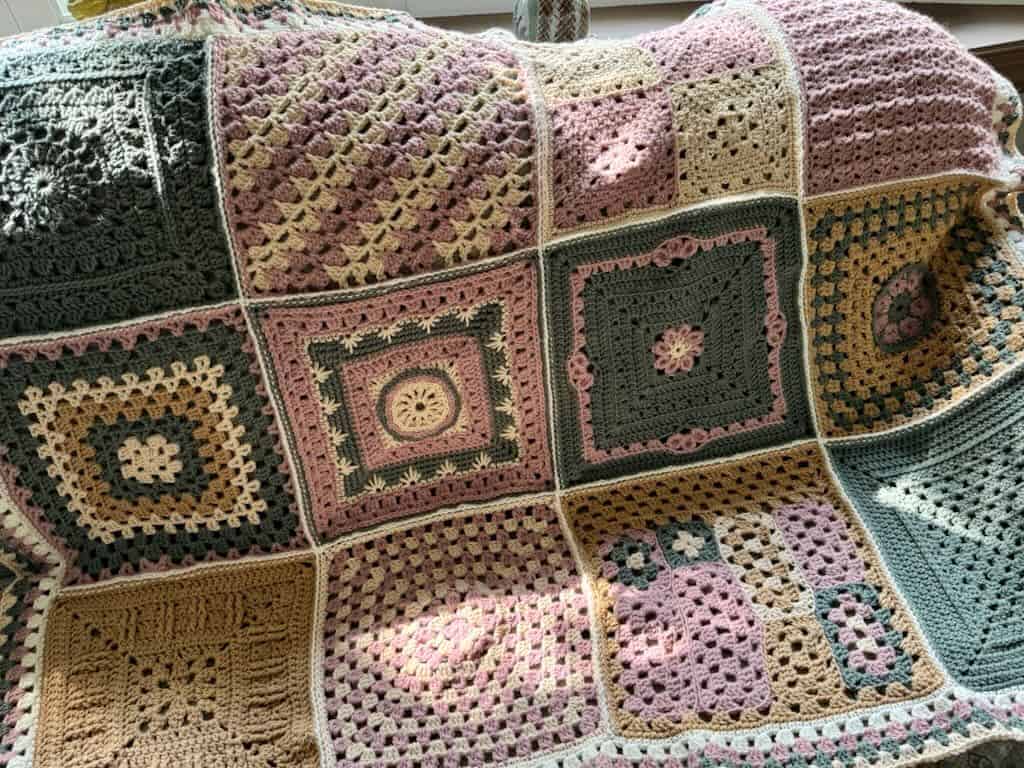
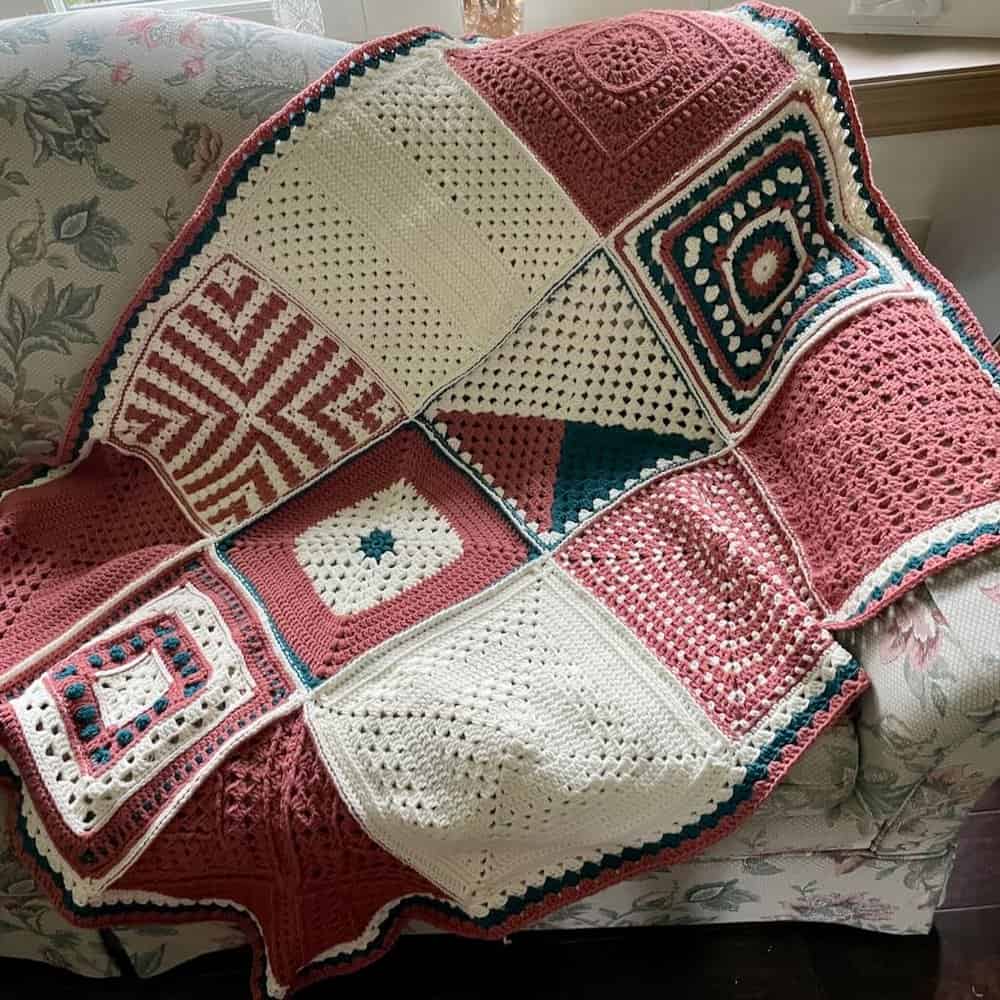
The Mosaic 4-Patch Granny Square was featured in the Granny Stitch Sampler Blanket CAL, hosted by MadameStitch in 2026.
12 amazing crochet designers came together to create a stunning blanket made up of 12 unique granny square patterns! They shared a new granny square pattern every Monday, Wednesday, and Friday from September 28th-October 28th, 2026. Crocheters all around the world worked together on this cozy granny stitch blanket.

Click the image below to visit the roundup post and learn more about the CAL.

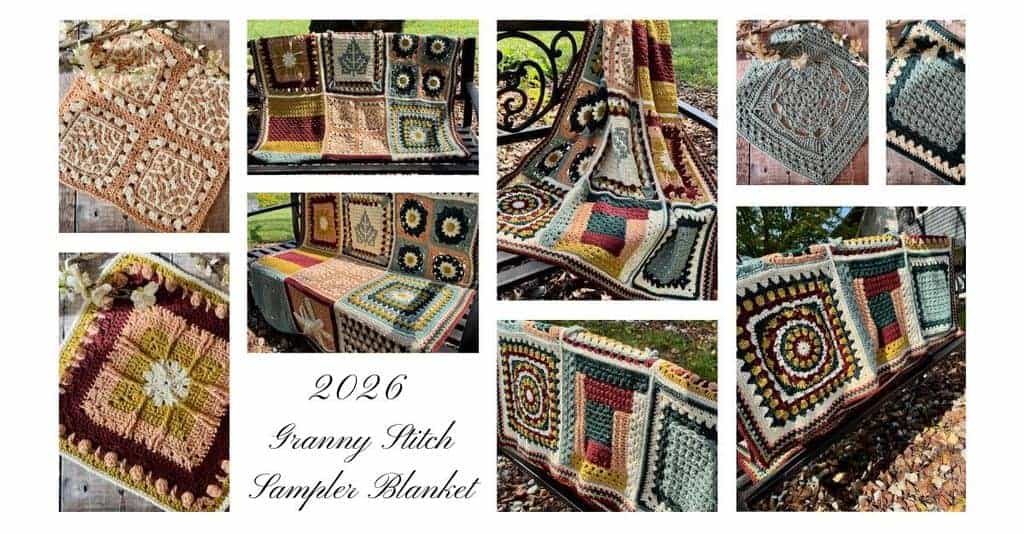
If you’d like to have the patterns to make the entire Granny Stitch Sampler Blanket, all in one convenient eBook, you can also purchase also the bundle. In addition to the patterns, you’ll also find helpful information about yarn and hooks, abbreviations, and more, a color-planning section, AND instructions for seaming your squares and bordering your blanket.

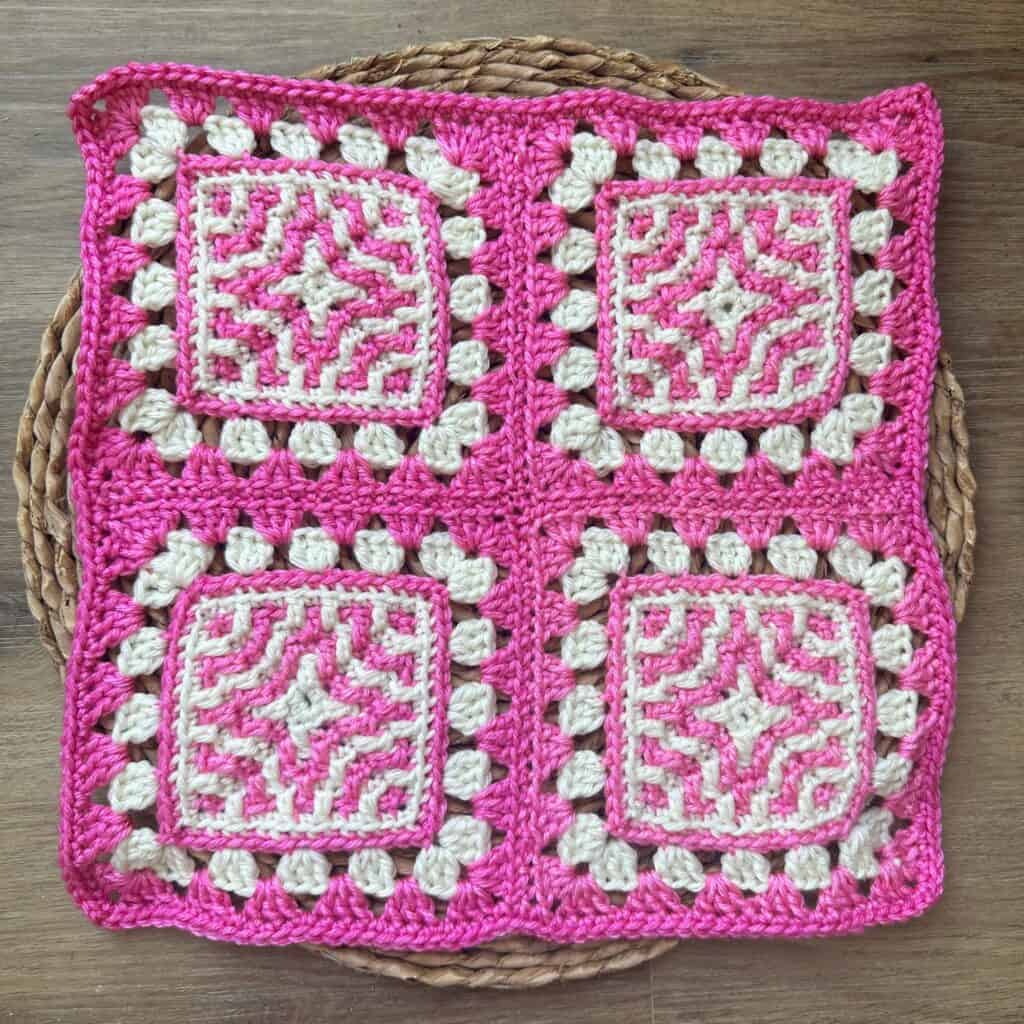
The Mosaic 4-Patch Granny Square Pattern
If you make this pattern be sure to post pictures on social media and tag @juniperandoakes and use the hashtag #juniperandoakes. I would love to see your work!
The mosaic crochet pattern and chart are provided free for you on this website further down below, but if you would like a ad-free, printable version of this granny square pattern, you can join the Crochet Collective or buy the eBook from my shop (you will be able to add the patterns to your Ravelry product library). Either of these options gives you lifetime access to the chart and written instructions for this square and 11 others to make a whole mosaic crochet blanket.
Or you can grab just this square pattern from Etsy or Ravelry, using the links below.
Purchase the Pattern from the Juniper & Oakes Shop
Skill Level: Easy
Materials
- Yarn: Medium (4) Worsted Weight
- Color A: Cream – 100 yards
- Color B: Purple – 100 yards
- Hook: H/8 – 5.0mm
- Yarn needle
- Scissors
Gauge
9 Rounds in 4″ x 4″ square
May change hook size, or add/subtract rounds to meet 12″ square measurement
Finished Measurements
12″ x 12″ square
Stitch Abbreviations (US Terminology)
- BLOsc – Back Loop Only Single Crochet
- BLOGS – Back Loop Only Granny Stitch
- ch – Chain
- FLOdc – Front Loop Only Double Crochet
- GS – Granny stitch
- mc – Magic Circle
- sc – Single Crochet
- sk – Skip
- sl st – Slip Stitch
- st – Stitch
- sp – Space
Special Stitches
Corner
BLOsc, ch1, BLOsc
Worked together into the BLO of the ch 1 of the corner in the row below.
Back Loop Only Single Crochet (BLOsc)
Insert hook through the back loop of indicated stitch, yo, pull up a loop, yo pull through both loops on hook.
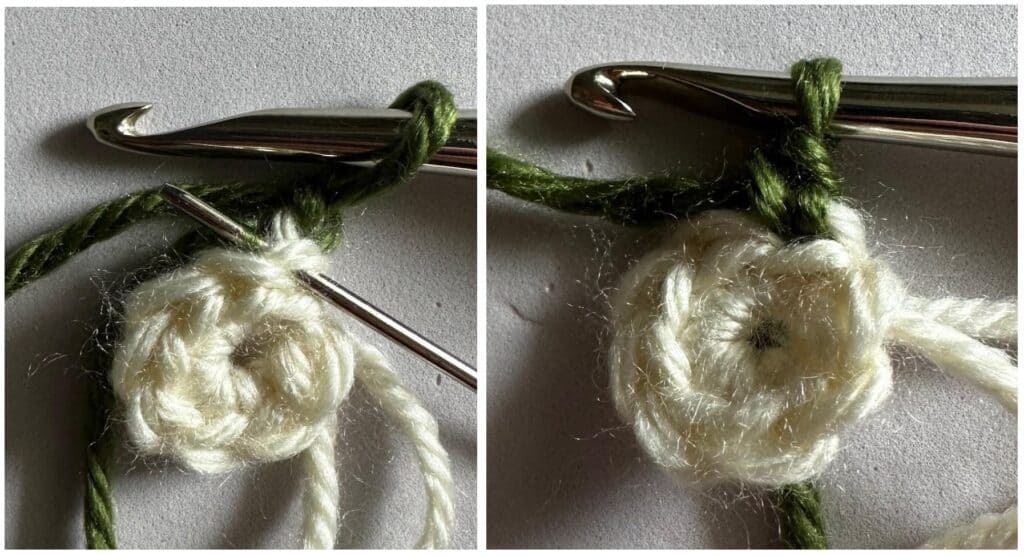
Front Loop Only Double Crochet (FLOdc)
Yo, insert hook through the front loop of the stitch 2 rows below, yo, pull up a loop, yo, pull through two loops on hook, yo, pull through remaining loops.
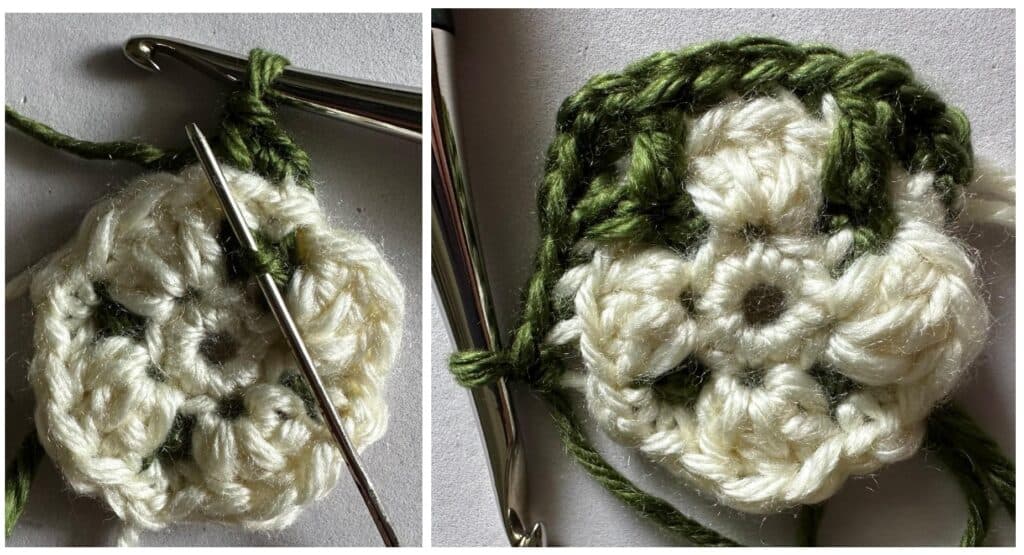
Invisible Join
Work last stitch, Remove hook from loop, Insert hook through back of 1st stitch of row, Grab dropped loop, Pull yarn loop though. (May also use sl st to join.) Click here for a video tutorial.

Carrying Unused Yarn
At the beginning of each round:
- Carry the unworked yarn under the first BLOsc of the corner.
- Drop the unused yarn to the wrong side before continuing.
This keeps color changes clean and secure.

Pattern Notes
- Pattern is overlay mosaic crochet worked in the round from the center out. Watch this video to learn more about how to mosaic crochet from the center out. *Note: This video demonstrates the technique on another pattern but the basics are the same.
- Ch 1 at the beginning of a round does not count as a stitch.
- If you tend to have loose tension when you crochet, you may need to go down a hook size or choose a light worsted weight yarn to make this a 12″ square.
- Sts between *asterisks* are repeated on each side of the square
- Each round (except Round 1) begins with the corner sts.
- The Corner stitches (BLOsc, ch1, BLOsc) are worked together into the BLO of the ch1 of the corner in the row below.
- Carry the unworked yarn under the first BLOsc of each corner, then drop the unworked yarn to the wrong side of the work and continue working.
- Work an invisible join after each round.
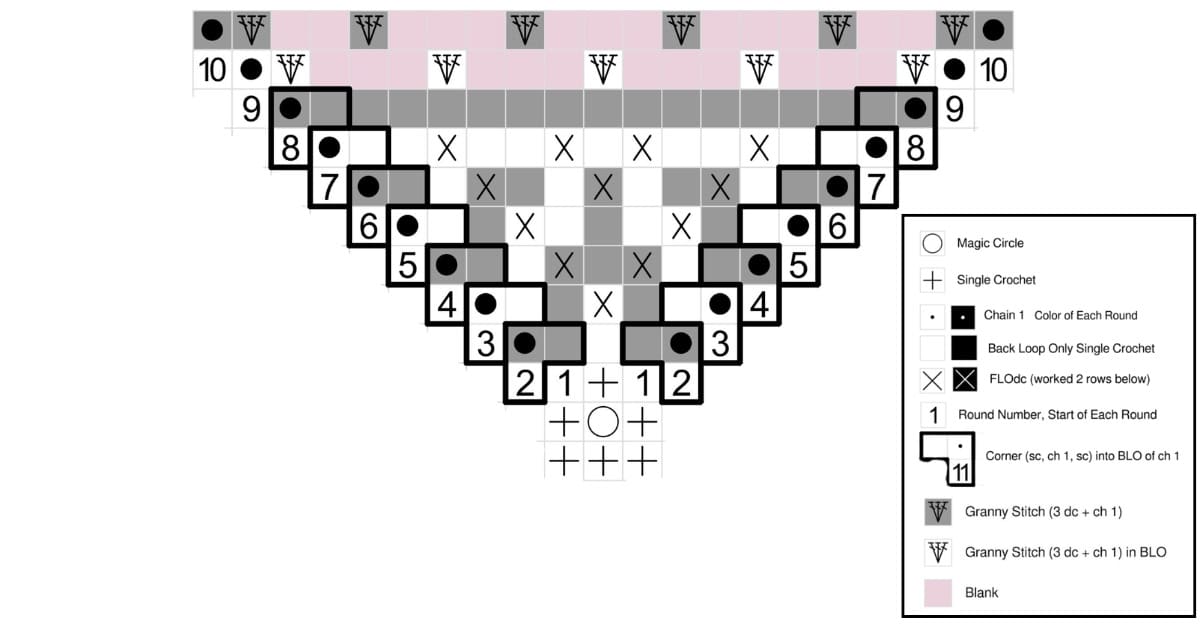
- A chart for this pattern is included as well.
- The 12″ square consists of four smaller squares seamed together – known as a four-patch in quilting.
- Each smaller square begins with eight rounds of mosaic crochet, followed by two rounds of traditional granny square stitches.
Crochet Chart for the Mosaic 4-Patch Granny Square
Written pattern for The Mosaic 4-Patch Granny Square
Instructions (make 4)
After each round, work an invisible join.
Round 1: With Color A, make a mc, ch 1, 8 sc in mc.
Round 2: With Color B, ch 1, *Corner (see Special Stitches), BLOsc, repeat from * around.
Round 3: With Color A, ch 1, *Corner, BLOsc x1, FLOdc x1, BLOsc x1,* repeat from * around.
Round 4: With Color B ch 1, *Corner, BLOsc, FLOdc, BLOsc, FLOdc, BLOsc, repeat from *
around.
Round 5: With Color A, ch 1, *Corner, BLOsc, FLOdc, BLOsc x3, FLOdc, BLOsc, repeat from * around.
Round 6: With Color B, ch 1, *Corner, [BLOsc, FLOdc, BLOsc] x3, repeat from * around.
Round 7: With Color A, ch 1, *Corner, [BLOsc, FLOdc, BLOsc x2, FLOdc,] x2, BLOsc, repeat
from * around.
Round 8: With Color B, ch 1, *Corner, BLOsc x13, repeat from * around.
Round 9: With Color A, ch 3, 2 dc in BLO of the Corner ch, sk 3 sts, [BLOGS, sk 3 st] x3, BLOGS in corner ch, ch 1, BLOGS in same st, repeat from * around. In final corner: BLOGS, ch 1, sl st to top of ch 3 to join.
Round 10: With Color B, ch 3, 2 dc in corner space below, ch 1, *GS in next ch-1 sp* around, working [GS, ch 1, GS] in each corner. In final corner: GS, ch 1, sl st to top of ch 3 to join. (7 GS per side)
Join 4 Granny Squares Together with Mattress Stitch
- Thread yarn needle with the Color B.
- Line up the 2 edges of the squares, ensuring the corresponding stitches on each square are matched up.
- Starting at the first stitch at the bottom of one square, insert the needle from the WS to RS
- Find the corresponding stitch of the other square, insert the needle from WS to RS
- Continue sewing back and forth from the WS to RS between both squares to end.
- When finished sewing first two squares together, continue sewing the other two square together in the same manner.
- Weave in ends
- With another length of Color B, seam the squares together horizontally.
Border Round: With Color B, attach yarn in any corner space. Sc evenly around the square, working sc, ch-1, sc in each corner ch-sp. Invisible join to first sc.
Fasten off.
Weave in all ends.
The Fine Print
This pattern and its images are the property of Juniper and Oakes ©2026. The pattern is for your personal use only. Please do not copy/paste, distribute, or alter and claim as your own. You may sell products made by this pattern, but please credit @juniperandoakes.
Please post pictures on social media and tag @juniperandoakes and use the hashtag #juniperandoakes. You can also post pictures in the Juniper + Oakes Crochet Community Facebook Page.
Let me know if you run into a problem. I respond quickly and will help any way I can to clarify any confusion or challenging stitches.