Granny’s 4-Square Pillow – FREE Granny Square Crochet Pattern
What is more iconic in the crochet world than the granny square?
I’ll pause to give you a moment to think…………
Did you come up with anything else?? Probably not. I’m sure even those who are not in the crochet world cannot think of anything else either.
Are you even a crocheter if you’ve never made a Granny Square? (Yes, I do think you are, but I thought it an interesting question to pose).
There is even a whole DAY devoted to a Granny Square.
Yes. You read that correctly. Granny Square Day is on August 15th every year. So get ready to see so many more Granny Squares pop in in your news feeds and Instagram feeds and all over the place!
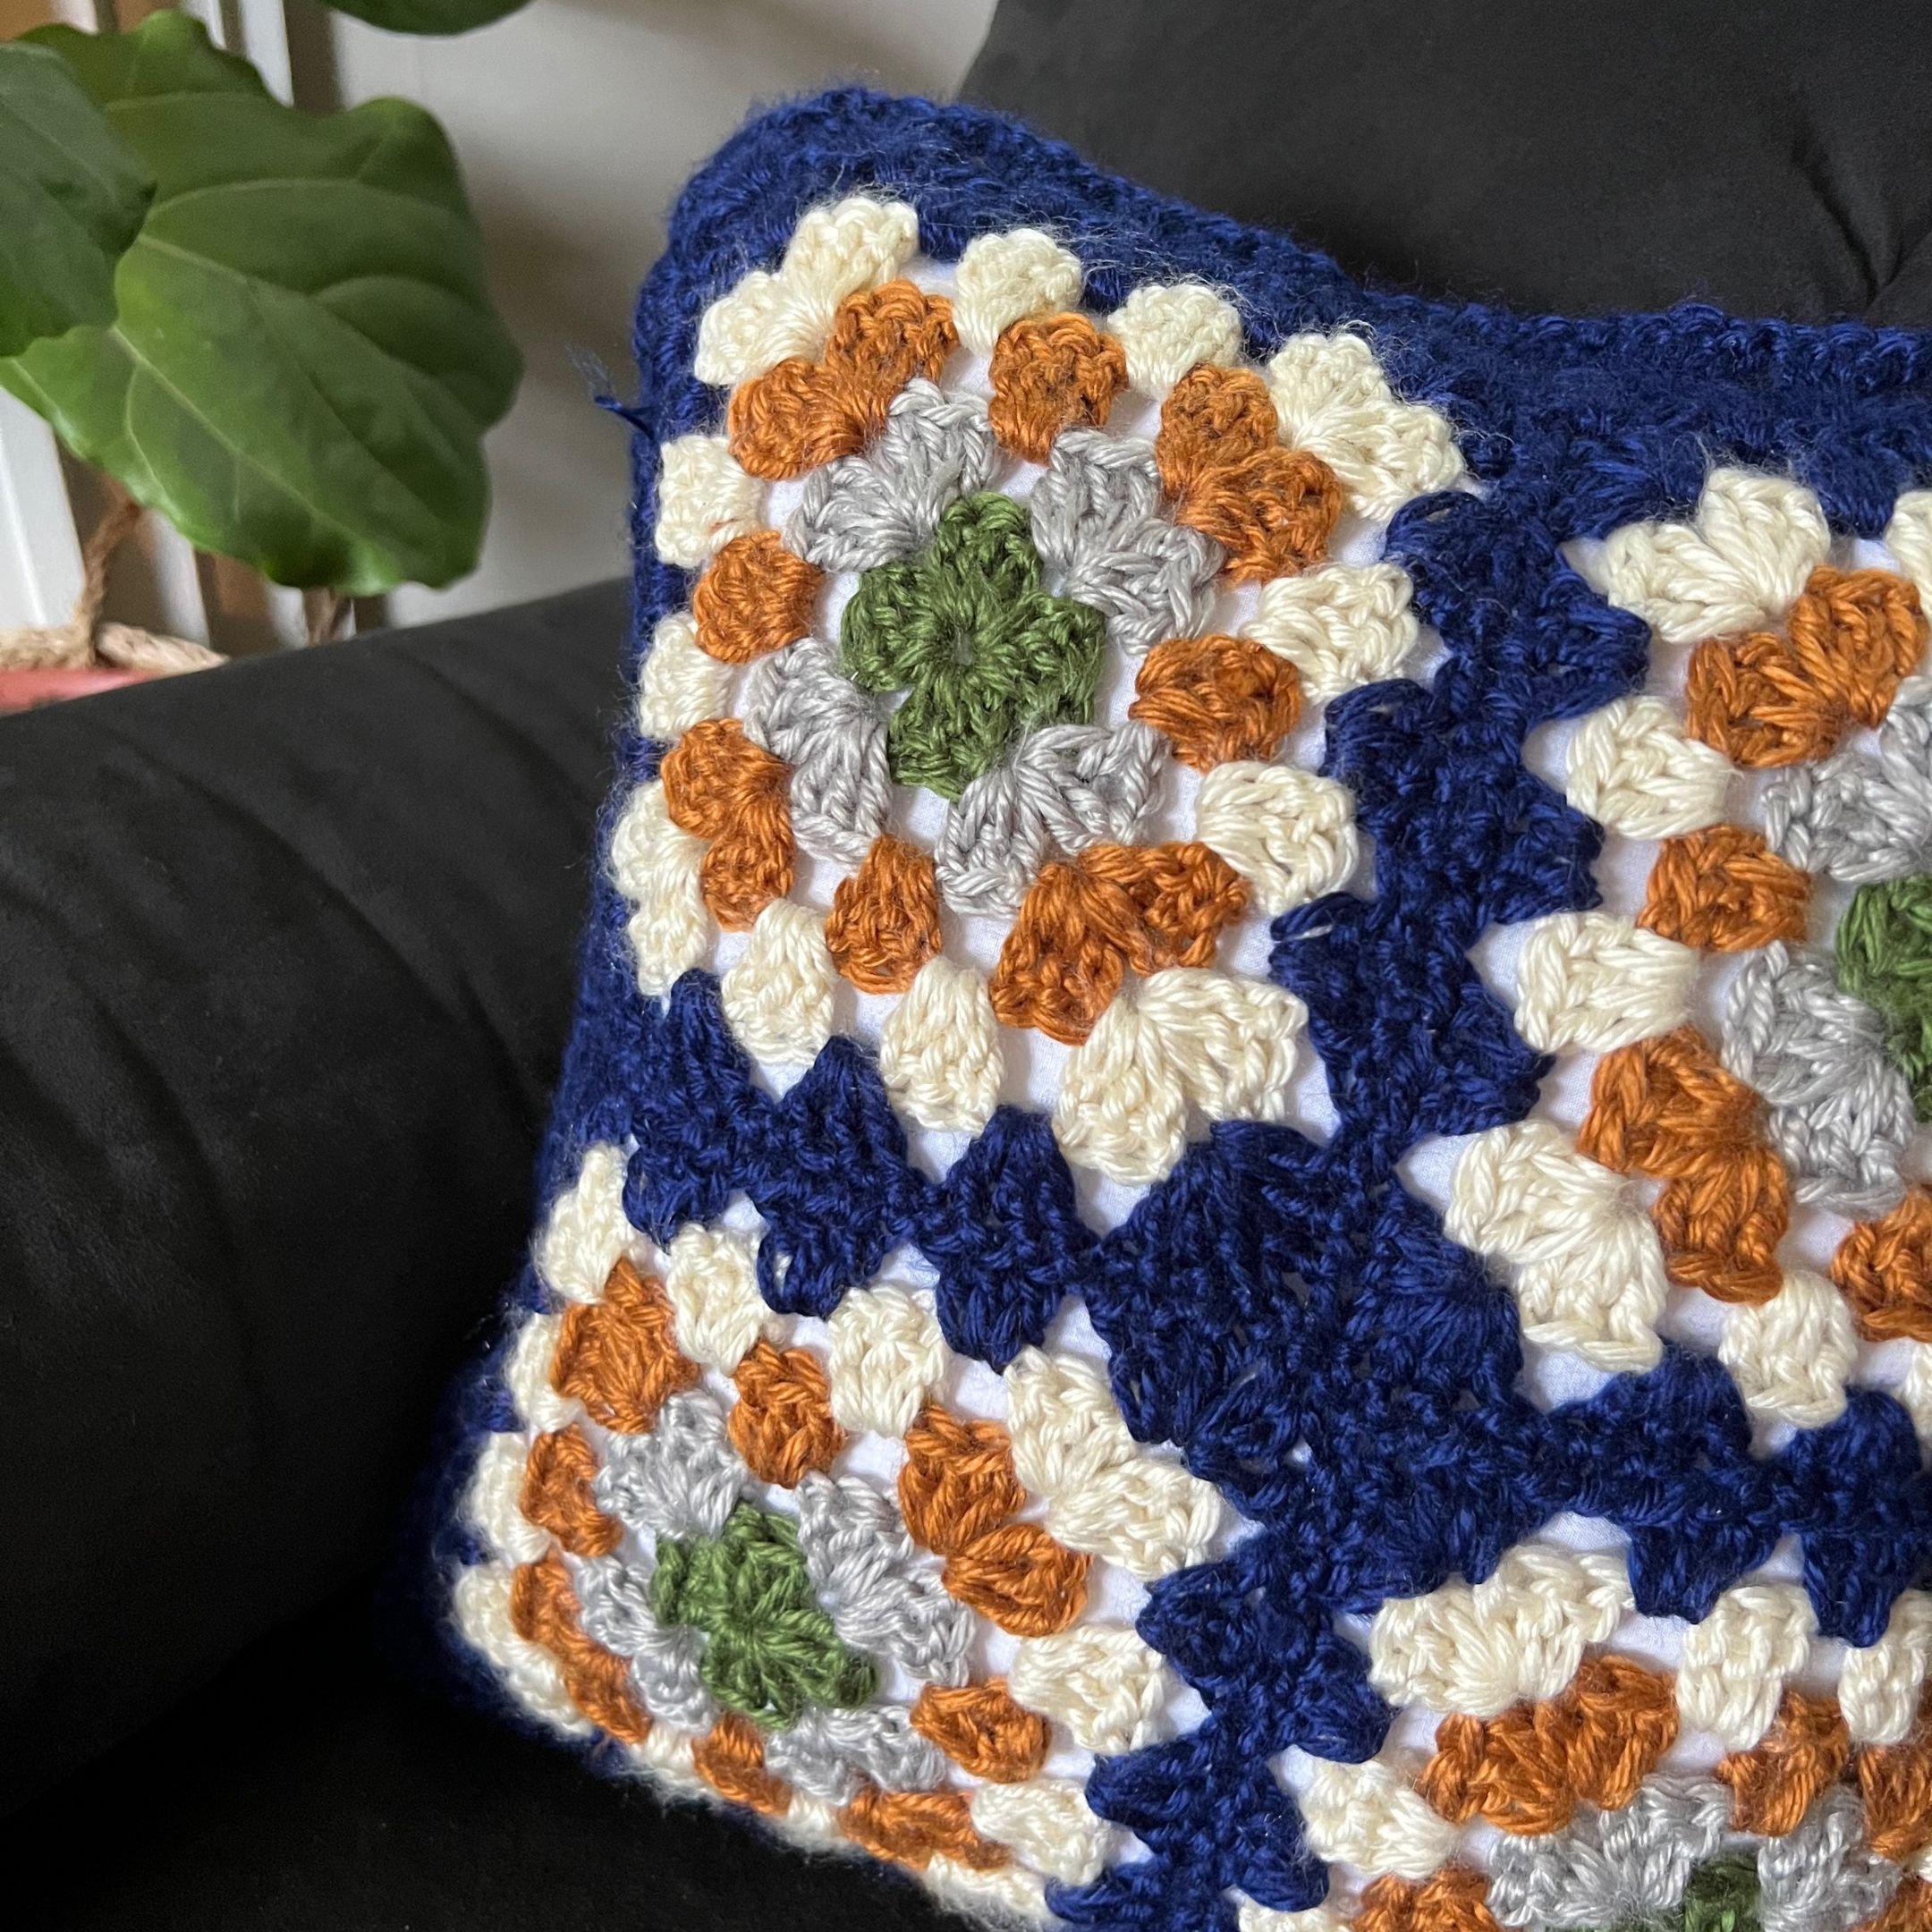
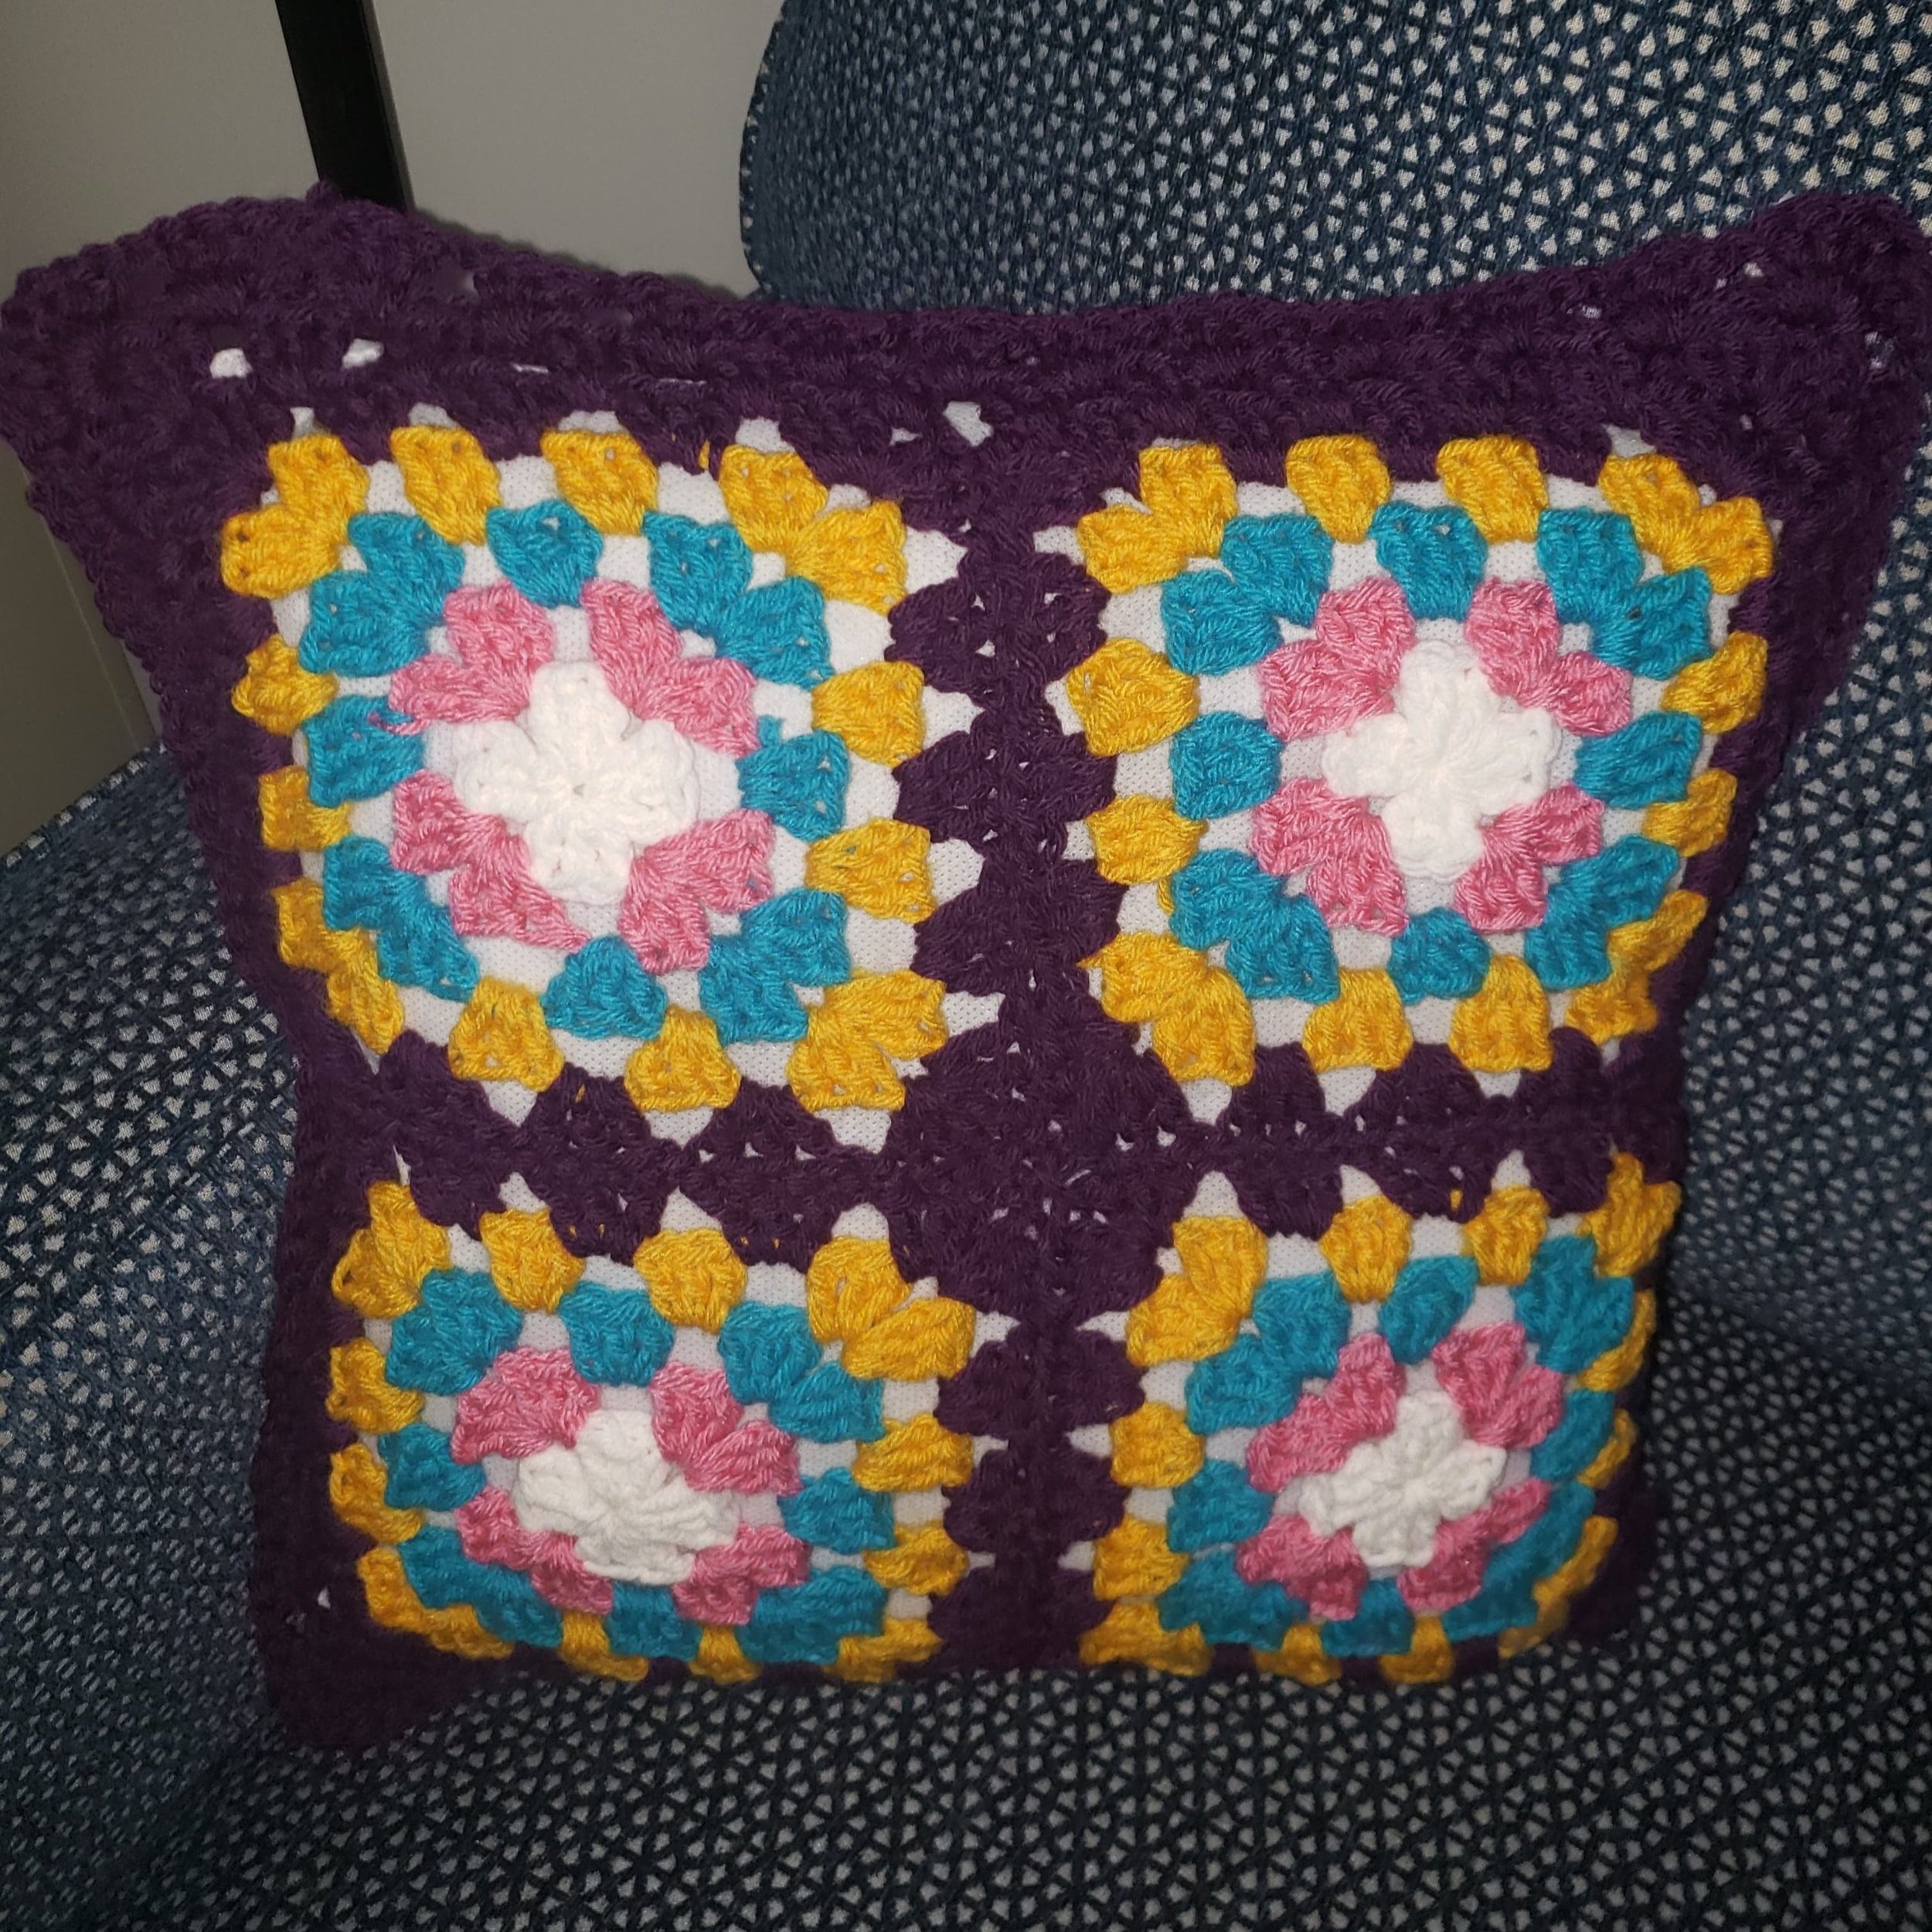
That is why I come up with the Granny’s 4-Square Pillow crochet pattern. This pattern features 4 granny squares per panel of the pillow, and more granny stitches throughout. What do you think? Would you make one of these pillows? Or perhaps give it to another crazy crochet lady in your community?

A Note About This Free Pattern
I am sharing a free version of the pattern below, but you can also purchase an inexpensive printable ad-free PDF from Etsy or Ravelry so you can easily refer to the directions without the annoying pop-ups and ads or having your screen fade to black.
Don’t have time to work this up now? Pin it for later.


Purchase this Yarn HERE
About the Yarn
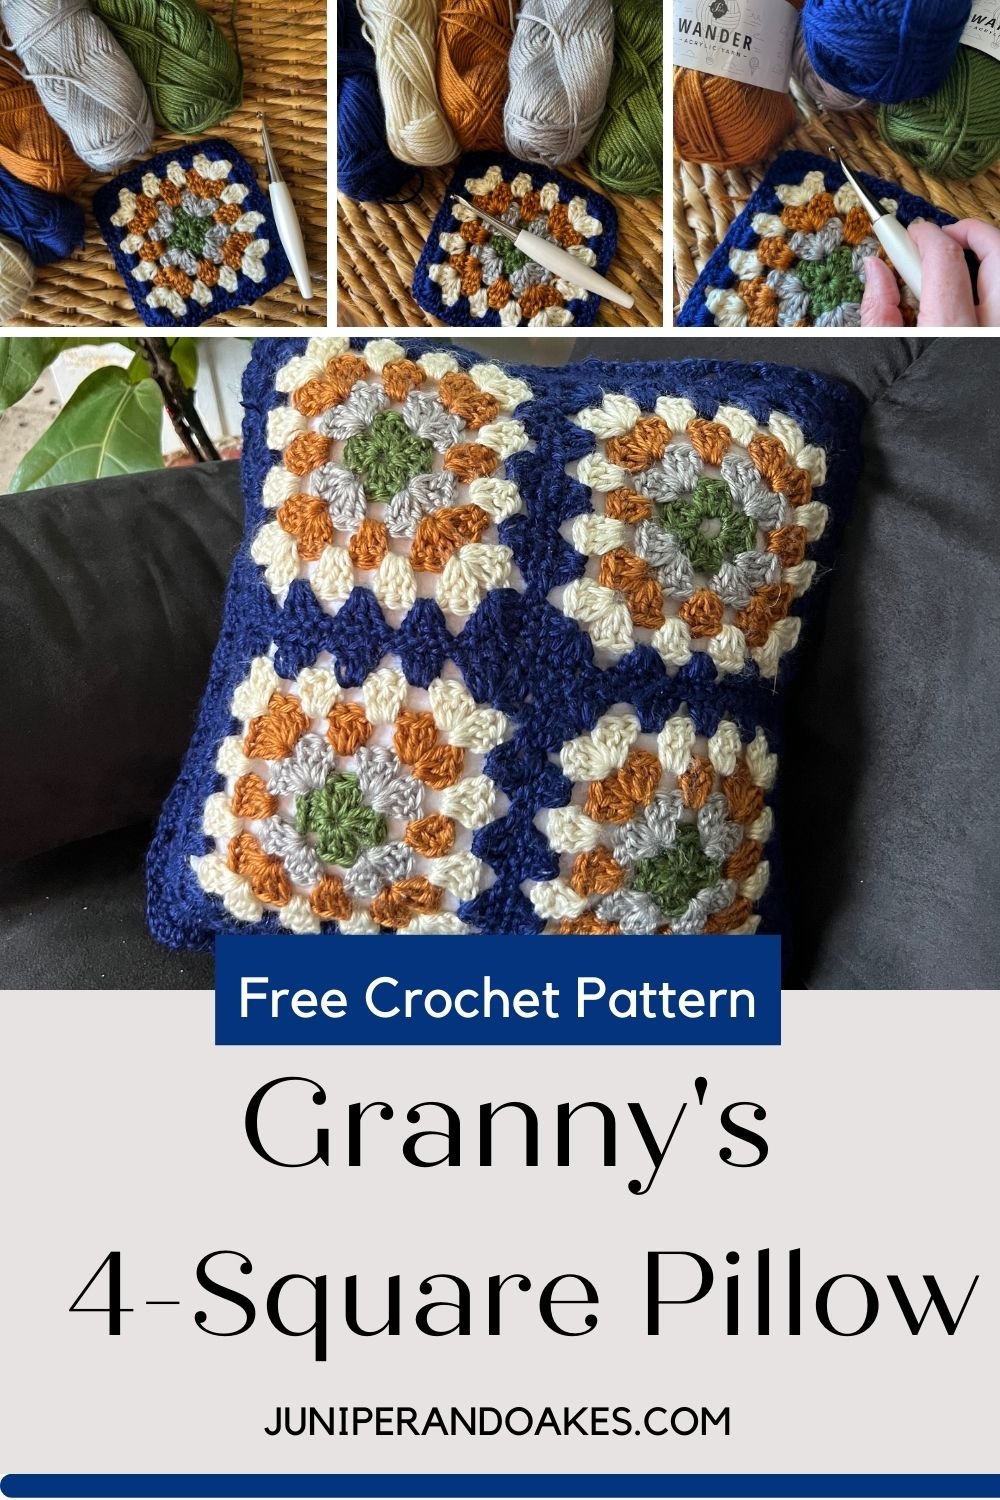
I used Wander Acrylic Yarn from Furls Crochet.
This yarn was provided to me by Furls Crochet to use for a design in the 2022 Crochet Foundry Blog Hop. I was able to pick any yarn from the Furls yarn lines (they only have Wander & Whims) and pick my project. I chose to use the Wander acrylic yarn because its colors are so vivid and beautiful, and the texture is soft and shiny. Who wouldn’t want to cozy up to a pillow that looks & feels like this?!
I chose these three colors (Meadow, Mist, Snow, Thatch & Midnight) because there used to be part of a Pallete Pack that came conveniently bundled together. Unfortunately, this Palette Pack was discontinued. But you can still purchase each color separately, and orders of 5 skeins or more get automatically discounted. So you won’t lose out at all!
You will need 1 skein of each color.
If you don’t like the colors I chose for my pillow, feel free to pick whichever colors you want! There are a few new Palette Packs available. Click here to see the Palette Packs. Or you can click here to see the other colors available in the Wander Acylic Yarn Line.
This yarn is so easy to work with. It is so soft and squishy. There are so many colors to choose from. If you’re looking for an acrylic worsted yarn, I would highly recommend Wander Acrylic Yarn by Furls. Have you used it? What do you think?
Here are some other patterns using this yarn:
Mosaic Squares Mug Rug
Striped Moss Plant Pot Cover
Simple Mesh Mug Rug
Porch n’ Picnic Blanket

About the Hook
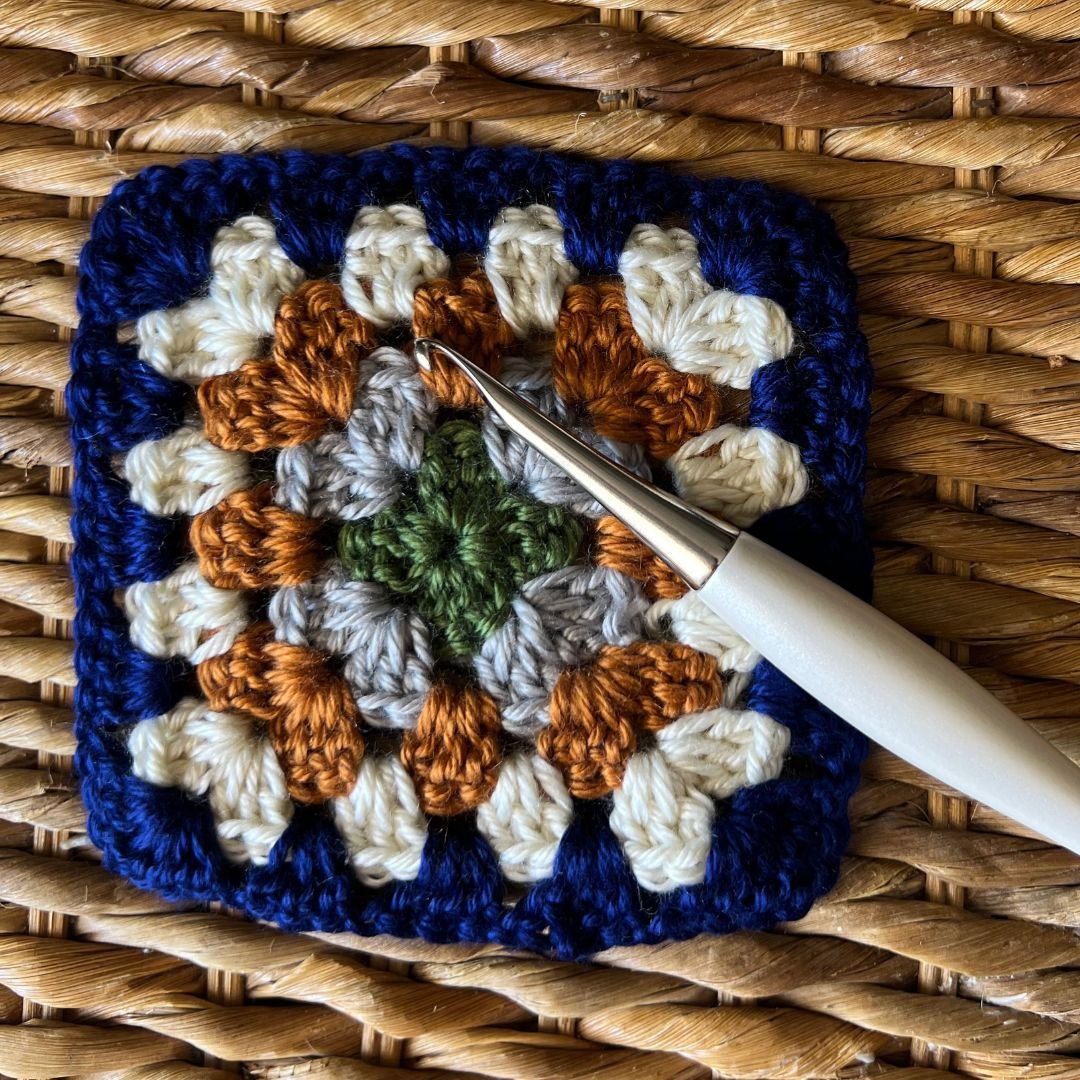
I used a size J/6.0mm Odyssey Hook in White & Nickel by Furls Crochet. This hook was provided to me by Crochet Foundry for this design as part of the Crochet Foundry Blog Hop.
I love this hook! It feels so good in my hand. The ergonomic design means I can keep crocheting these granny squares all day, no problem! The yarn slips easily (but not TOO easily) from the hook while working up your stitches. And it looks so pretty!
Even though this hook was given to me, I would totally buy it myself. And I, indeed, have bought hooks just like this already! I have a couple of other Odyssey hooks by Furls: an H hook in Red that I used to work up the Nordic Winter C2C CAL last year and an N hook in Navy that I used to work up my Cabled Granny Pillow this summer.
I also use the Streamline Swirl resin hooks by Furls when I’m not using my Odyssey. Furls also has wooden hooks that I don’t use very much. But if you like wooden hooks, you’ll love these ones!
Do you have an Odyssey hook? Or any other Furls crochet hook? Tell me about it. I’d love to hear about your experience.
Purchase this Hook HERE
Do you like Granny Squares?
If you enjoy this pattern and are looking for another granny square pattern to crochet, look no further than the Cabled Granny Square. This pattern is so fun to work up! It is free on the blog.
Other crochet patterns featuring the granny stitch:
Crochet Foundry Blog Hop
This pattern is featured on the 2022 Crochet Foundry Blog Hop.
Granny’s 4-Square Pillow Cover
Buy the Ad-Free Pattern
This crochet pattern has been provided to you for free on this website. However, it may be easier and more enjoyable to purchase a beautifully-designed, ad-free pattern. There are pictures and videos to help walk you through your project. You may print it or save it in your digital files for later use.
The Ad-Free Pattern included links to the video tutorials as well as full-color picture tutorials and a Granny Square Cheat Sheet.
If you make this pattern be sure to post pictures on social media and tag @juniperandoakes and use the hashtag #juniperandoakes and #jaopillow. I would love to see your work!
Shout out to my Tester!
My tester Kelly has been amazing! She works up my patterns so quickly and gives great notes. I really appreciate having her not only as part of the Juniper & Oakes Crochet Community but also as a VIP tester! Thanks, Kelly!


Skill Level: Beginner
Materials
Yarn: Wander Acrylic Yarn from Furls 100% Acrylic, Medium (4) Worsted 100g (3.5oz), 120 yds (109m)/skein (or 5 colors of any worsted weight yarn)
- Color A (Meadow)- 14 yards.
- Color B (Mist)- 28 yards
- Color C (Thatch)- 41 yards
- Color D (Snow)- 55 yards
- Color E (Midnight)- 83 yards
- Hook: J/10 – 6.0mm
- 12″ Pillow Insert (or size that fits the finished cover)
- Yarn needle
- Scissors
Gauge:
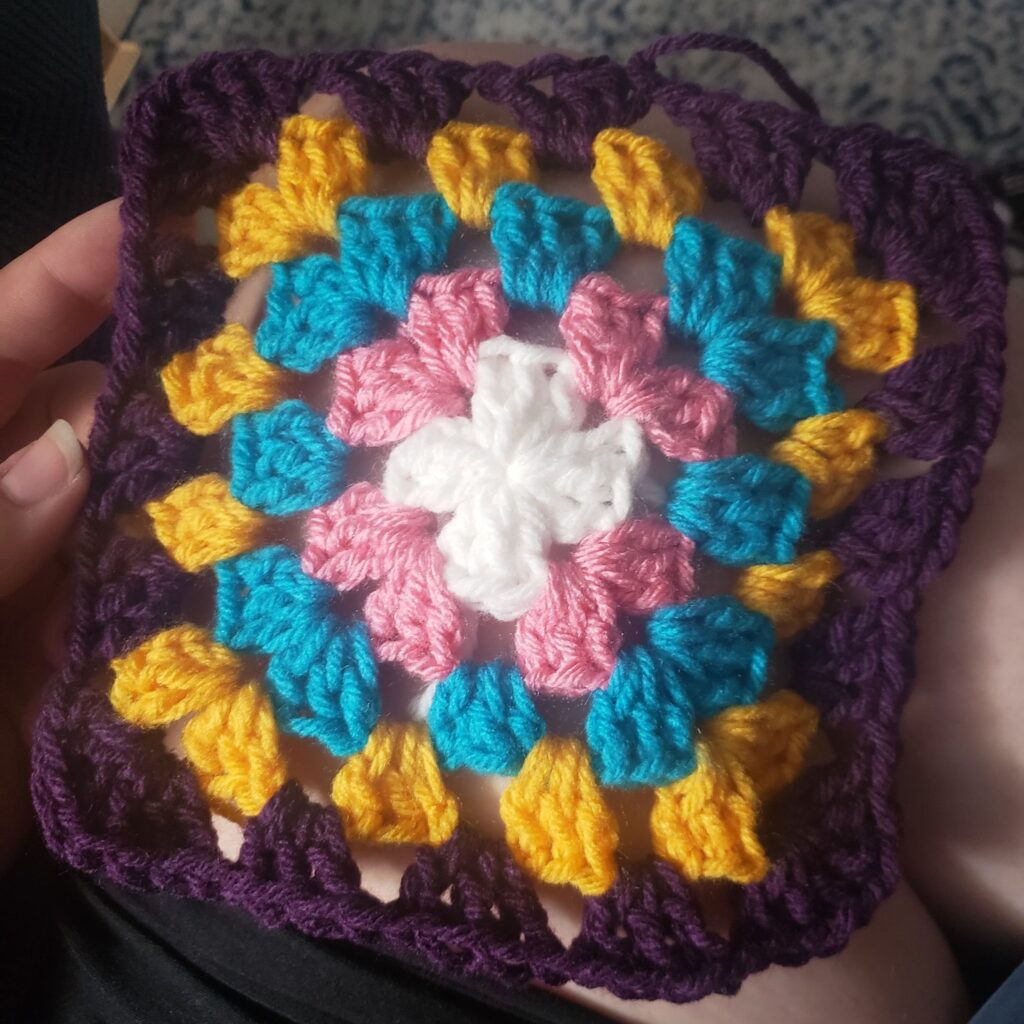
Each 5-round granny square measures 5.5″
Finished Size
Fits a 12″ x12″ pillow insert
Stitch Abbreviations (US Terminology)
- ch – Chain
- dc – Double Crochet
- GS – Granny Stitch
- sc – Single Crochet
- sl st – Slip Stitch
Special Stitches
GS – Granny Stitch: 3 dc worked in the same stitch followed by a ch-1
Pattern Notes
- There are many different ways to start a granny square (ex: magic circle), you may choose to begin Round 1 with a method you are more comfortable with.
- Ch 3 at the beginning of a round does count as a dc.
- Round 1 explains how to create a granny stitch, and then is marked as GS in subsequent rounds.
- For a solid colored pillow, do not change colors each round. For a looser look, you may chose to ch 2 instead of ch 1 between clusters.
- This pillow is made by creating 2 panels each with 4 granny squares seams together with the mattress stitch bordered with a round of the granny stitch. The 2 panels are joined together using the granny stitch as well.
- If you tend to have loose tension when you crochet, you may need to go down a hook size to make this 12″ square pillow, or simply buy a bigger pillow insert to make your finished size.
Instructions
Step 1: Make 8 Granny Squares
Round 1: With Color A: Ch 4, 2 dc in 3rd ch from hook, ch 1, *3 dc in same ch as before, ch 1* 3 times, sl st to top of ch 4. Fasten off.
Round 2: Insert hook in any ch-1 sp, pick up Color B, ch 3, dc, ch 1, GS in same ch-1 sp, work 2 GS in each ch-1 sp around, dc in first ch-1 sp, sl st to top of ch 3. Fasten off.
Round 3: Insert hook in any ch-1 sp along the side of your, pick up Color C, ch 3, dc, ch 1, work 2 GS in each corner, work 1 granny square in each ch-1 space along the sides, dc in first ch-1 sp, sl st to top of ch 3. Fasten off.
Round 4: Insert hook in any ch-1 sp along the side of your, pick up Color D, ch 3, dc, ch 1, work 2 GS in each corner, work 1 GS in each ch-1 space along the sides, dc in first ch-1 sp, sl st to top of ch 3. Fasten off.
Round 5: Insert hook in any ch-1 sp along the side of your, pick up Color c, ch 3, dc, ch 1, work 2 GS in each corner, work 1 GS in each ch-1 space along the sides, dc in first ch-1 sp, sl st to top of ch 3. Fasten off.
Weave in ends
Watch my video tutorial on working up a Granny Square
Step 2: Join 4 Granny Squares Together with Mattress Stitch
- Thread yarn needle with the Color E.
- Line up the two edges of the squares, ensuring the corresponding stitches on each square are matched up.
- Starting at the first stitch at the bottom of one square, insert the needle from the WS to RS
- Find the corresponding stitch of the other square, insert the needle from WS to RS
- Continue sewing back and forth from the WS to RS between both squares to the end.
- When finished sewing the first two squares together, continue sewing the other two squares together in the same manner.
- Weave in ends
- With another length of Color E, seam the squares together horizontally.
- Create a second panel by repeating Steps 1-9 with the remaining squares
Watch my video tutorial on the Mattress Stitch
Step 3: Work a Border for each Panel
- With Color E, work another granny square round around each panel,
- working 1 GS in each ch-1 space along the sides and 2 GS in each corner
Step 4: Join Panels Together with Granny Stitch
- With WS held together, work another granny square round around both panels
- Insert your pillow into the cover before stitching together the final side.
- Fasten off & weave in all ends.
Watch my video tutorial on joining a Granny Stitch Border.
The Fine Print
This pattern and its images are the property of Juniper and Oakes ©2023. The pattern is for your personal use only. Please do not copy/paste, distribute, or alter and claim as your own. You may sell products made by this pattern, but please credit @juniperandoakes and remember to link back to juniperandoakes.com or credit Juniper & Oakes on the craft fair tag.
You may post pictures on social media and tag @juniperandoakes and use the hashtags #juniperandoakes and #jaobookmark. If you make this pattern, please email a picture to [email protected] and I will include it in a gallery on my website. You can also post pictures on my Facebook Page, or in the Juniper + Oakes Crochet Community Facebook Group.
This post may contain affiliate links. View our disclosure policy here.
Let me know if you run into a problem. I respond quickly and will help any way I can to clarify any confusion or challenging stitches.
Purchase the Ad-Free Pattern
This pattern has been provided to you for free on this website. However, it may be easier and more enjoyable to purchase a beautifully-designed, ad-free pattern. You may print it or save it in your digital files for later use.


