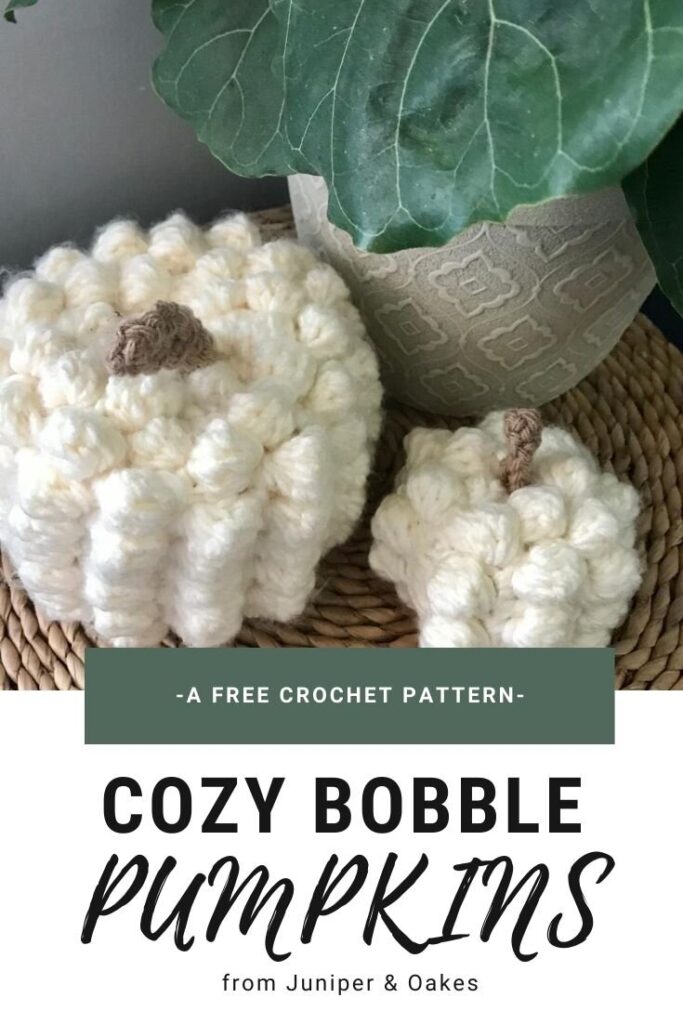
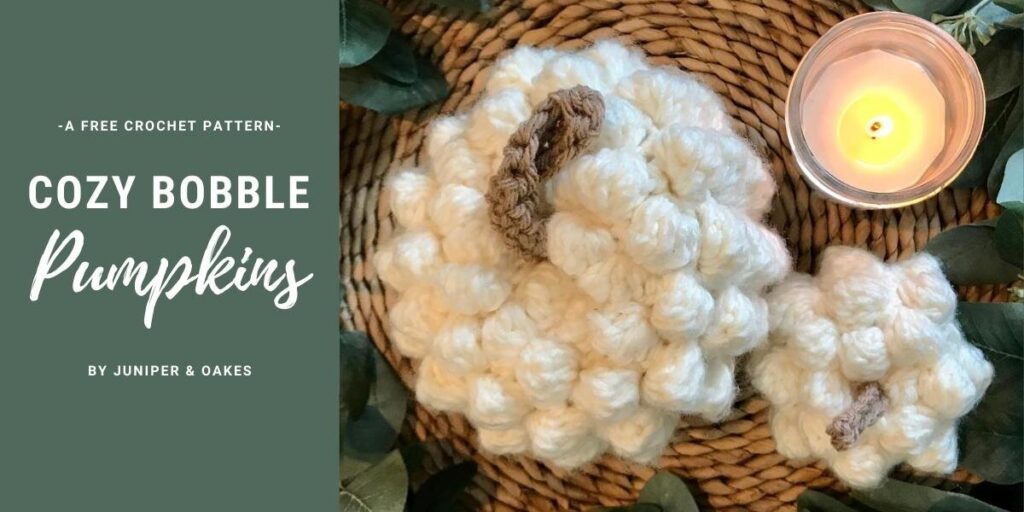
Cozy Bobble Pumpkin – FREE Crochet Pattern
It may be still stifling hot here in East Tennessee, but Starbucks has come out with their seasonal pumpkin spiced lattes, so I am over here making PUMPKINS!
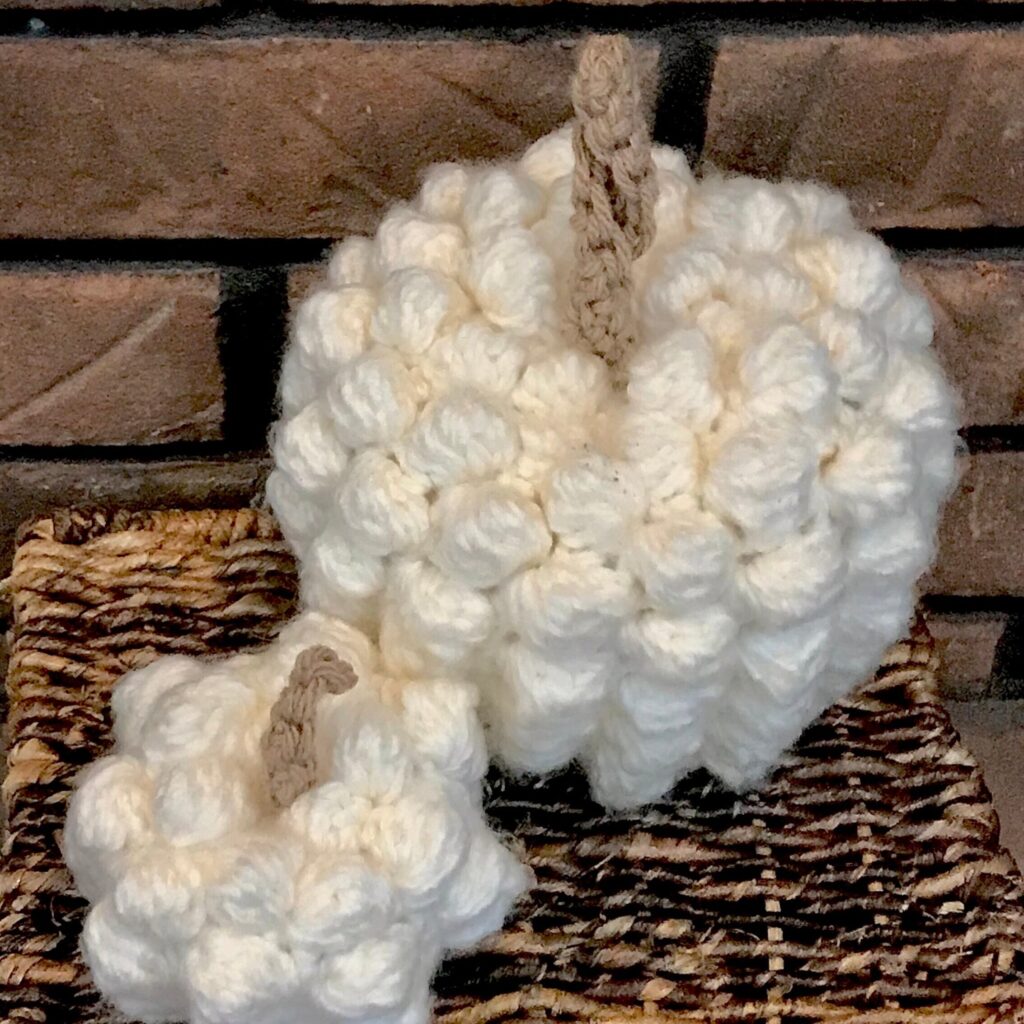
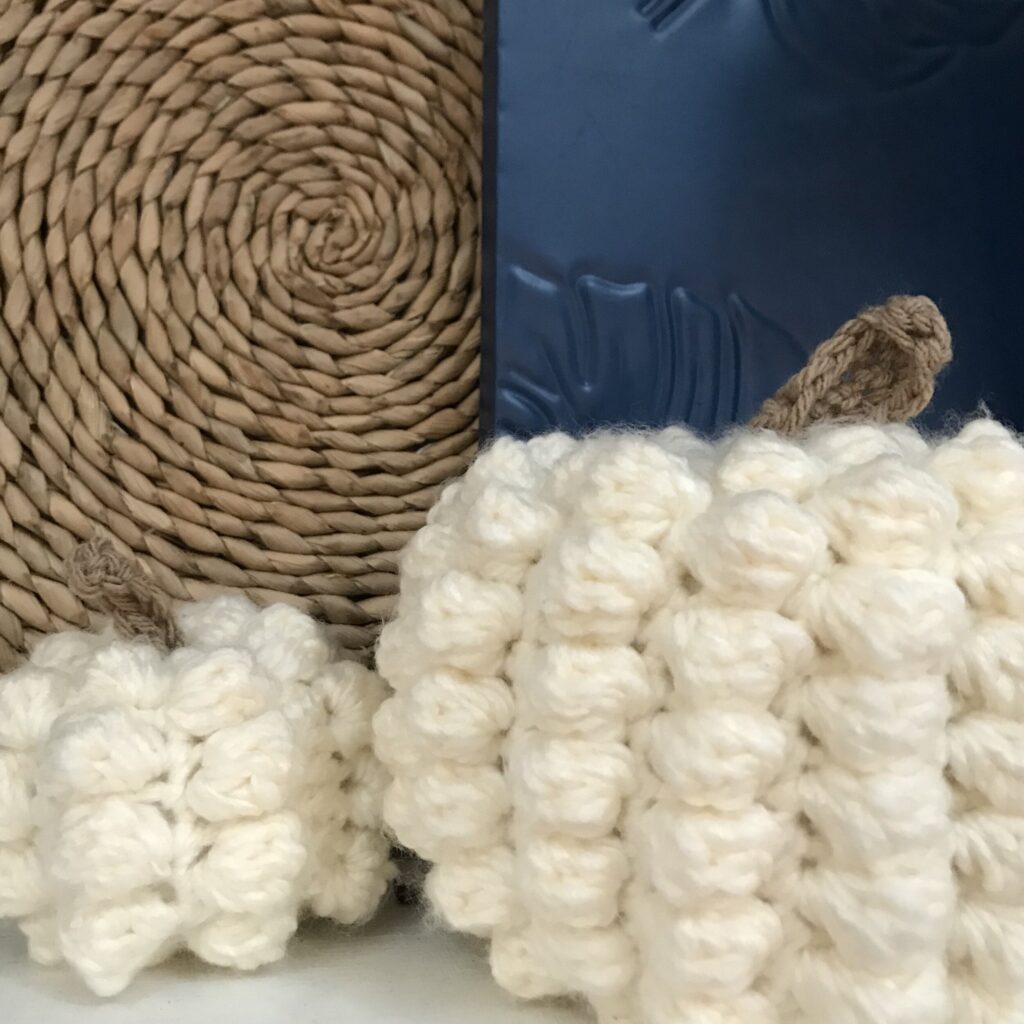
These pumpkins are so fun to make! Using the popular bobble stitch, they work up quickly and add some unique texture and autumn cheer to any centerpiece or mantel.
This post contains affiliate links. While I may receive compensation when you purchase and item from a link, your price doesn’t change and all recommendations are my own. See affiliate disclosure policy.

(This pattern is also available in an ad-free printable .PDF file for only $3.50. It can be downloaded instantly from Etsy or Ravelry.)
30 Days of Cozy 2020
This pumpkin pattern was part of a blog hop in 2020, called 30 Days of Cozy, hosted by Made With A Twist. It was also in the blog hop called the Best of 30 Days of Cozy. I feel so honored!
Pumpkin Palooza Blog Hop 2022
The Cozy Bobble Pumpkin crochet pattern was also a featured pattern in the 2022 Pumpkin Palooza Blog Hop & Bundle Sale hosted by Pineapple & Pine.
Featured Pattern
Before we move on, I wanted to announce that this week the “Georgia Tapestry” wall hanging crochet pattern is now available on Etsy or Ravelry.
Written Instructions
Skill Level: Easy/Advanced Beginner
Materials
Yarn: Bulky (5), I used Hobby Lobby I Love This Chunky “Sand Frost”
- Color 1: Approximate 25-105 yards
- Color 2: Just a few feet of yarn in a different color for the stem
- Optional: in place of a yarn stem, many people choose to use a stick, ribbon, or even cinnamon sticks
Hook: J/10 – 6.0mm
Yarn needle – the longest one you’ve got
Polyfil (or similar)
Gauge
Measuring gauge is not important for this pattern. Making the pumpkins in differing sizes adds to the look that these pumpkins were plucked from the patch.
Finished Size
5″x6” (L) or 3″x4” (S)

Stitch Abbreviations (US Terminology)
- Bo – bobble
- Ch – Chain
- dc – double crochet
- RS – Right Side
- Sc – Single Crochet
- Sl st – slip stitch
- WS – Wrong Side
Special Stitches
Bobble Stitch (bo): Created by working a cluster of 5 partial dc in the same stitch without finishing individual dc. See images.
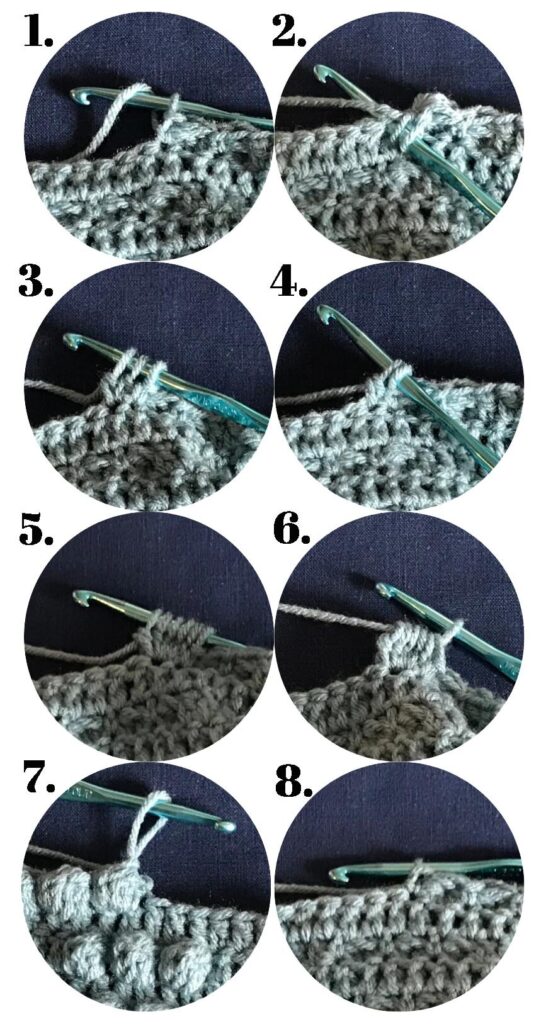

Yarn over.
Insert hook in next stitch, yarn over.
Pull through stitch (3 loops on hook).
Yarn over and pull through 2 loops to complete 1st partial dc (2 loops on hook).
[Yarn over to start next partial dc, insert hook in SAME stitch, yarn over & pull through stitch, yarn over & pull through 2 loops to complete 2nd partial dc (3 loops on hook)]*repeat until 6 loops on hook.
With color A, yarn over and pull through all 6 loops.
- This completes 1 bobble stitch (bo), making the bobble pop out on the opposite side of your work. In this pattern all bo are followed by a hdc in between the next stitch.
Pattern Notes
US Terminology
When a row begins with CH1, the ch does not count as a st.
When the row begins with CH2 or CH3, it does count as a st.
Pattern is worked for large size with smaller size in parenthesis ( ).
Pumpkin is worked from the side across. A large rectangle is made and one side is seamed closed before filling the pumpkin with polyfil and seaming closed. A crocheted stem is added.
Adding or subtracting rows will change the shape of the pumpkin. You may choose to experiment to find the look you like. The same can be said about changing the size of the yarn and hook.
For the stem, you may choose to tie some ribbon or insert a stick for a different look.

Pattern
Body
Make a slip knot and leave a long tail.
Ch 22 (12)
Row 1:(RS) Sc in 2nd ch from hook, sc across. Turn. — 21(11)
Row 2: (WS) Ch. 3 [bo in next, sc in next] x10(5) — 21 (11)
Row 3: (RS) Ch. 2, turn. sc across — 21 (11)
Row 4: (WS) Ch. 1, turn. [bo in 1st, sc in next] x10(5), Dc in last stitch– 21 (11)
Row 5: (RS) Ch. 2, turn. Sc across — 21 (11)
Row 6-32 (16): [Repeat rows 2-5] x 7 (3) , ending with a row of bobbles
Row 33 (17): Ch.1 turn, sl st across — 21 (11)
Do not fasten off.

Stem
With second color of yarn, Ch 11 (6).
Row 1: Sc in 2nd ch from hook, sc across –10 (5, skip rows 2&3 for small)
Row 2: turn ch 1, sc across
Row 3: do not turn, sc around the edge and back to starting knot.–21 (11)
Fasten off leaving a long tail.
Assembly
Fold the pumpkin in half so that the bobbles face inward.
Join row 33 (17)to row 1 with sl st across.
Fasten off leaving a long tail.
Flip so the seam is on the inside.
With yarn needle, weave tail along one edge around.
Pull the tail tight to close the pumpkin.
- Sew yarn across the cinch in a couple different directions to reinforce closure.
- Fasten off and leave tail on inside of pumpkin.
- Stuff pumpkin with Polyfil.
- Repeat steps 5-7 on the open side.
- To give more shape and indent the pumpkin, push yarn needle down through the center of the pumpkin and weave from top to bottom 5 times
- Tie a knot, and weave in the ends.
- With yarn needle, separately attach each end of stem to top of the pumpkin, and push yarn needle to the bottom through the center of the pumpkin.
- Tie a knot, weave ends into center to hide.

Purchase the Ad-Free Pattern
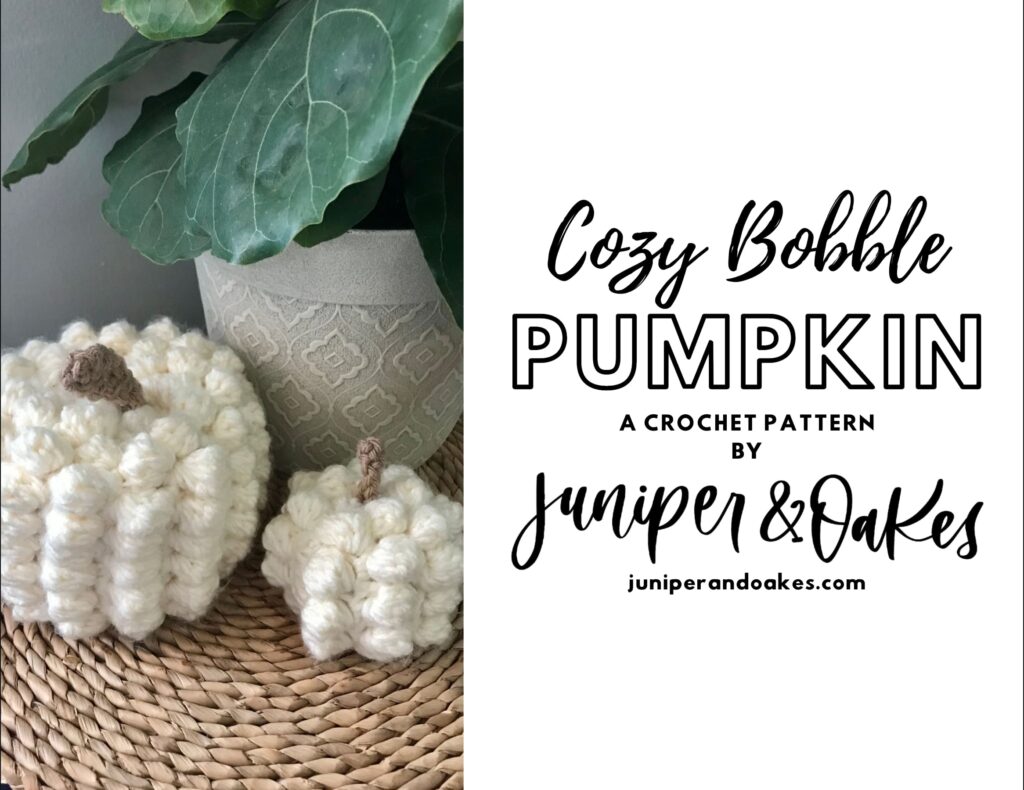
This cozy bobble pumpkin pattern has been provided to you for free on this website. However, it may be easier and more enjoyable to purchase a beautifully-designed, ad-free pattern. You may print it or save it in your digital files for later use.
The Fine Print
This pattern and its images are the property of the Juniper and Oakes ©2020. The pattern is for your personal use only. Please do not copy/paste, distribute, or alter and claim as your own.
You may sell products made by this pattern, but please credit @juniperandoakes and link back to juniperandoakes.com or credit Juniper & Oakes on the craft fair tag.
If you make this pattern, please email a picture to [email protected] and I will include it in a gallery on my website.You may post pictures on social media and tag @juniperandoakes and use the hashtag #juniperandoakes. You can also post pictures on my Facebook Page, or in the Juniper + Oakes Crochet Community Facebook Page.
I would love for this pattern to be included in your round-up. Please ask for my permission to use a photo, and please link back to this post. Also, share the link to your round-up post with me so I can promote it as well. Thank you!
Let me know if you run into a problem. I respond quickly and will help any way I can to clarify any confusion or challenging stitches.


