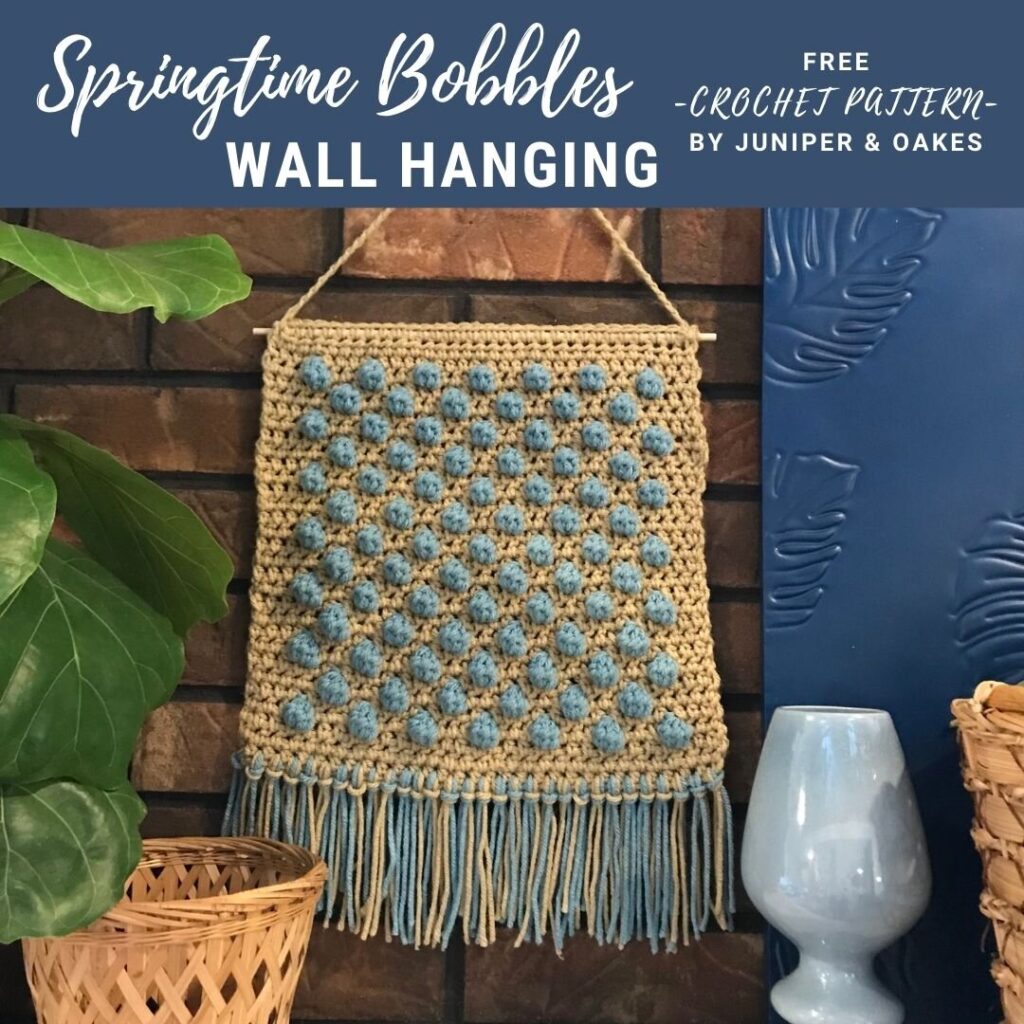
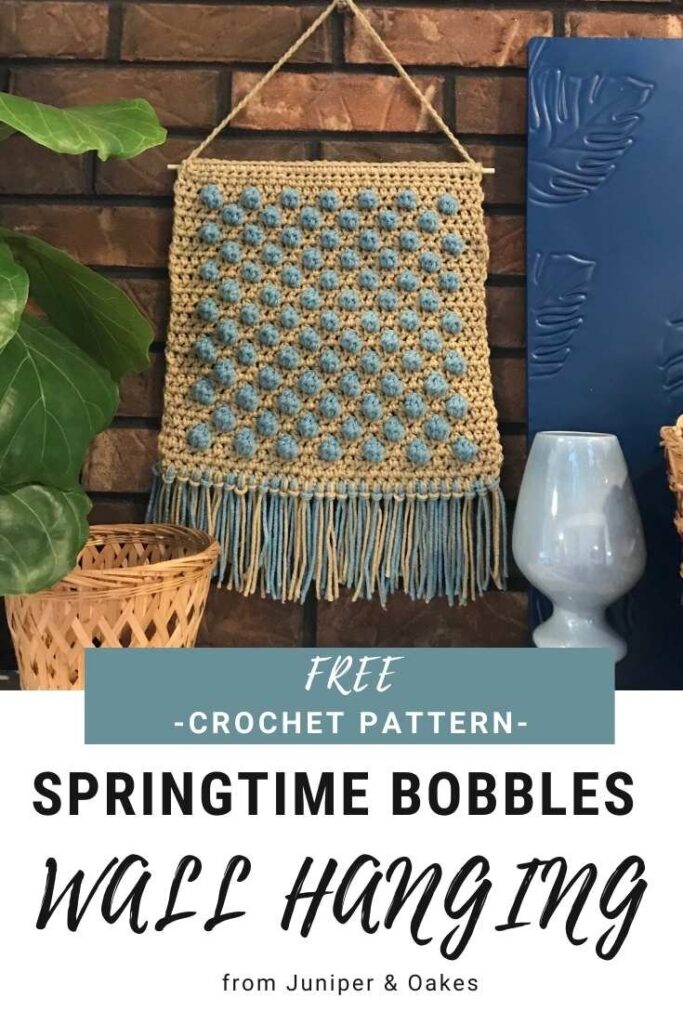
Springtime Bobbles Wall Hanging – Crochet Pattern
I just love the springtime, don’t you? I love the feeling of a fresh start, the fresh air, and the beautiful new flowers. Daffodils are popping up where I love, and my 4-year-old son is picking me bouquets of dandelions like he’s my own little gentleman caller. So sweet!
This post includes affiliate links. View our disclosure policy here.

This pattern is also available in an ad-free printable .PDF file for only $3.50.
It can be downloaded instantly from Etsy or Ravelry.
The pops of color that are showing up everywhere make my heart flutter! I LOVE SPRING!
I thought that my newest pattern, the Springtime Bobbles Wall Hanging, was perfect to roll out as the first day of spring is this weekend! The pops of color bobbles remind me of all the flowers and leaf buds that are popping up out of the brown and gray shadows of winter.
Springtime Crochet Blog Hop 2021
On March 19th 2021, this pattern was featured in the Springtime Crochet Blog Hop hosted by Crochets by Trista.
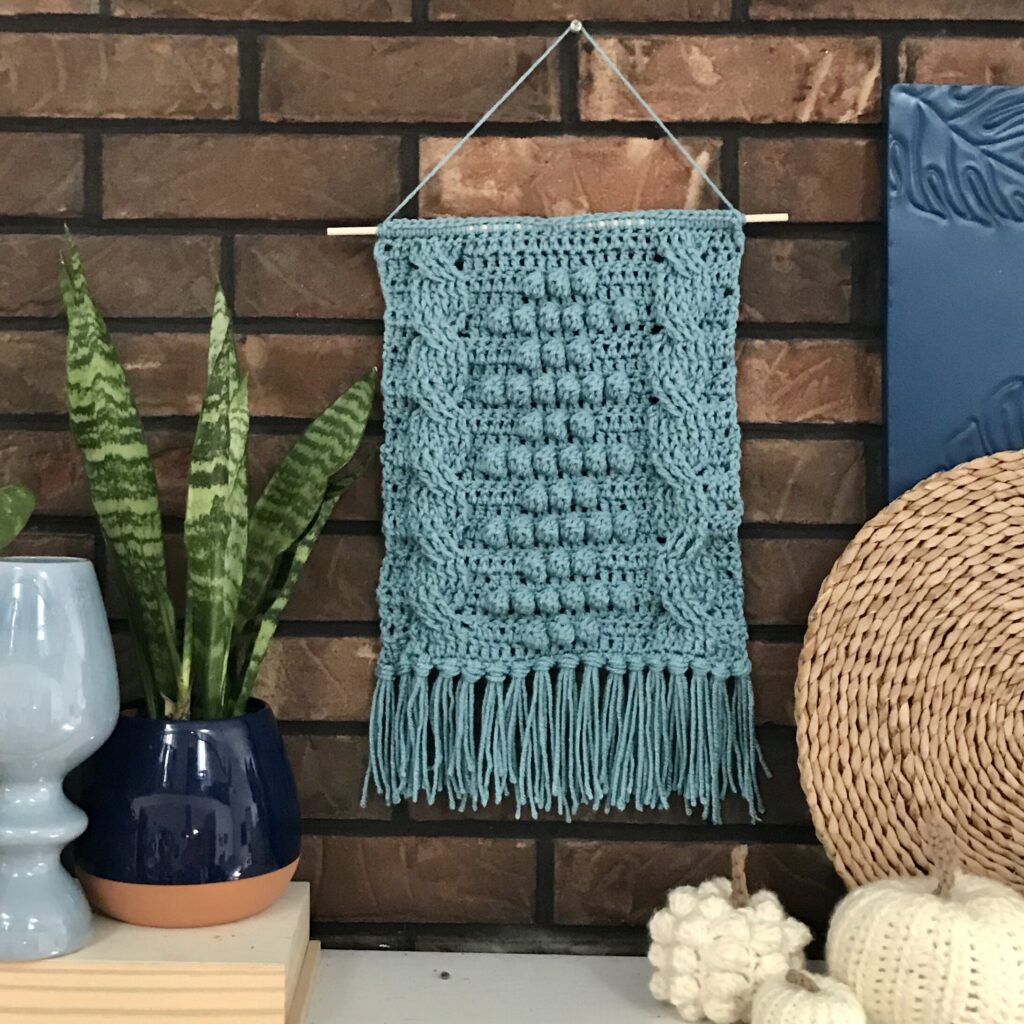
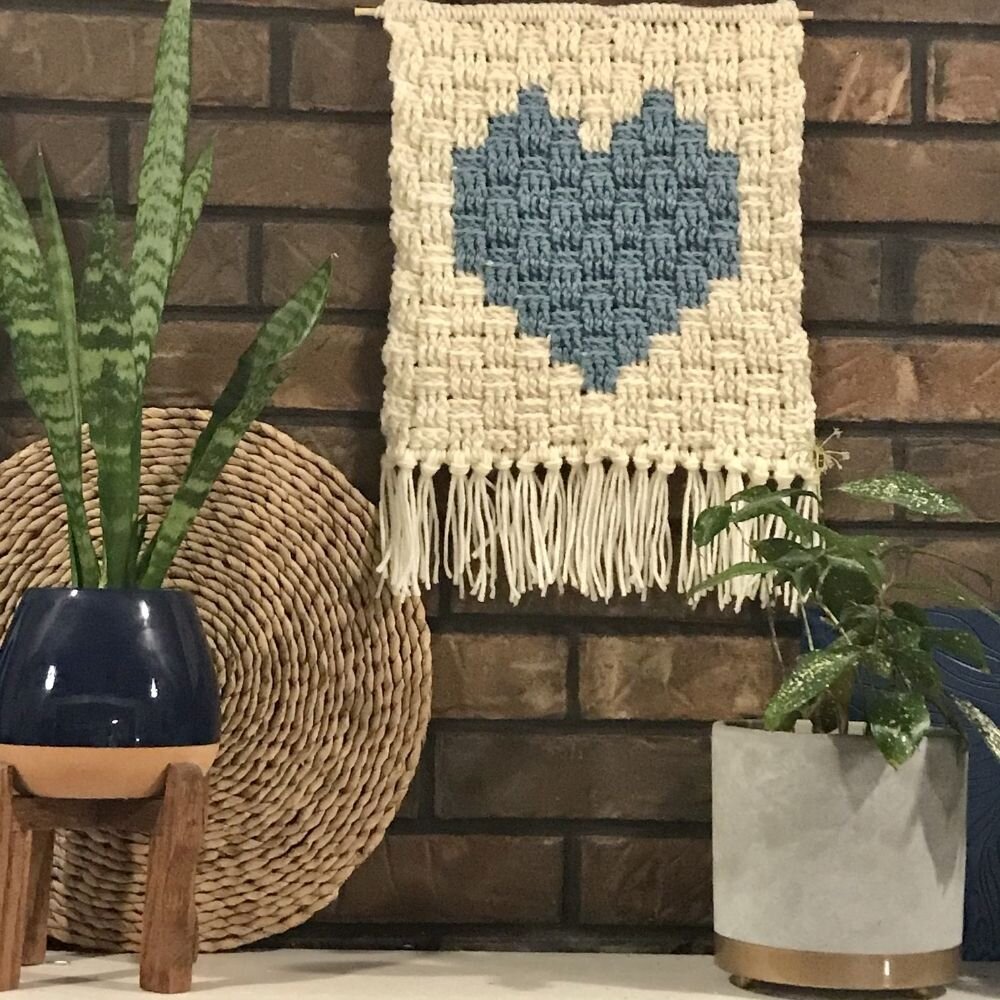
Please check out my other crochet patterns. I’m sort of the queen of wall hangings, and I have a couple others for you to check out. Click the pictures to view the pattern posts and click the buttons to view on Ravelry.
Springtime Bobbles Wall Hanging
This pattern is also available in an ad-free printable .PDF file for only $3.50.
It can be downloaded instantly from Etsy or Ravelry.
Please share any WIP photos on social media by tagging @juniperandoakes
#juniperandoakes / #jaospringtimebobbles.
Written Instructions
Skill Level: Advanced Beginner
Materials
Yarn: Worsted (4) (like this or this)
Color A: approx 110 yards
Color B: approx 65
Hook: J/10 – 6.0mm
Wooden dowel or stick (12“ long x ⅛” in diameter)
Gauge
12 stitches x 11 rows in 4″x4” square
Stitch used to obtain gauge = HDC between each stitch
Finished Size
Approximately 12” x 15” without handing cord
Stitch Abbreviations: (US Terminology)
- bo – Bobble
- ch – Chain
- hdc – Half Double Crochet
- RS – Right Side
- sc – Single Crochet
- st – Stitch
- WS – Wrong Side
Special Stitches
Half Double Crochet between the posts: yarn over, insert hook under all three loops, in between the hdc stitches of the previous row, yarn over pull back through, yarn over, pull through all three loops left on hook. Make sure you work the last hdc stitch in between the final hdc post and turning chain.
Here’s a video tutorial for this stitch:
Bobble Stitch (bo): Created by working a cluster of 5 partial dc in the same stitch without finishing individual dc.
Yarn over.
Insert hook in next stitch, yarn over.
Pull through stitch (3 loops on hook).
Yarn over & pull through 2 loops to complete 1st partial dc (2 loops on hook).
[Yarn over to start next partial dc, insert hook in SAME stitch, yarn over & pull through stitch, yarn over & pull through 2 loops to complete 2nd partial dc (3 loops on hook)]*repeat until 6 loops on hook.
With color A, yarn over & pull through all 6 loops.
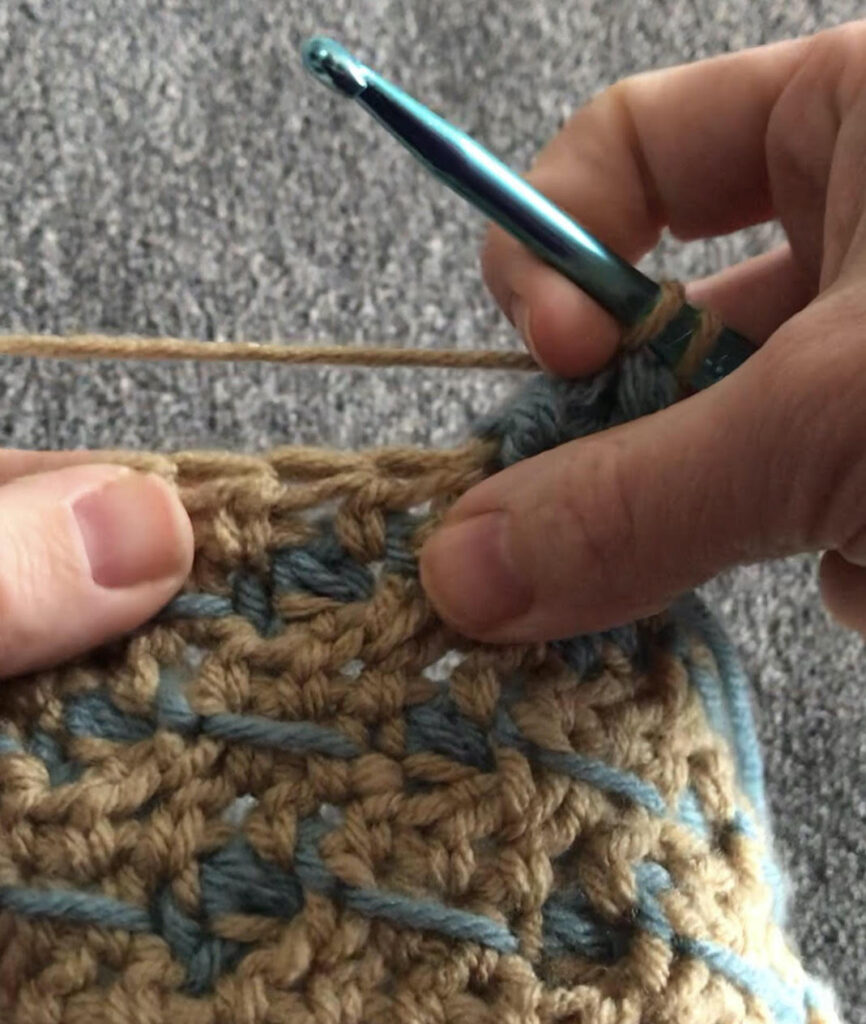
This completes 1 bobble stitch (bo), making the bobble pop out on the opposite side of your work.
In this pattern all bo are followed by a hdc in between the next stitch.
(The printable pattern in my shop a step-by-step instructions including pictures on how to make the bobble.)
Video Tutorial of the color change
Pattern Notes
US Terminology
- When the row begins with ch 1, it does not count as a st.
- When changing colors, drop the previous color so the tail hangs on the WS, and pick it back up for the next color change. All color changes happen on the WS so it doesn’t need to look pretty. See picture of my WS.
- Work the stitches between the *asterisks*, then repeat as specified.
- Row 4 has 7 bobbles, Row 6 has 6 bobbles.
Work each bobble stitch into the stitch as normal, not between the posts as with the other hdc of this design.

Pattern
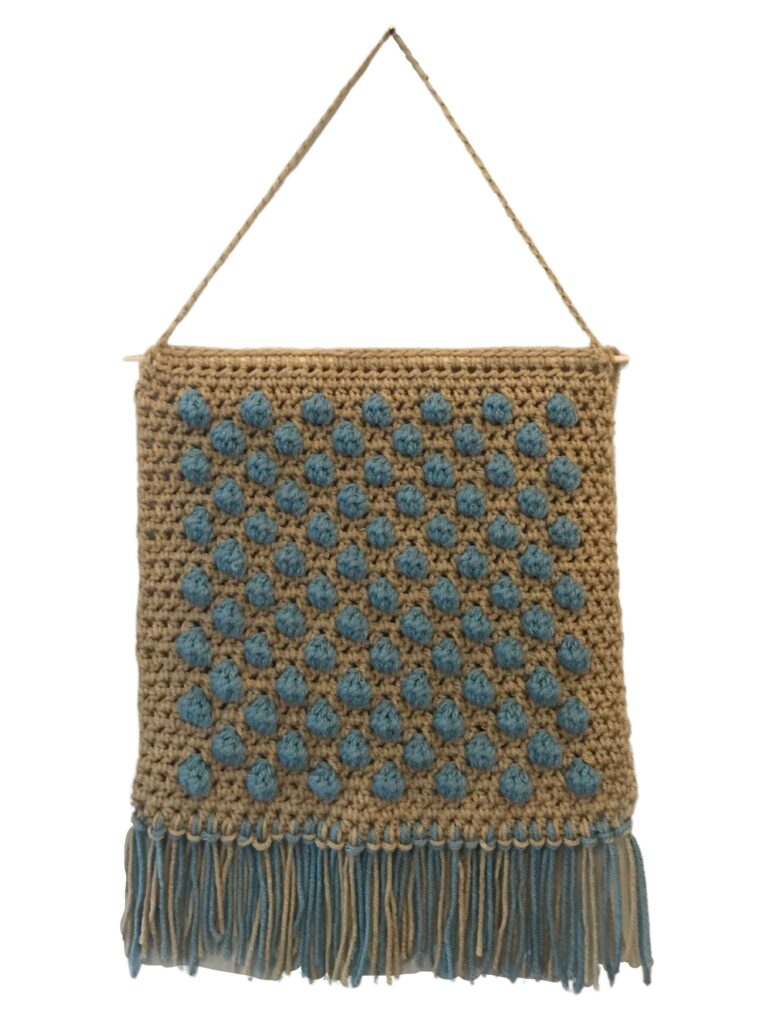

Body
Ch 32
Row 1: hdc in 2nd from hook, hdc across. (31)
Row 2-3: ch 1, turn, hdc between each st across. (31)
Row 4 (WS): ch 1, turn, hdc between next 3 sts, *change to Color B, bobble, change to Color A, hdc between next 3 sts* repeat 6 more times. (31)
Row 5 (RS): ch 1, turn, hdc between each st across. (31)
Row 6 (WS): ch 1, turn, hdc between next 5 sts, *change to Color B, bobble, change to Color A, hdc between next 3 sts,* repeat 5 more times, hdc between next 2 sts. (31)
Row 7 (RS): ch 1, turn, hdc between each st across. (31)
Row 8-29: Repeat Rows 4-7
Row 30-31: ch 1, turn, hdc between each st across. (31)
Do not fasten off.
Connecting to dowel/stick
- Starting at the end of Row 31, ch 1, turn.
- SC in each st around the dowel. (31)
- Fasten off. (skip if adding a hanging cord)
Hanging Cord (optional)
Continue on after connecting to dowel.
Ch 45.
Fasten off.
Tie end to the opposite end of dowel.
Fringe (30 in total)
- Cut 60 strands of yarn approximately 8 inches in length.
- Group 2 strands together. Fold in half.
- Feed fold through first hdc at bottom of tapestry, front to back.
- Tuck ends through fold and pull tight.
- Repeat steps 2-5 across.
- Trim ends if needed. Weave in all ends.
Purchase the Ad-Free Pattern
The Springtime Bobbles Wall Hanging pattern has been provided to you for free on this website. However, it may be easier and more enjoyable to purchase a beautifully-designed, ad-free pattern. You may print it or save it in your digital files for later use.
The Fine Print
This pattern and its images are the property of Juniper and Oakes ©2021. The pattern is for your personal use only. Please do not copy/paste, distribute, or alter and claim as your own. You may sell products made by this pattern, but please credit @juniperandoakes and remember to link back to juniperandoakes.com or credit Juniper & Oakes on the craft fair tag.
If you make this pattern, please email a picture to [email protected] and I will include it in a gallery on my website. You may post pictures on social media and tag @juniperandoakes and use the hashtag #juniperandoakes, #jaospringtimebobbles and #jaoinreallife. You can also post pictures on my Facebook Page, or in the Juniper + Oakes Crochet Community Facebook Page.
Let me know if you run into a problem. I respond quickly and will help any way I can to clarify any confusion or challenging stitches.

