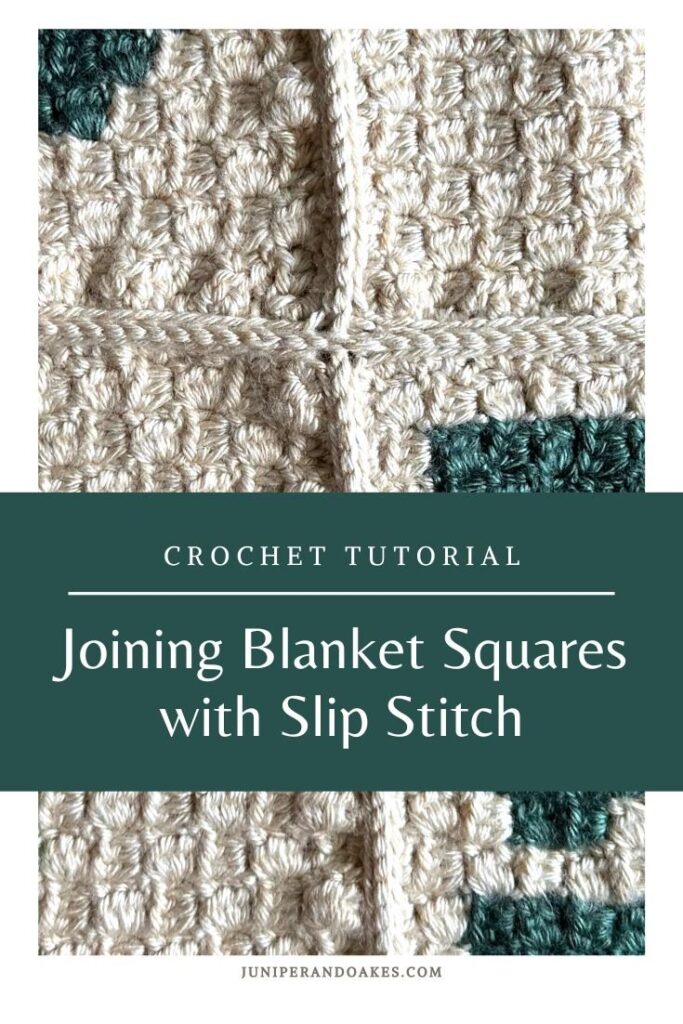
How to Join C2C Crochet Blanket Squares With a Slip Stitch
So, crochet enthusiast, you’ve finished making all of your squares or afghan blocks for the crochet blanket, and now you are ready to seam them all together.
Today, I’m excited to share with you a comprehensive tutorial on seaming crochet blanket squares together using slip stitches through the back loops only. Seaming is an essential skill for any crocheter, as it brings individual squares together to create a beautiful and cohesive blanket. So, let’s grab our crochet hooks and get started on this fun and useful technique!
This post may include affiliate links. View our disclosure policy here.
Don’t need to use this right now? Pin it for later!

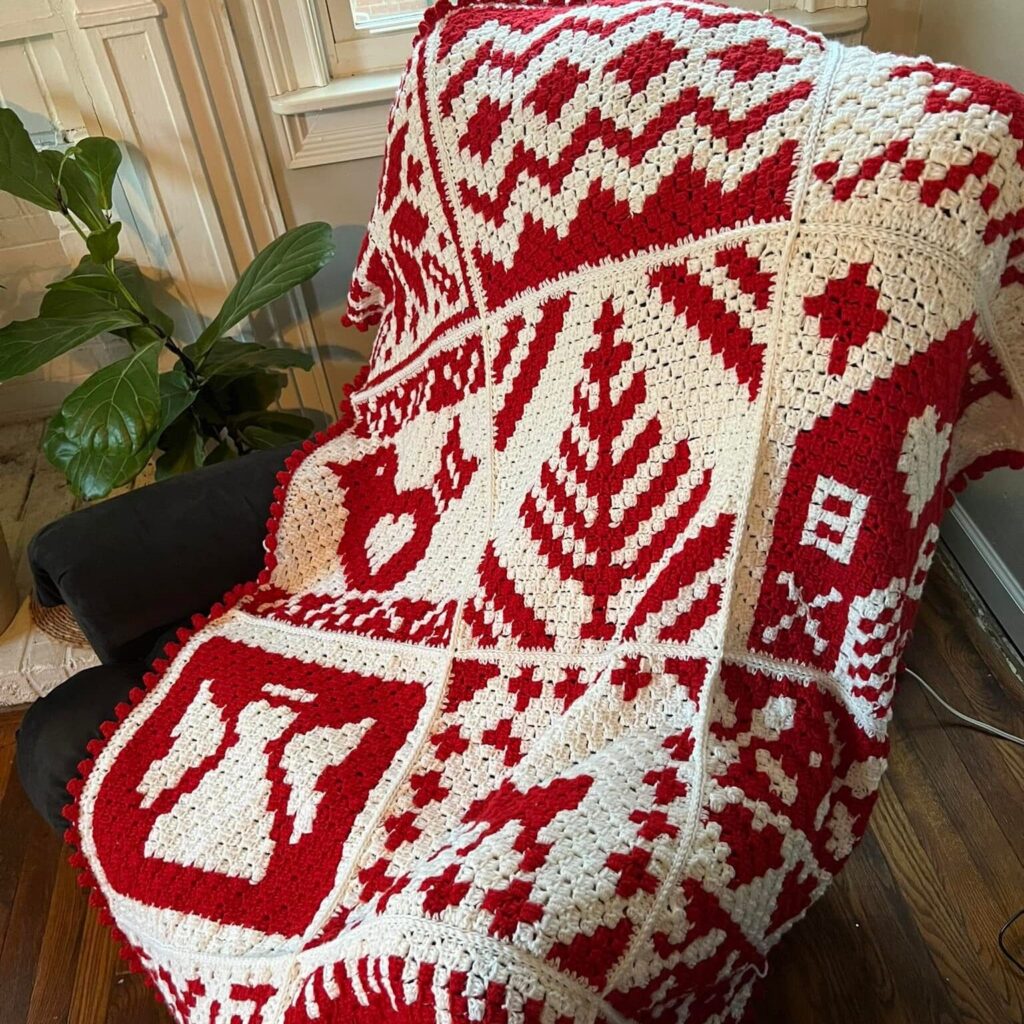
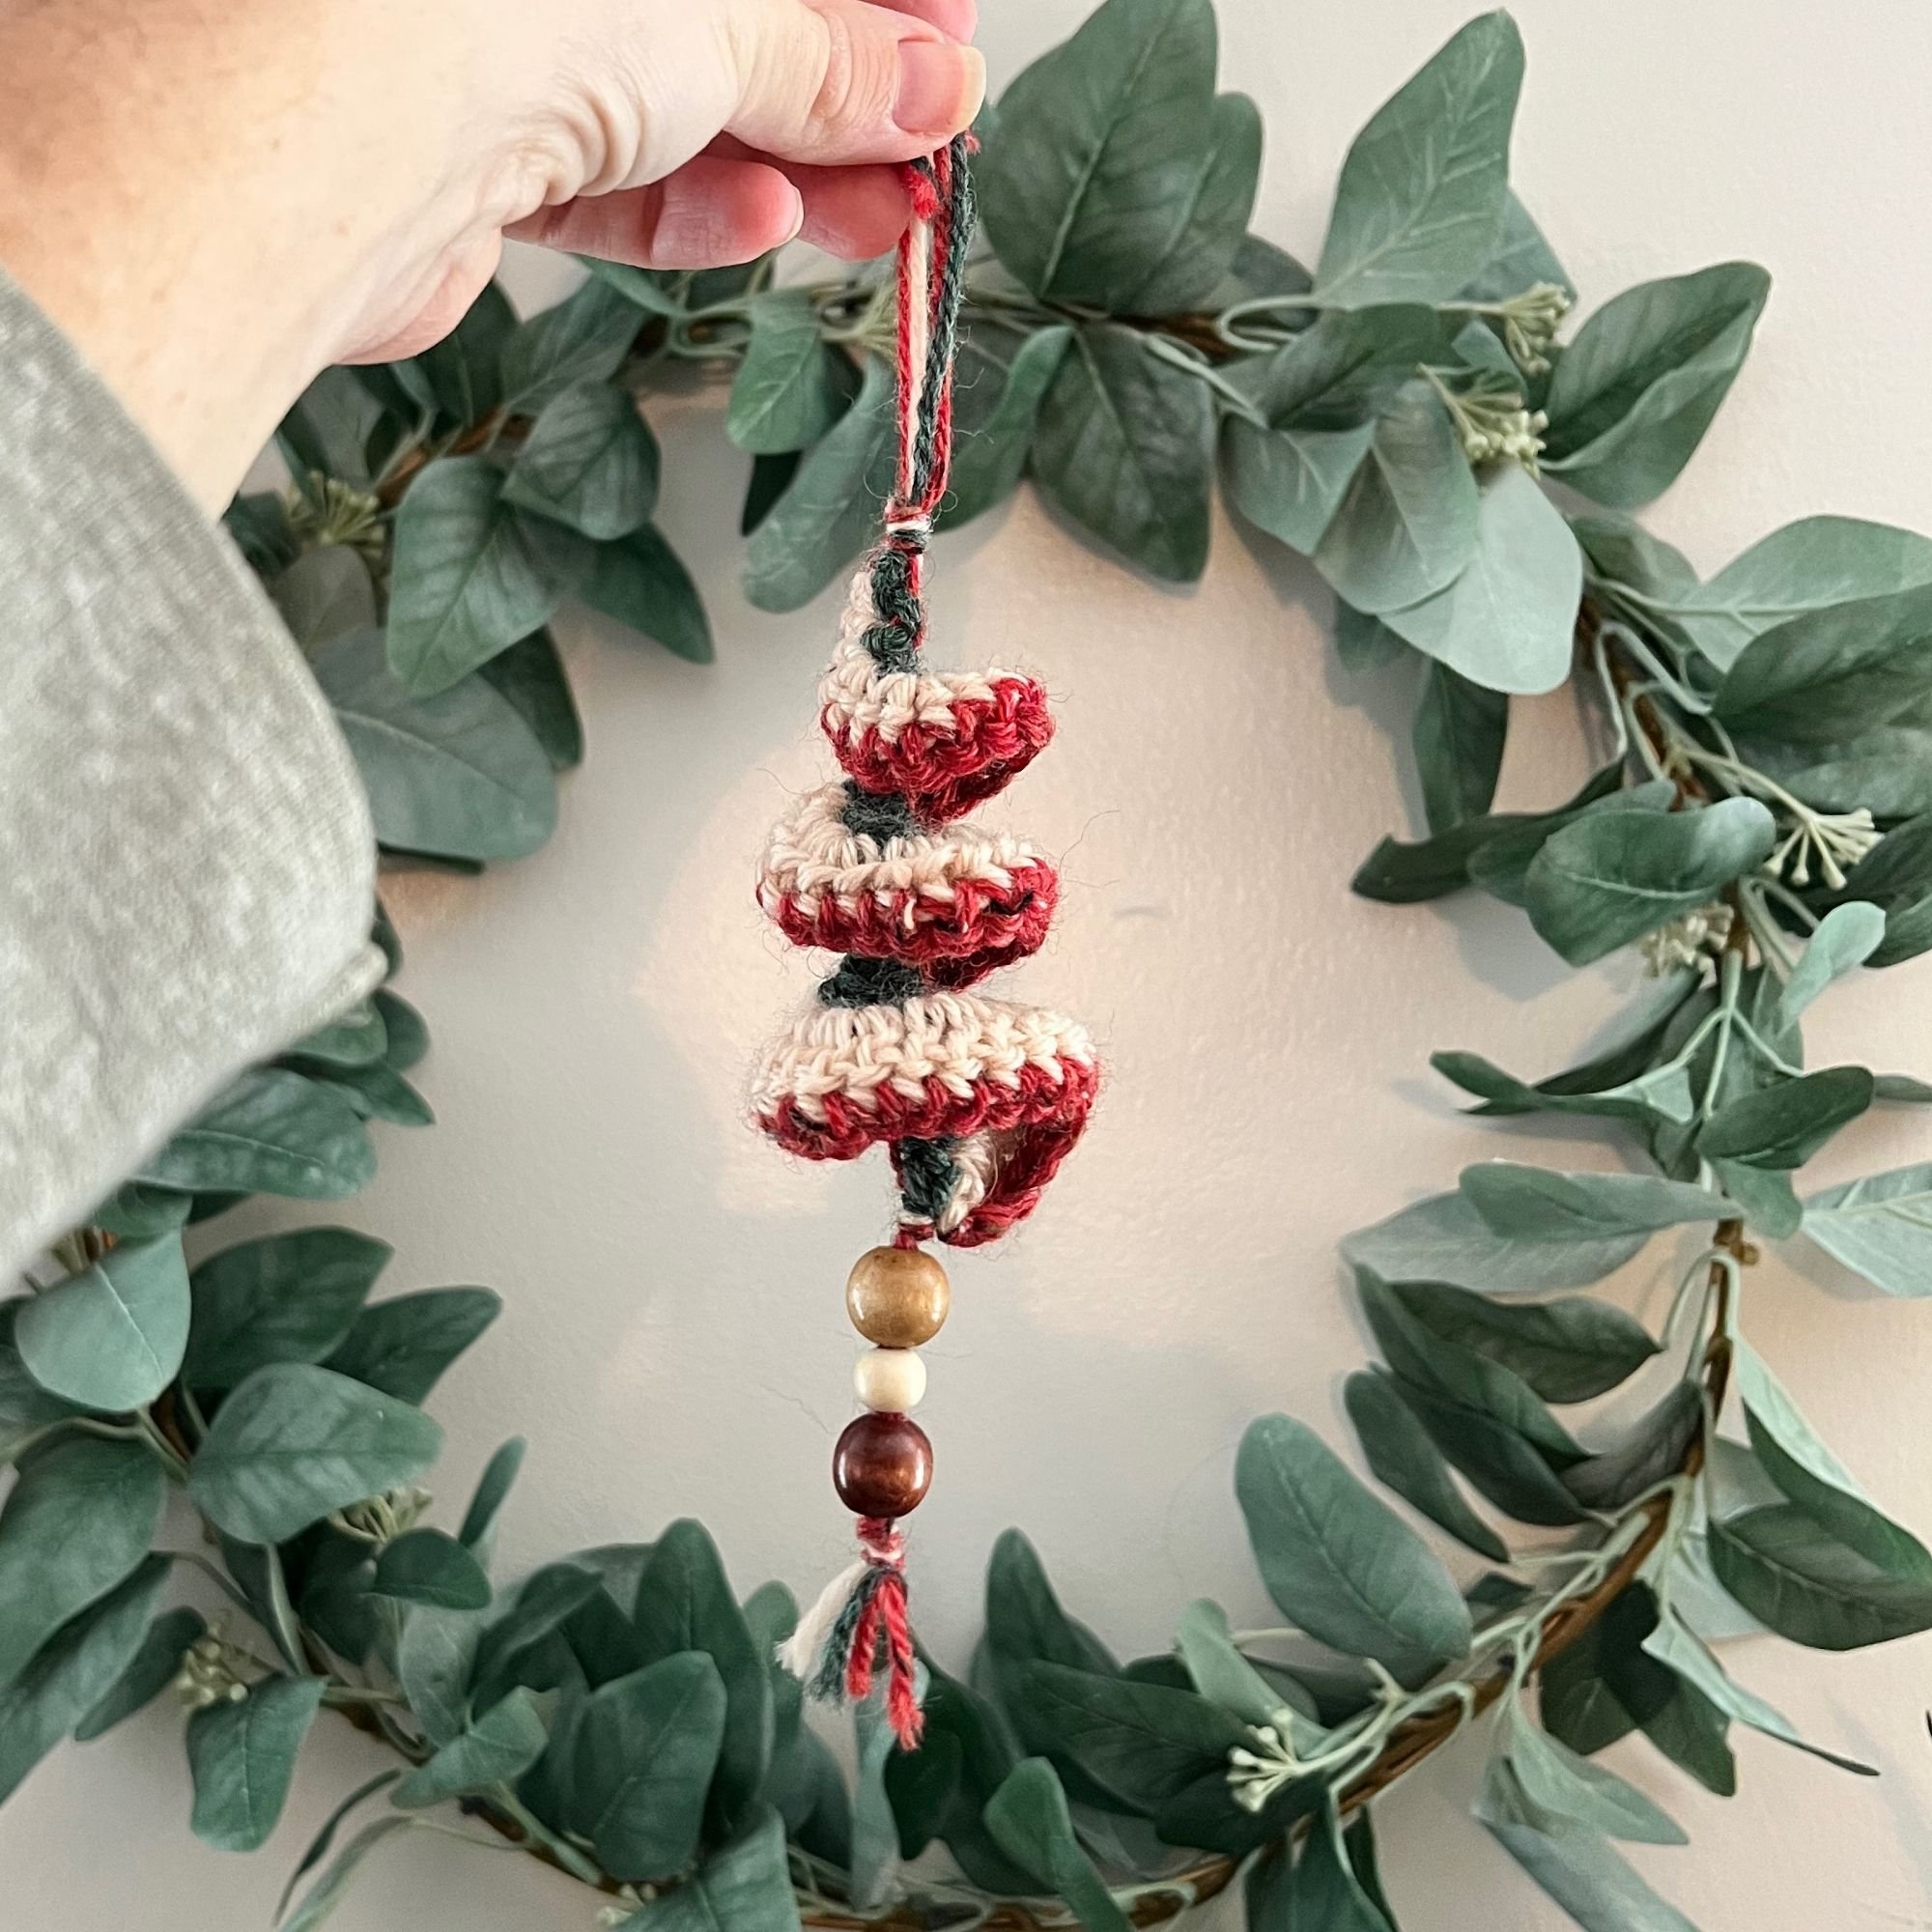
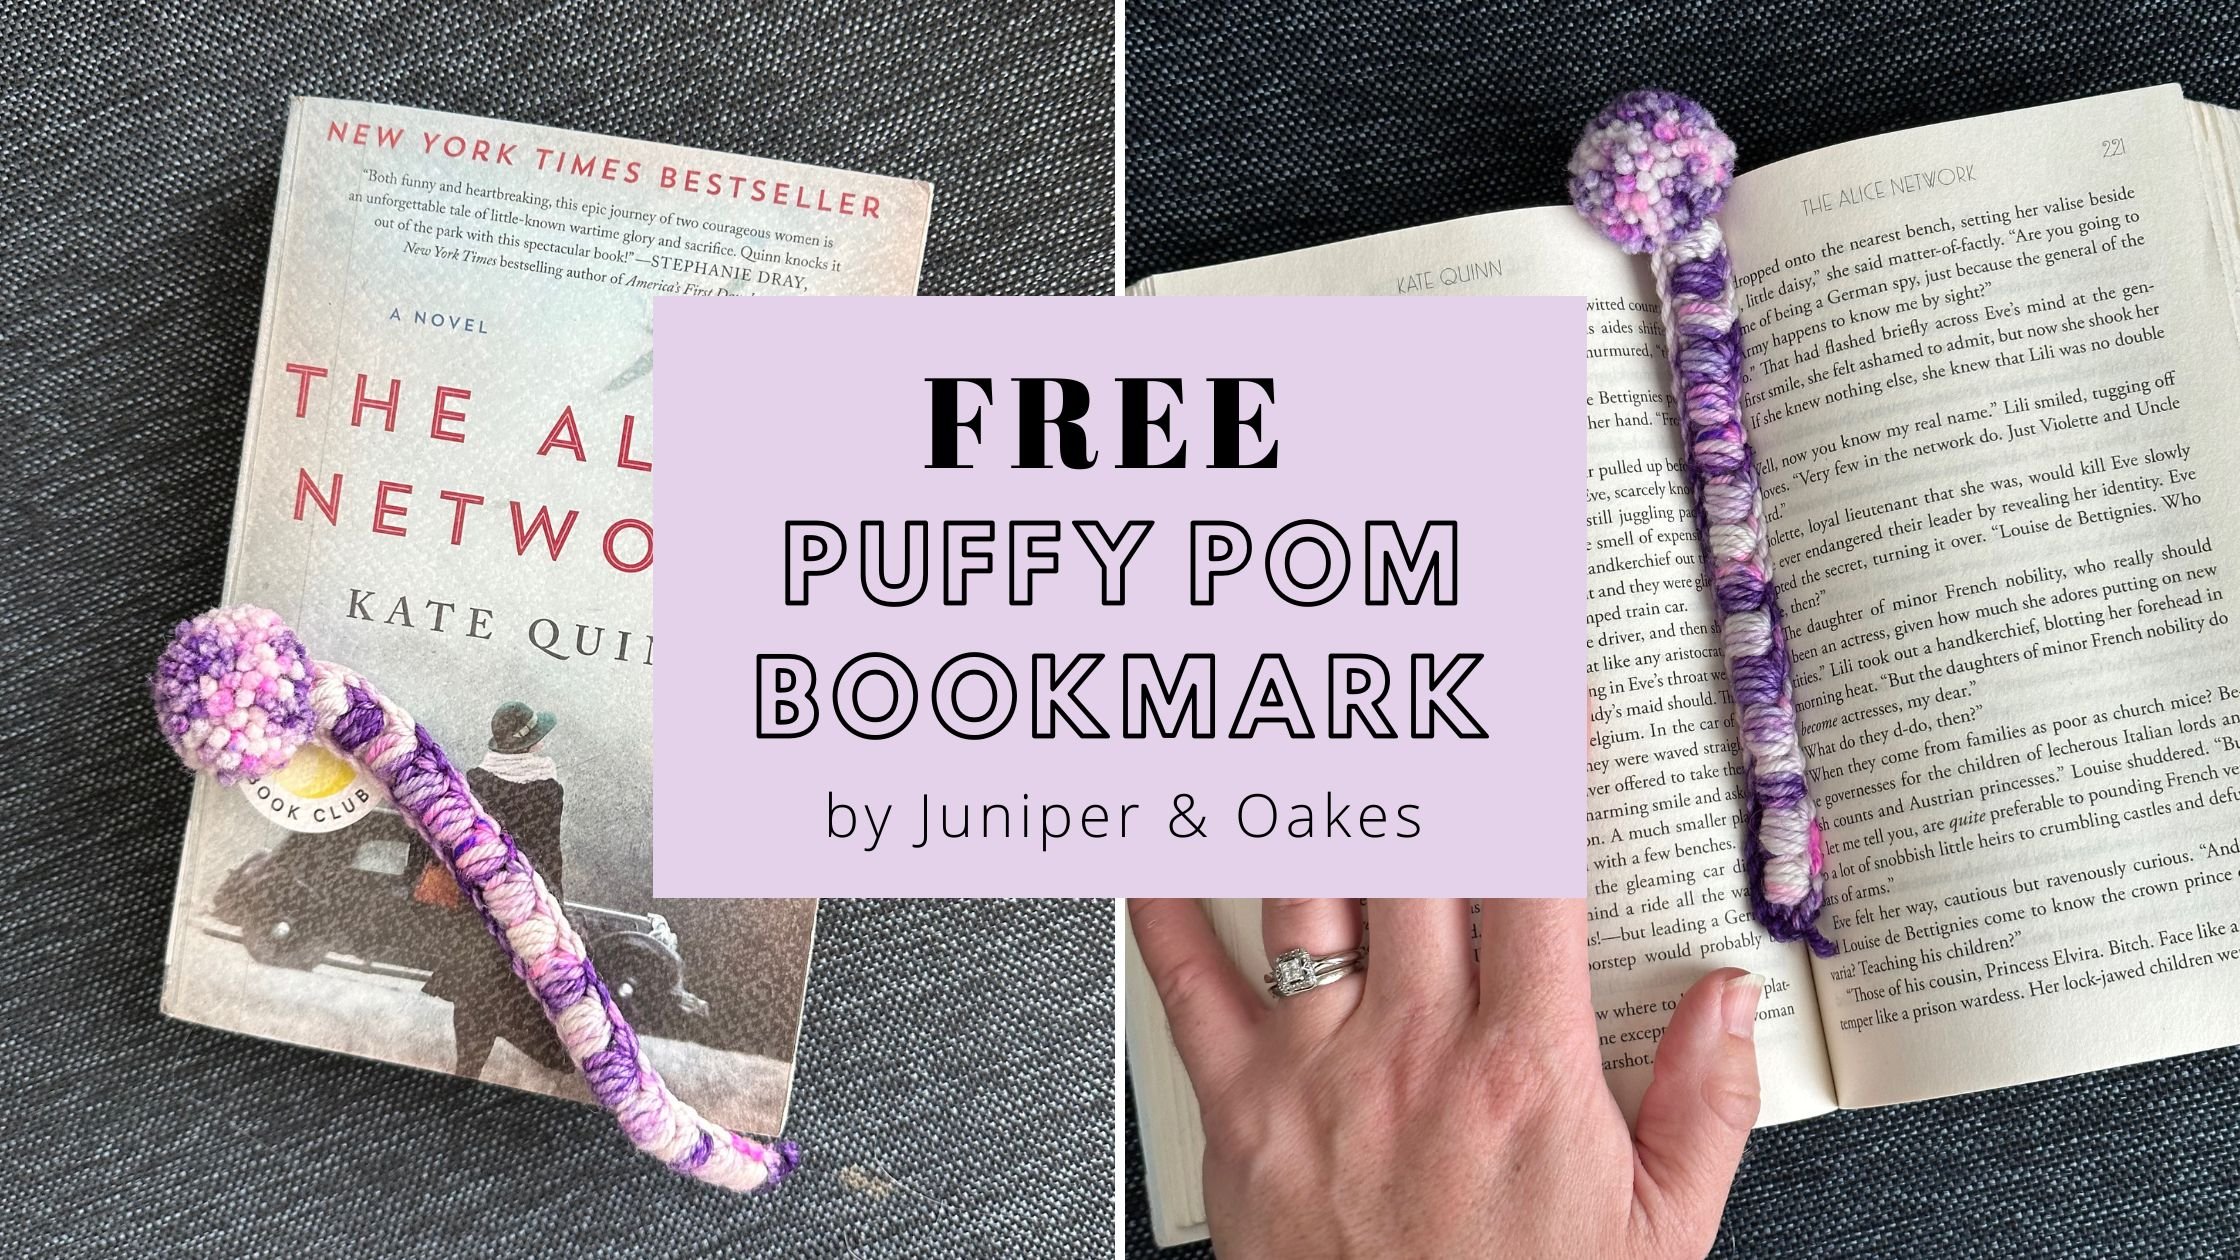
Blanket Square Inspiration
This is the joining technique used for:
You can use this joining method for many more project! Get creative!!
After learning how to join your squares, make sure you hop on over to the Juniper & Oakes Crochet Community. You can ask questions, post pictures of your WIPs and finished projects, watch Live videos, and make friends with other crocheters in the community.
If you don’t have Facebook, you can still participate in the community definitely post pictures and share about the my patterns & tutorials on any social media you have. Be sure to tag me @juniperandoakes and use #juniperandoakes so we can see your progress.
I have a group on Ravelry. Join that here.
Subscribe to my newsletter.
I send out email newsletters with any of my new crochet patterns, tutorial, YouTube video releases, or any other yarn related content. I also like to send out some freebies, like this coloring page. Sign up now!
How to Join Blanket Squares with Slip Stitch
Materials:
- Crochet blanket squares
- Yarn in a coordinating color
- Crochet hook (appropriate size for your yarn and squares)
- Yarn needle
- Scissors
Yarn & Hook used in my tutorial:
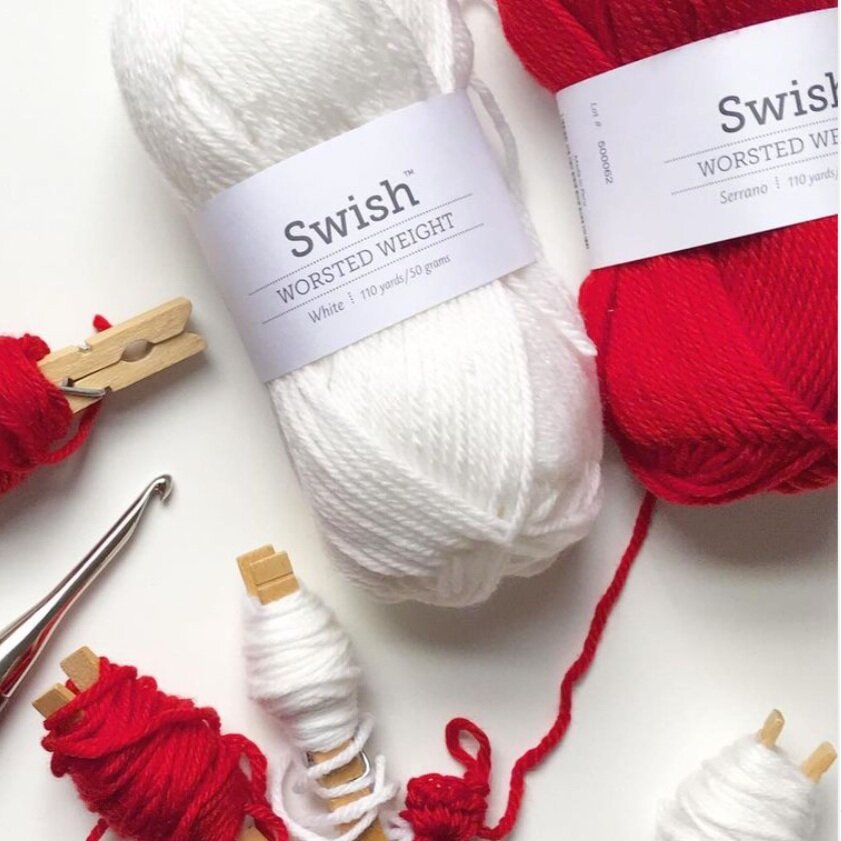

The Yarn: Worsted
WeCrochet Swish Worsted (110y, 50g, 100% wool) or other light worsted yarn in two colors
Main Color: White
Contrast Color: Serrano
The Hook: 5mm
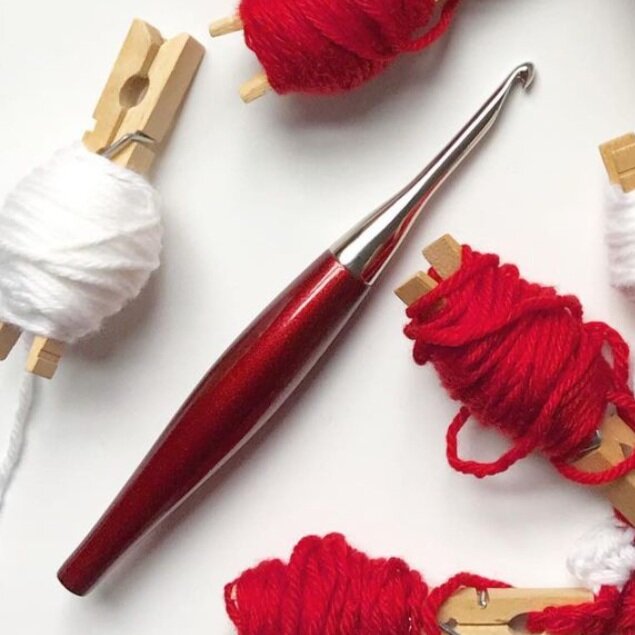
I used a H/5.00 mm Red & Nickel Odyssey hook from Furls Crochet to make my blanket. Furls sent me this hook for me to use for my holiday projects. It helps me feel festive as I work up my squares. This hook feels so good in my hands and the yarn slides easily across the nickel. If you have never tried a Furls hook, I suggest you head on over to their website and order one now.

Video Tutorial
Written Instructions
Step 1: Prepare Your Squares
Before we begin seaming, make sure you have all your crochet blanket squares ready.
Tip: it helps to have a simple border around each square to make it easier to crochet them together. I especialy like to add a HDC border around my C2C squares. If you you would like to learn how I do that, refer to my blog post HERE.
If you’re working on a project with various colors or patterns, lay them out in your desired arrangement. This step will help you visualize the final look of your blanket and plan your seaming accordingly.


Step 2: Arrange and Position Squares
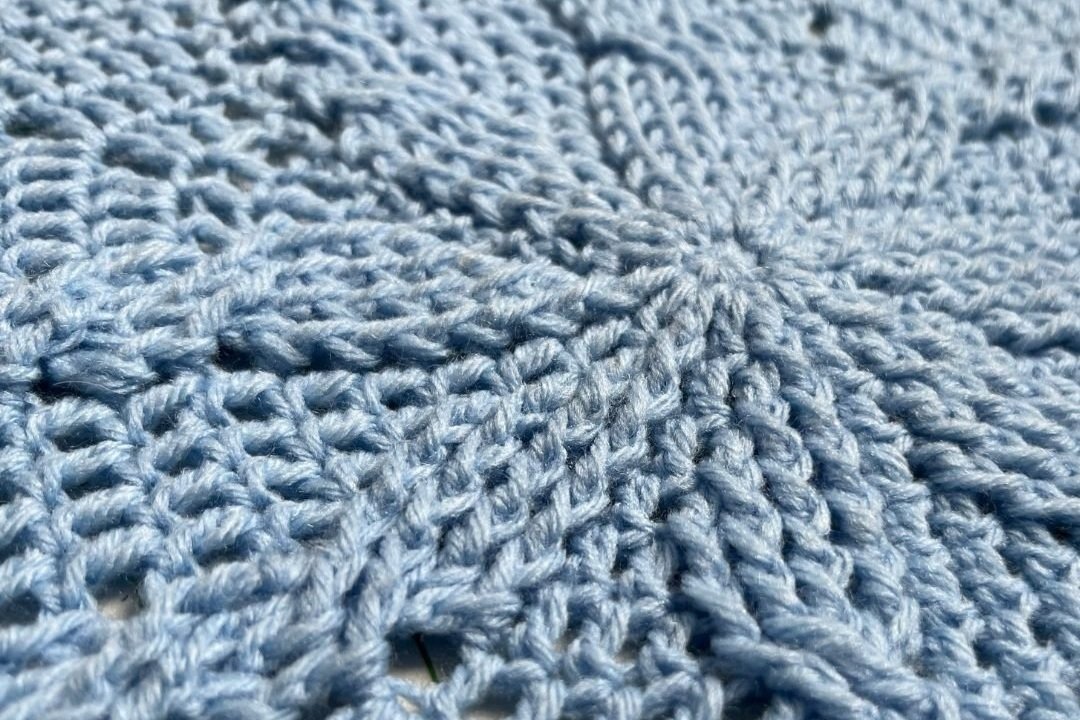
Choose two adjacent squares to seam together. Hold them with the right sides facing each other and the back loops visible on the outer edges. This method creates a subtle ridge along the seam, adding a decorative touch to your blanket.
Step 3: Joining Yarn
To start seaming, attach your yarn to the corner stitch of the first square. Insert your hook into the corner stitch through the back loop only and pull up a loop of your joining yarn. Make a slip knot to secure the yarn and leave a tail for weaving in later.
Step 4: Seam the Squares
Insert your hook into the corresponding stitch on the second square through the back loop only. Yarn over with your joining yarn and draw it through all loops on your hook. This completes one slip stitch. Repeat this process across the seam, working through the back loops only, until you reach the end of the square.
Step 5: Corner Stitches
When you reach a corner stitch, insert your hook through the back loop of the corner stitch on both squares. Make a slip stitch as before, securing the corners together.
Step 6: Adding More Squares to Your Row
Without fastening off, grab the next 2 squares to be seamed and continue on, repeat the process described above in Steps 4 & 5, working through the back loops only, until you reach the end of the row.
Step 7: Fastening Off
After seaming the desired number of rows, fasten off your yarn. Cut the yarn, leaving a tail, and pull it through the loop on your hook. Weave in the yarn tails on both squares using a yarn needle to ensure a neat finish.
Step 8: Continue Seaming
Repeat Steps 3 to 7 for the remaining squares, seaming them together in rows or columns, depending on your blanket design. Take care to align the edges of the squares and maintain a consistent tension throughout the seaming process.
Step 9: Finishing Touches
Once all the squares are seamed together, inspect your work for any loose or uneven stitches. Make any necessary adjustments or tighten the seams as needed. Block your blanket if desired, following the instructions for your chosen yarn fiber.
Congratulations! You’ve learned how to seam crochet blanket squares together using slip stitches through the back loops only.
Seaming your squares is an important step in creating a stunning and durable blanket that will be cherished for years to come. Experiment with different yarn colors and patterns to achieve unique and eye-catching designs. Enjoy the process, and happy crocheting!
The Fine Print
This pattern and its images are the property of Juniper and Oakes ©2021. The pattern is for your personal use only. Please do not copy/paste, distribute, or alter and claim as your own. You may sell products made by this pattern, but please credit @juniperandoakes and remember to link back to juniperandoakes.com or credit Juniper & Oakes on the craft fair tag.
If you make this pattern, please email a picture to [email protected] and I will include it in a gallery on my website. You may post pictures on social media and tag @juniperandoakes and use the hashtag #juniperandoakes and #jaomosaicpeaks. You can also post pictures on my Facebook Page, or in the Juniper + Oakes Crochet Community Facebook Page.
Let me know if you run into a problem. I respond quickly and will help any way I can to clarify any confusion or challenging stitches.

