America Flag C2C Crochet Pattern – USA Square – Free Chart | 4th of July Pillow CAL Crochet Along
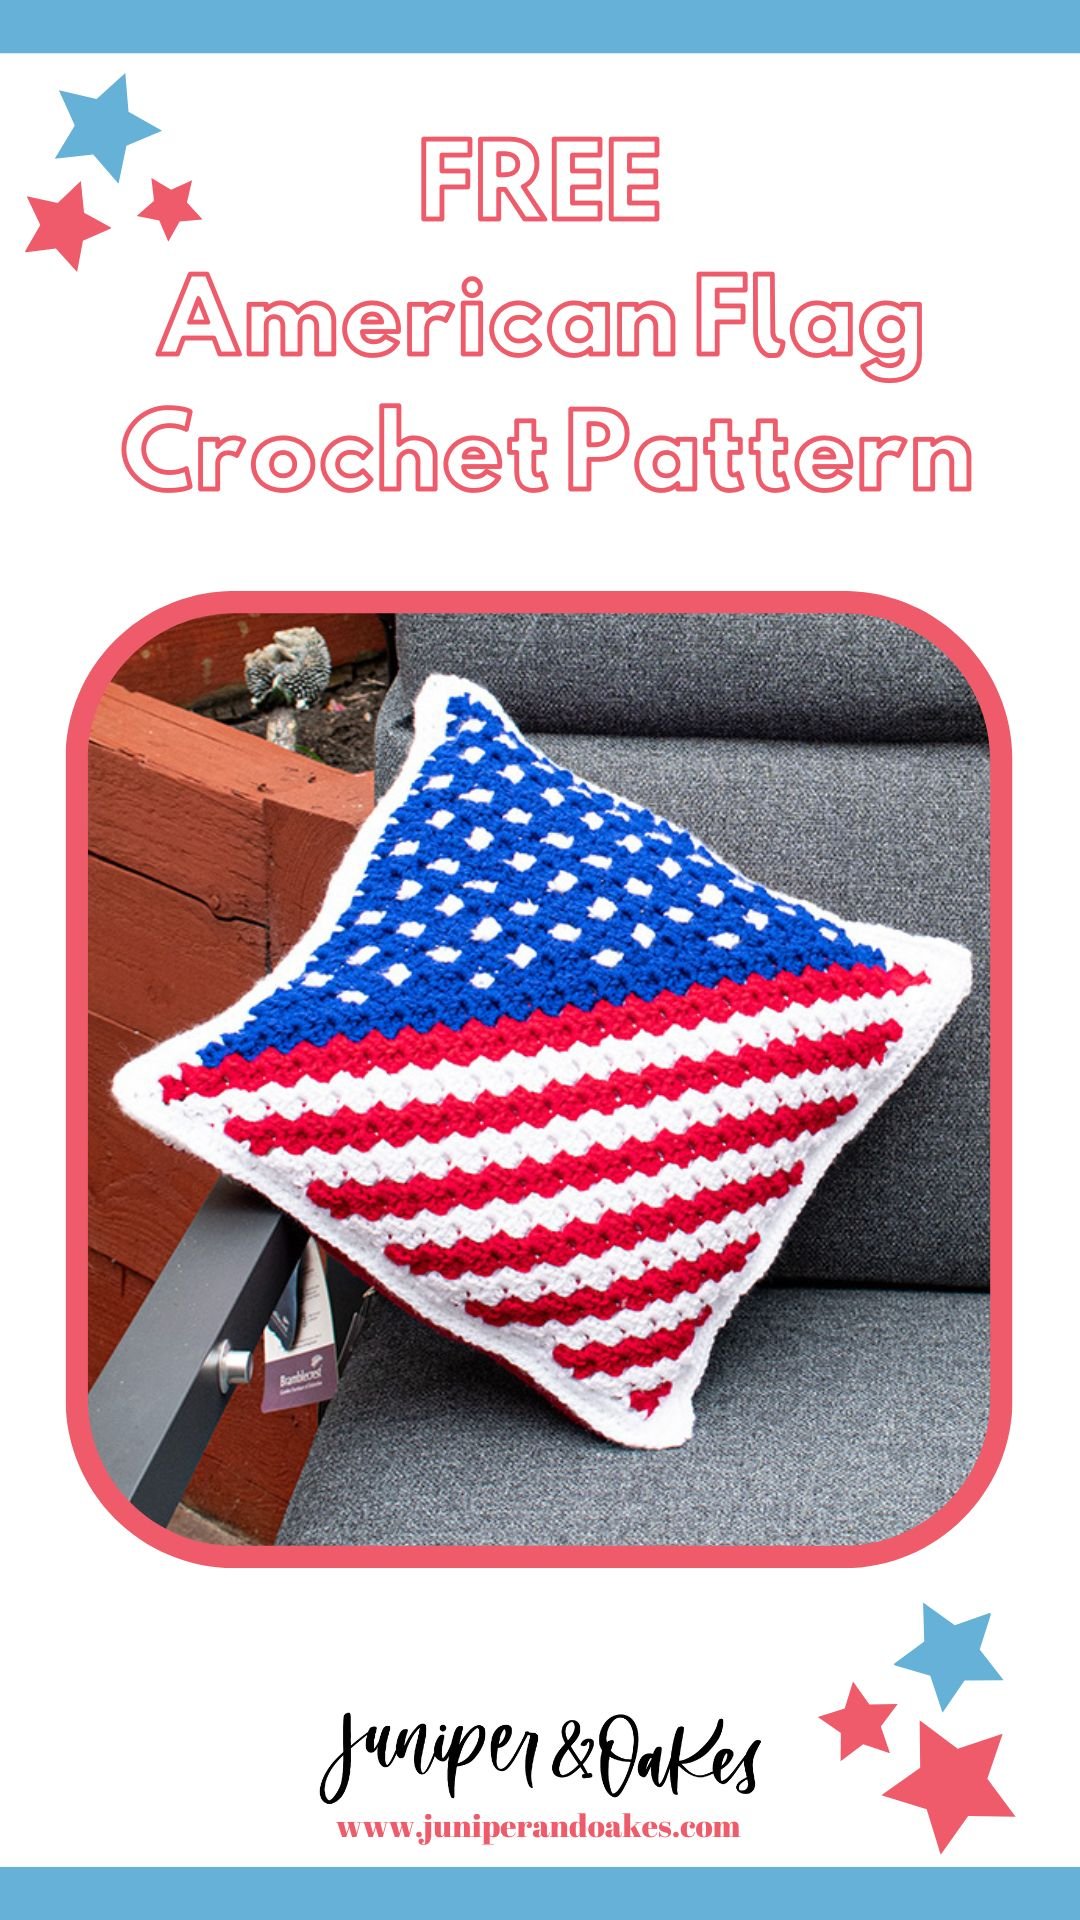
The 1st panel of the 4th of July Throw Pillow CAL is the C2C American Flag Square designed by me, Erin, of Juniper & Oakes. Are you looking for a crochet pattern that will help you decorate for the 4th of July (or perhaps Flag Day?). I have just the perfect pattern for you!
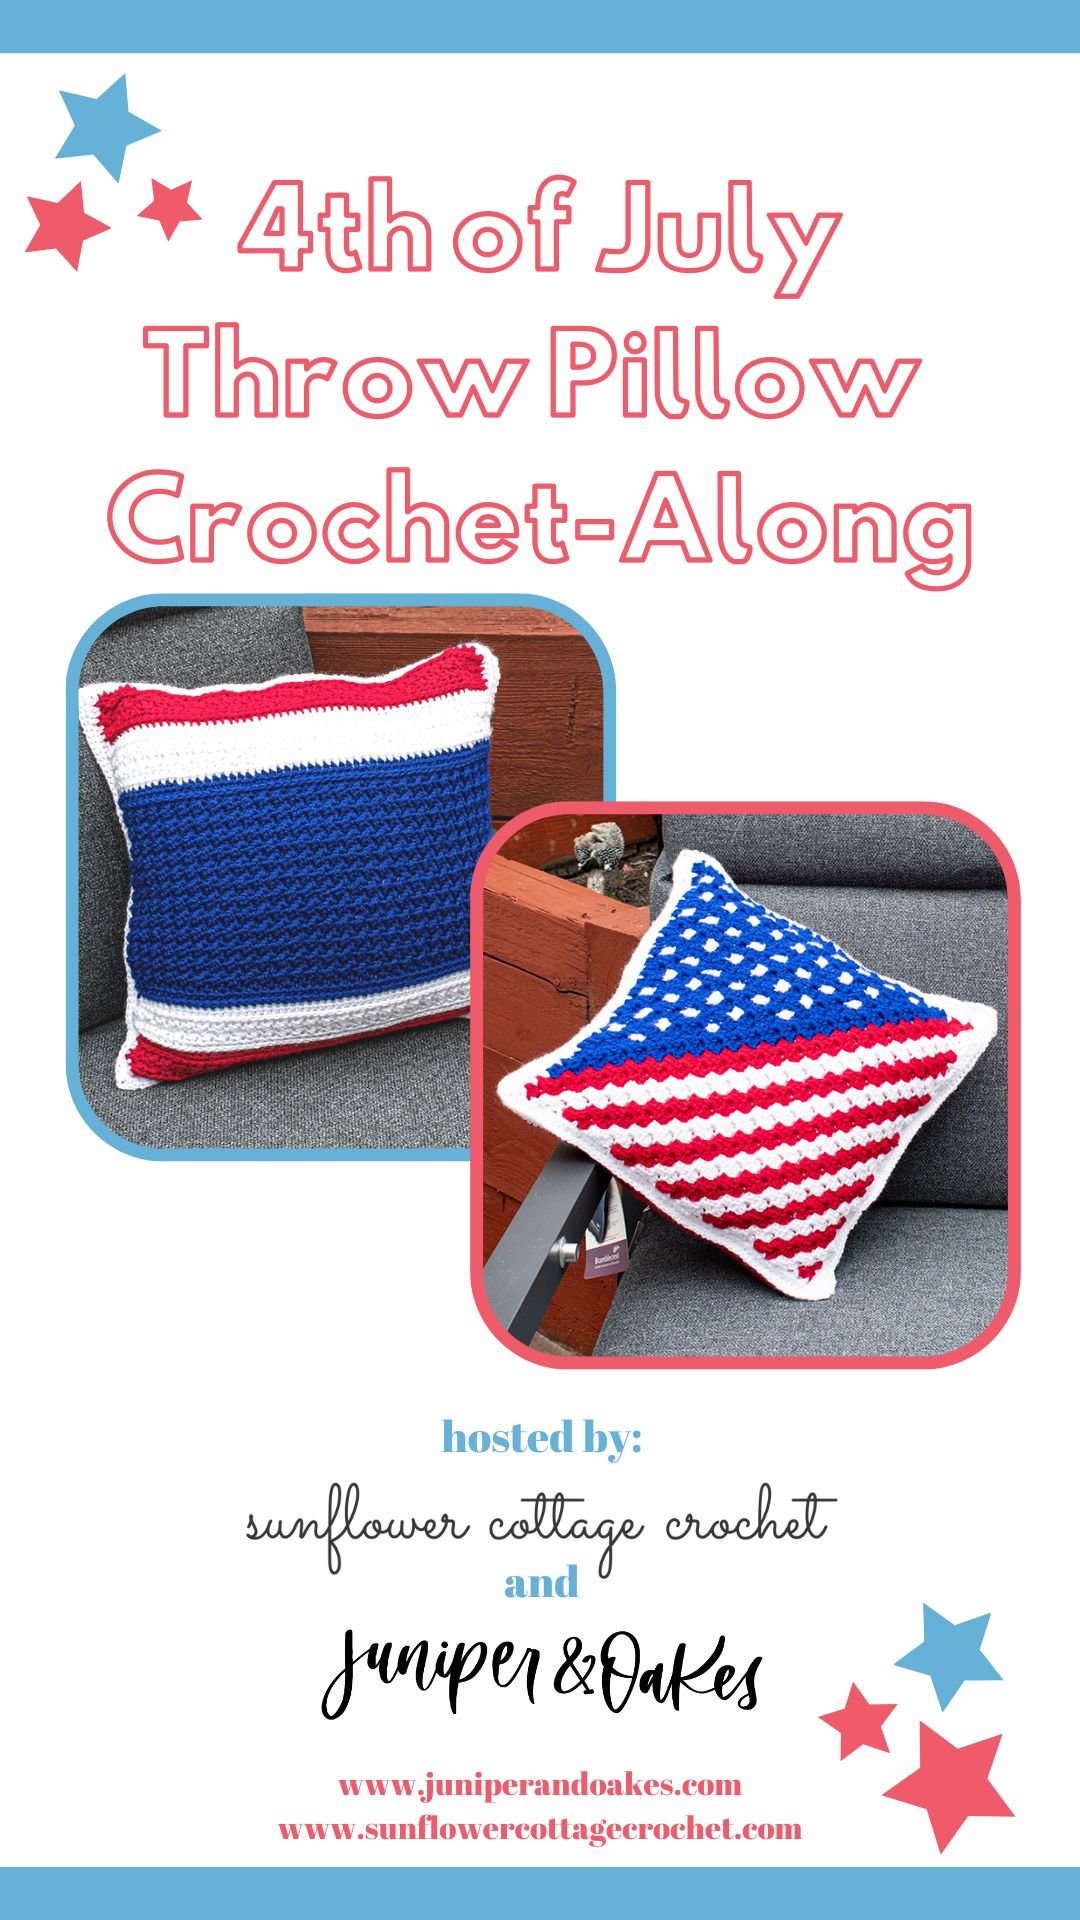

Welcome to the 1st section of the 4th of July Throw Pillow Crochet-Along (CAL).
If you are just joining in, and need more info about the this CAL, read this post.
I’ll fill you in really quick. Helen of Sunflower Cottage Crochet & I are running a quick CAL to celebrate the 4th of July! The CAL is free on our blogs or you can buy the full pattern right now and get all the sections of the CAL immediately all at once.
The front panel of the pillow is a C2C square of the American flag! There are even 13 stripes & 50 stars!
Included below you will find the chart of the flag plus the written instructions, as well as link & tips for working up C2C patterns in general.
***While the pattern is given to you for free on this blog, I do ask that you do not copy & paste or print any part of the pattern, but instead refer by to this website as you work up the pattern. This will help me in many ways in my little crochet business. It will be giving me a few pennies in ad-revenue, as well as give me better analytics when it comes to Google. ***
If you’d like an ad-free printable copy of the pattern, click here to purchase the full CAL pattern.
Can’t work this pattern right now? Pin it for later!

After grabbing the chart, make sure you hop on over to our Facebook groups: Juniper & Oakes Crochet Community & the Sunflower Cottage Crochet Community. You can ask questions, post pictures of your WIPs and finished pillows. It will be a lot of fun!
If you don’t have Facebook, you can still participate in the CAL by creating your squares on your own. Definitely post pictures and share about the CAL on any social media you have. Be sure to tag me @juniperandoakes and @sunflower.cottage.crochet.too and use #4thofJulyPillowCAL so we can see your progress!
Sign up for my newsletter.
I will send out an email each time a new section of the CAL is released. You will be the first to be notified of the next part of the CAL or any other news. I also send emails about more CALs, crochet patterns, and other yarn-related content. Sign up now!
Corner-to-Corner or C2C:
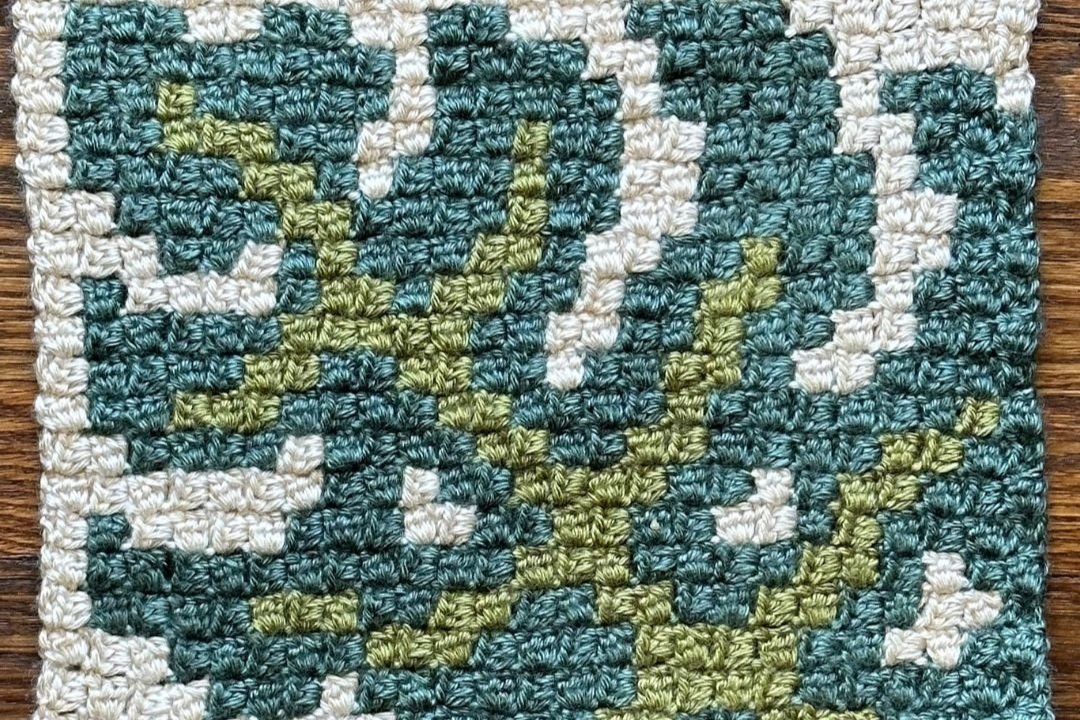
You’ll be using hdc C2C crochet techniques to create the square. You’ll need to know how to do the hdc C2C crochet stitch, made from half double crochets, chains, and slip stitches. Click here for my blog post on this technique, which includes a video tutorial a well. The traditional C2C stitch consists of a ch 3 + 3 dc to form one C2C pixel, and each increase is ch 6 + 3 dc. To make my blanket a more manageable size, I used ch 2 and 3 hdc for each pixel, where each increase was ch 5 + 3 hdc.
This design also includes color changes. You can do these by either carrying the colors, or by creating yarn bobbins that you join to the square as you need a different yarn color. If you don’t know how do to color changes, watch this clip of my video about this the Nordic Star square.
I also have a video with many tips when changing color with C2C.
Click here for my youtube playlist on C2C basics.
Love Blanket CALs?
Here is a selection of some others I’ve designed for:
SWEET TREATS BLANKET CAL
NORDIC WINTER C2C AFGHAN CAL
BOUQUET OF FLOWERS CAL
MONTHLY MOSAIC MYSTERY CAL
Prefer to crochet C2C pillows?
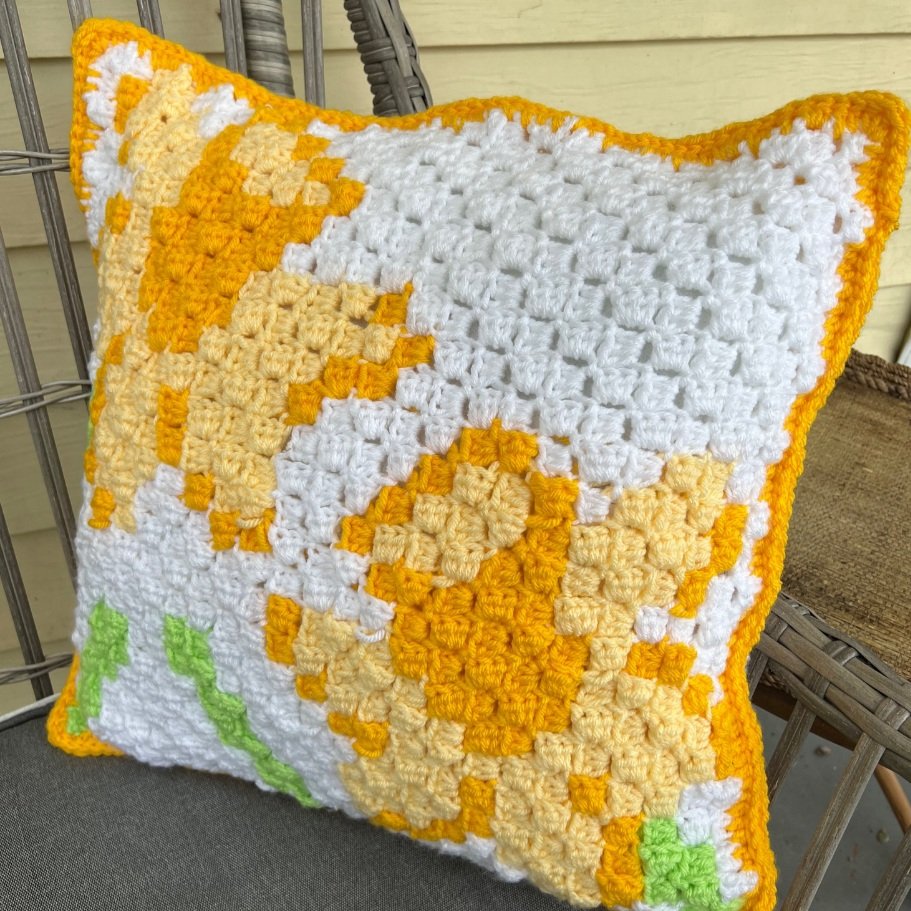

I have released a pillow pattern featuring just the daffodil square. The pattern is for a 16” pillow insert.
See blog post
buy on ravelry
buy on etsy
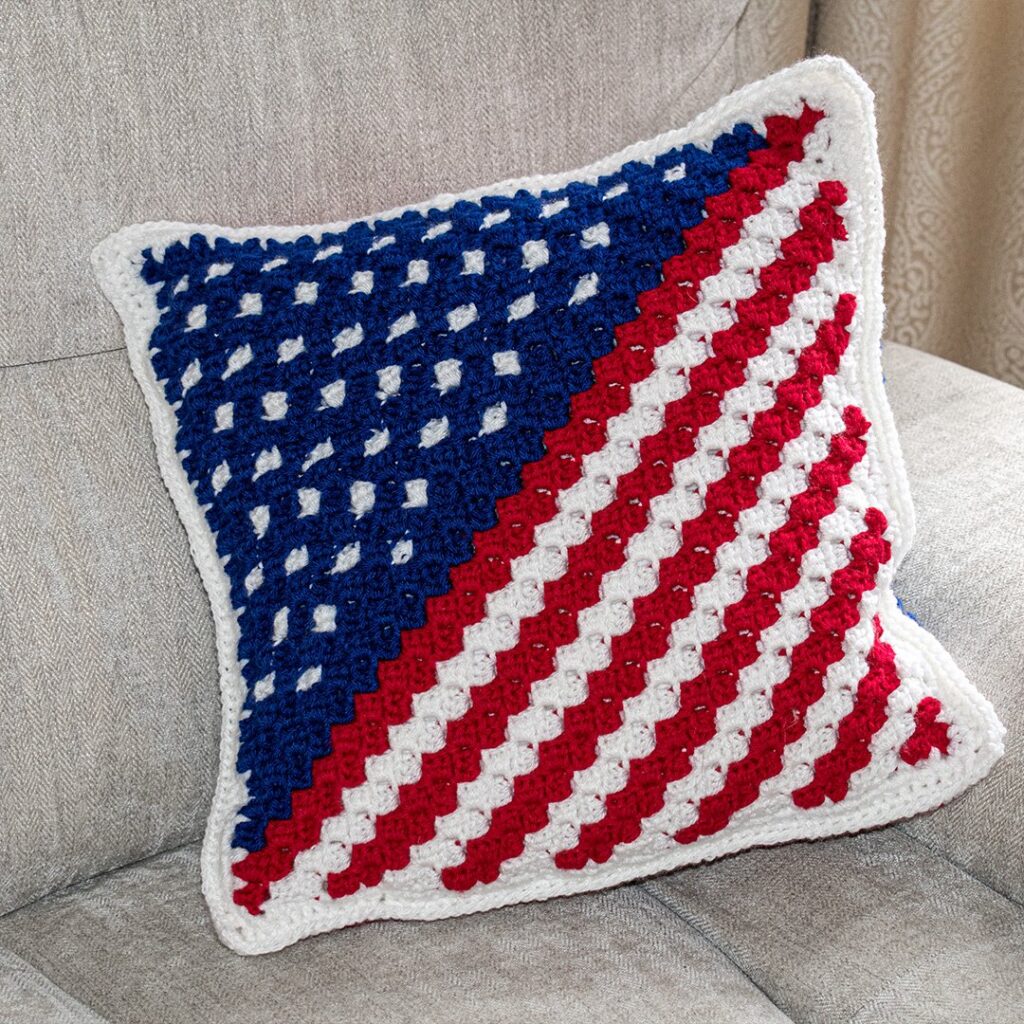

Level: Intermediate
Gauge: doesn’t matter, as long as you’re consistent
Size: Approximately 16” x 16”
How big will my square be?
The answer depends on many factors: yarn, hook, tension, etc.
You can get a good estimate of the size of your blanket by using this C2C calculator by Tasha at Stardust Gold Crochet. All you have to do a crochet a swatch of four rows of C2C stitches using your yarn and hook of choice. Then fill out the calculator at the bottom of THIS page, and it’ll tell you how big your blanket will be.
FYI, the design is 25×25 boxes.
Notes:
- Find more info about the CAL here.
- The graph and written instructions are found below.
- This is a C2C design.
- It is worked from the bottom right corner to the top left corner.
- Since it is a square, you do not have to worry about increasing on one side and decreasing on the other. Just simply start decreasing at the end of Row 25.
- Each C2C pixel/square consists of 3 half double crochets and a ch-2.
- Check out my tutorial if you’re unfamiliar on this technique, including color change.
- Rows 1 – 25 you will be increasing and rows 26 – 49 you will be decreasing.
- The odd-numbered rows are worked up and the even-numbered rows are worked down.
- The even-numbered rows are the Right Side and the odd-numbered rows are Wrong Side.
- I did not create bobbins when working up this square. I simply carried the yarn along the sides for the strips, and carried the yarn on the WS for the stars. The border & the pillow insert itself will help hide the carried yarn.
The Yarn: Worsted
WeCrochet Brava Worsted 100% acrylic) or other light worsted yarn in Red, White, & Celestial.
Get creative! I won’t get offended if you take creative liberties with the color scheme. Be sure to share pictures in my FB group so we can see what you come up with!
The Hook: 6mm
I used a J/6.00 mm hook to make my square.
I love this Cookie Streamline Swirl from Furls Crochet. This hook feels so good in my hands, and the yarn slides easily across the hook. If you have never tried a Furls hook, I suggest you head on over to their website and order one now.
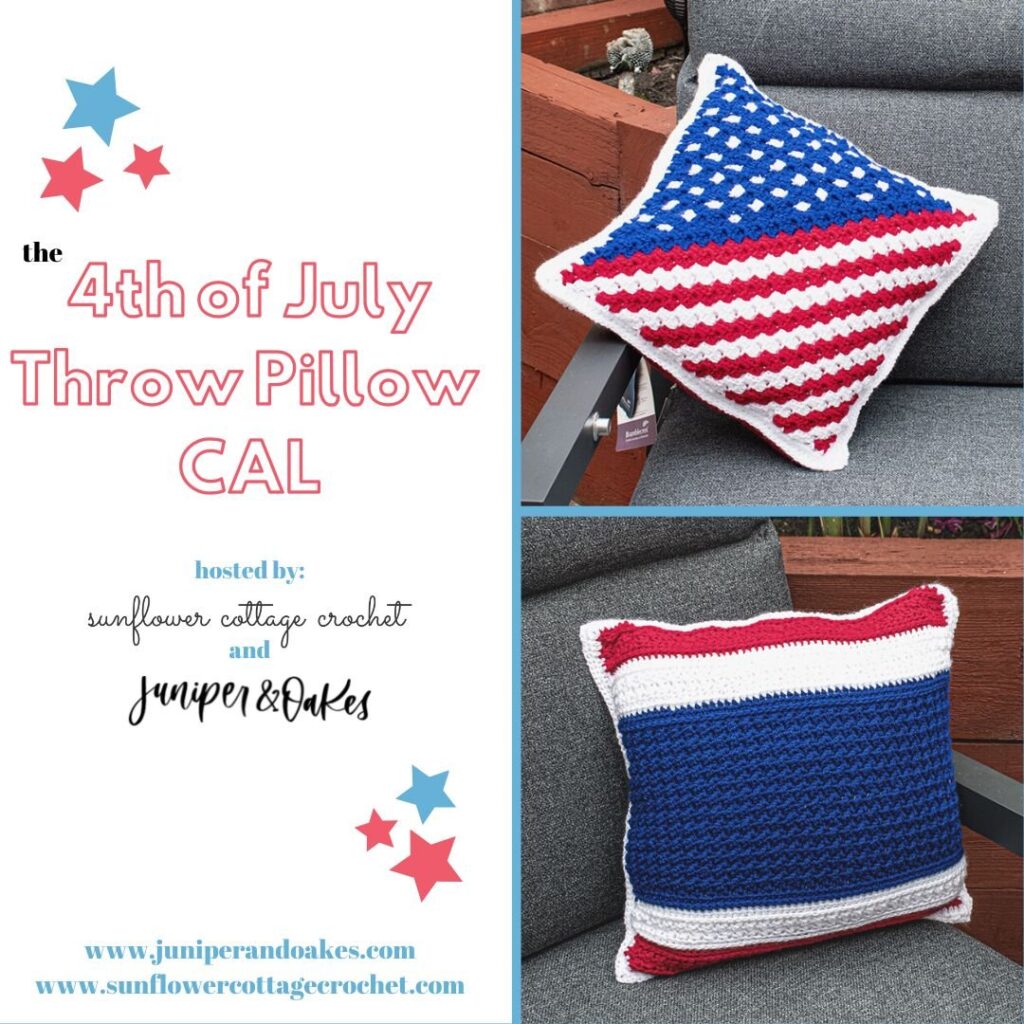

The full pattern CAL:
As mentioned earlier, the sections for each blanket square will be released slowly in the next few days, but if you would like the complete pillow pattern today, purchase the pattern now! The full pattern download includes charts AND written instructions for each panel, plus pictures & video tutorials on C2C crochet, instructions on joining the panels, and how to add a border if your panel sizes don’t match.
The Chart:
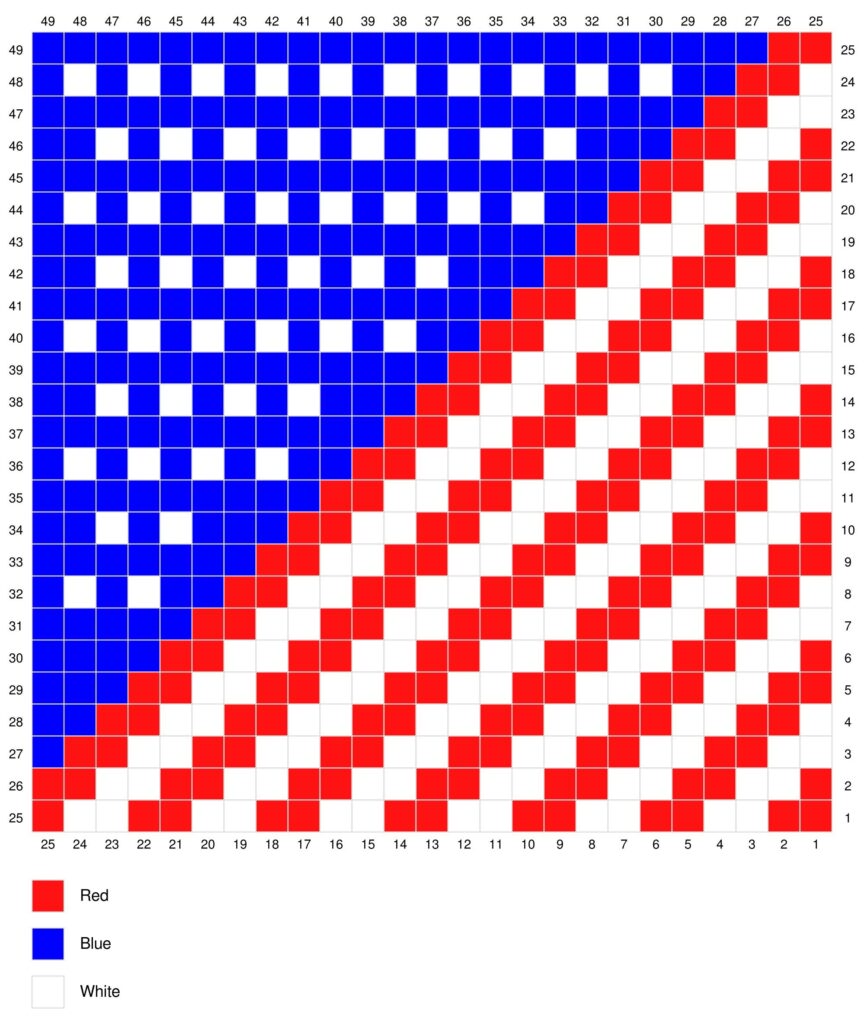

The Pattern:
↗ Row 1 [WS]: R x1
↙ Row 2 [RS]: R x2
↗ Row 3 [WS]: W x3
↙ Row 4 [RS]: W x4
↗ Row 5 [WS]: R x5
↙ Row 6 [RS]: R x6
↗ Row 7 [WS]: W x7
↙ Row 8 [RS]: W x8
↗ Row 9 [WS]: R x9
↙ Row 10 [RS]: R x10
↗ Row 11 [WS]: W x11
↙ Row 12 [RS]: W x12
↗ Row 13 [WS]: R x13
↙ Row 14 [RS]: R x14
↗ Row 15 [WS]: W x15
↙ Row 16 [RS]: W x16
↗ Row 17 [WS]: R x17
↙ Row 18 [RS]: R x18
↗ Row 19 [WS]: W x19
↙ Row 20 [RS]: W x20
↗ Row 21 [WS]: R x21
↙ Row 22 [RS]: R x22
↗ Row 23 [WS]: W x23
↙ Row 24 [RS]: W x24
↗ Row 25 [WS]: R x25
CORNER – begin decreasing
↙ Row 26 [RS]: R x24
↗ Row 27 [WS]: B x23
↙ Row 28 [RS]: B x22
↗ Row 29 [WS]: B x3, W x1, B x3, W x1, B x3, W x1, B x3, W x1, B x3, W x1, B x1
↙ Row 30 [RS]: B x3, W x1, B x3, W x1, B x3, W x1, B x3, W x1, B x4
↗ Row 31 [WS]: B x1, W x1, B x3, W x1, B x3, W x1, B x3, W x1, B x3, W x1, B x1
↙ Row 32 [RS]: B x3, W x1, B x3, W x1, B x3, W x1, B x3, W x1, B x2
↗ Row 33 [WS]: B x3, W x1, B x3, W x1, B x3, W x1, B x3, W x1, B x1
↙ Row 34 [RS]: B x3, W x1, B x3, W x1, B x3, W x1, B x4
↗ Row 35 [WS]: B x1, W x1, B x3, W x1, B x3, W x1, B x3, W x1, B x1
↙ Row 36 [RS]: B x3, W x1, B x3, W x1, B x3, W x1, B x2
↗ Row 37 [WS]: B x3, W x1, B x3, W x1, B x3, W x1, B x1
↙ Row 38 [RS]: B x3, W x1, B x3, W x1, B x4
↗ Row 39 [WS]: B x1, W x1, B x3, W x1, B x3, W x1, B x1
↙ Row 40 [RS]: B x3, W x1, B x3, W x1, B x2
↗ Row 41 [WS]: B x3, W x1, B x3, W x1, B x1
↙ Row 42 [RS]: B x3, W x1, B x4
↗ Row 43 [WS]: B x1, W x1, B x3, W x1, B x1
↙ Row 44 [RS]: B x3, W x1, B x2
↗ Row 45 [WS]: B x3, W x1, B x1
↙ Row 46 [RS]: B x4
↗ Row 47 [WS]: B x1, W x1, B x1
↙ Row 48 [RS]: B x2
↗ Row 49 [WS]: B x1
Border
- If your panel is large enough to fit a 16” pillow insert: follow these directions to add a simple hdc border around the sides to make seaming clean & easy.
- If, like Helen, you need to add on to your panel to make it bigger, follow her instructions for a thicker border ( will be available on Saturday July 2)
Action Items:
- Work up the American Flag square
- If you need help with C2C: Click here for my blog post on this technique
- Post a picture of your finished square in the Juniper & Oakes Crochet Community FB Group and/or the Sunflower Cottage Crochet Community
- Head back to the CAL page on June 30th for the next installment of the CAL.
- Check out Helen’s CAL page as well.
- OR purchase the ebook to get the complete pattern all at once
If you have any issues, questions, or tips, please post them on the J&O FB Group


The fine Print
This pattern and its images are the property of Juniper and Oakes ©2023. The pattern is for your personal use only. Please do not copy/paste, distribute, or alter and claim as your own. You may sell products made by this pattern, but please credit @juniperandoakes and remember to link back to juniperandoakes.com or credit Juniper & Oakes on the craft fair tag.
You may post pictures on social media and tag @juniperandoakes and use the hashtags #juniperandoakes and #jaobookmark. If you make this pattern, please email a picture to [email protected] and I will include it in a gallery on my website. You can also post pictures on my Facebook Page, or in the Juniper + Oakes Crochet Community Facebook Group.
This post may contain affiliate links. View our disclosure policy here.
Let me know if you run into a problem. I respond quickly and will help in any way I can to clarify any confusion or challenging stitches.


