Mosaic Crochet Christmas Stocking – Free Crochet Pattern – Nordic Star Stocking
Welcome to the Nordic Star Stocking CAL – a free overlay mosaic Christmas stocking crochet pattern!
I am your host, Erin of Juniper & Oakes and I am so glad you are here!
This pattern is a great way to learn overlay mosaic crochet and create an heirloom to hang by your chimney with care. Included are written instructions, some pictures to help guide, and a full video tutorial.
Note: Affiliate links are found throughout this post, meaning if you make a purchase after clicking one of those links, I may earn a small commission at no extra cost to you. Thank you for your support! Such purchases help me be able to provide free CALs like this one!
What is a CAL?
Perhaps you have never participated in a Crochet Along before and you may be wondering what in the world I am talking about.
A Crochet Along (CAL) is essentially an event where you crochet along with other people creating the same project. A each part of the pattern is released bit by bit, and you work at the same pace as other participants.
Here are some examples of other CALs I’ve hosted:

For this CAL, there are 5 sections. The pattern will be free on my blog or you can purchase the complete pattern on Ravelry or Etsy.
Once you work up the section for that day, be sure you head over to the Juniper & Oakes Crochet Community on FaceBook to share pictures of your WIPS and complete stockings.
Can’t Make this pattern right now? Pin It for later!

Purchase the ad-free Pattern
This pattern has been provided to you for free on this website. However, it may be easier and more enjoyable to purchase a beautifully-designed, ad-free pattern. You may print it or save it in your digital files for later use.


If you make this pattern be sure to post pictures on social media and tag @juniperandoakes and use the hashtag #juniperandoakes and #jaomosaic. I would love to see your work!
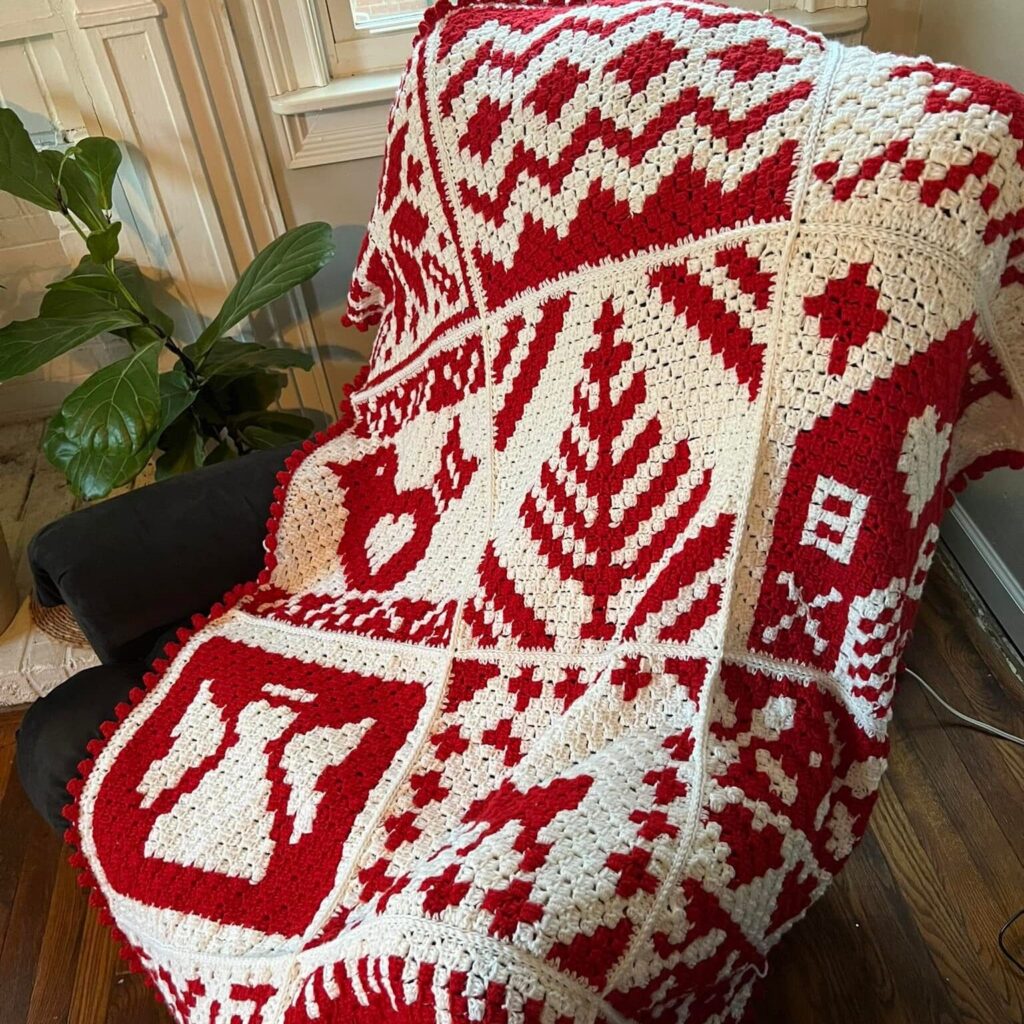
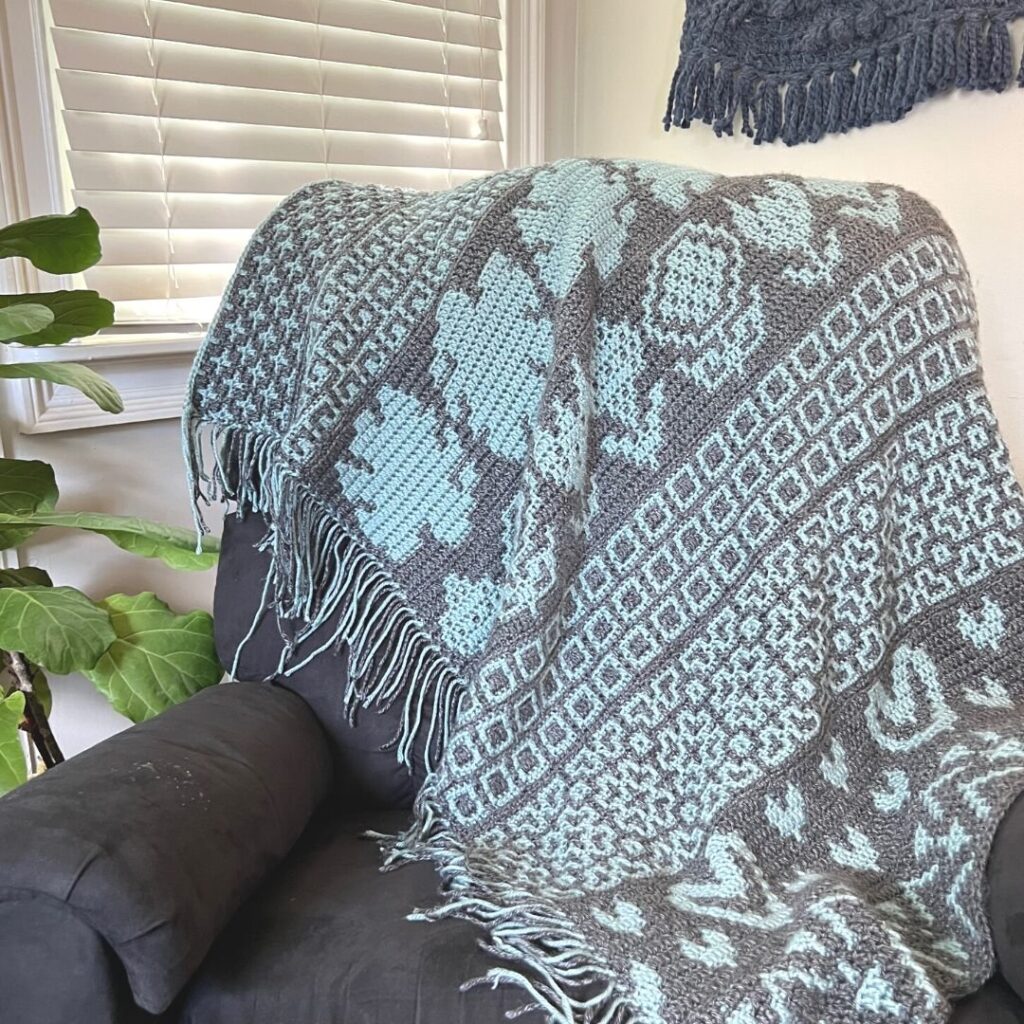
Try the Nordic Star Blanket pattern!
Then you’ll love the Nordic Star Blanket! Embark on a crochet journey to create a stunning heirloom blanket.
Designed for adventurous beginners, this CAL uses overlay mosaic crochet to craft intricate colorwork designs without the hassle of yarn tangling or endless ends to weave in.
Yarn and hook
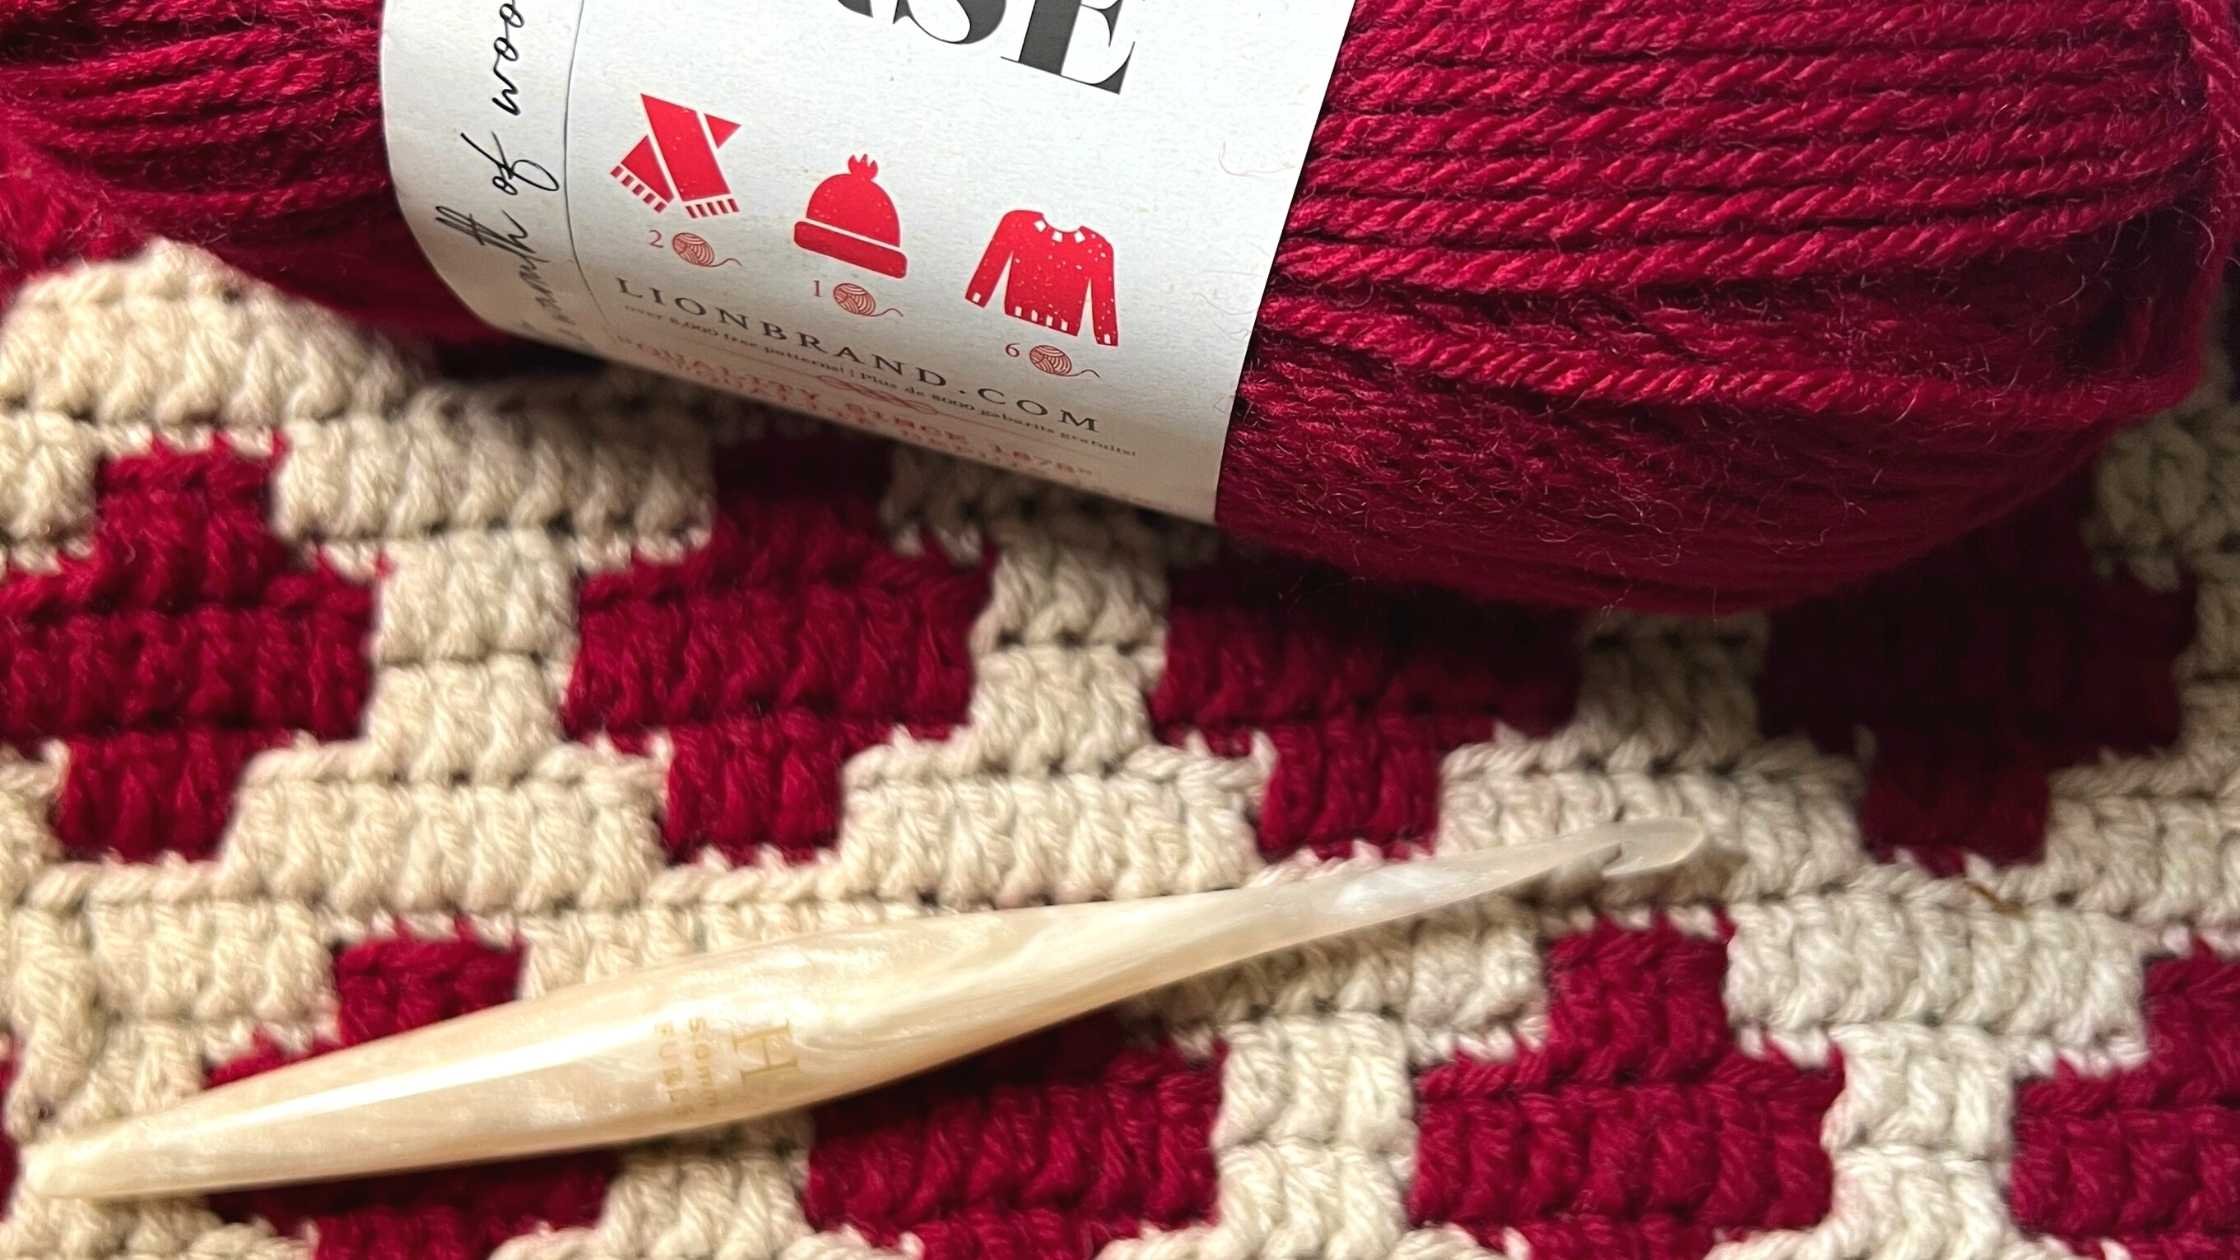
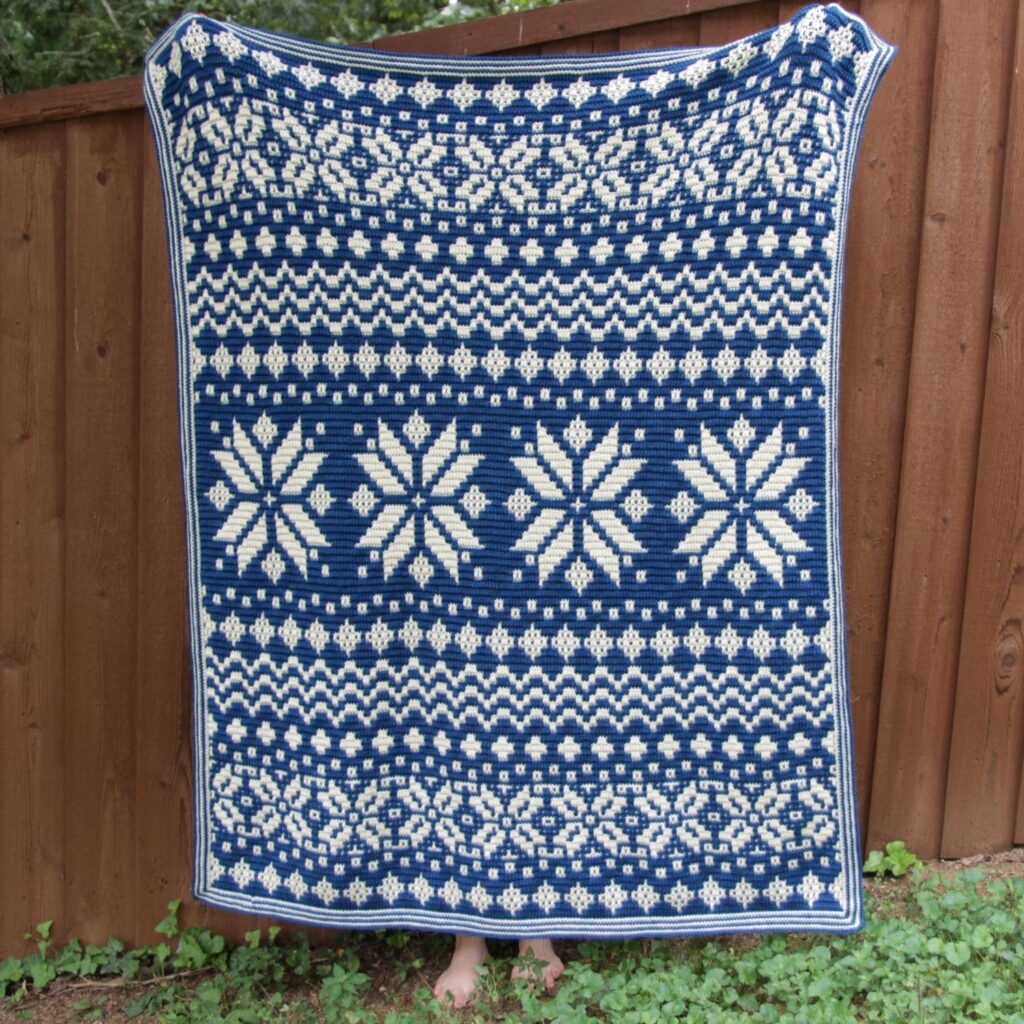
I worked up my stocking using some Wander Acrylic Yarn from Furls Fiberarts. This yarn is 100% acrylic. It acts and feels like Caron Simply Soft – slippery, shiny, so plush.
The Nordic Star Blanket uses the same yarn. I had a bit left over and thought it would make the perfect stocking!
I also used a 5mm/H hook for this pattern. You may have to adjust your hook size based on gauge and tension.
I have this lovely white & glittery gold Furls Streamline Gemini Pollux. I love the way this hook feels in my hands.


The Cozy Alpine Stocking
Skill Level: Intermediate
Materials
- Yarn: Furls Wander Acrylic Yarn, medium #4 yarn (100% Acrylic; 120/109 m per 3.5 oz/100 g skein) or any other worsted-weight yarn in 2 colors
- Color A (Snow): 240 yards (2 skeins)
- Color B (Laguna): 120 yards (1 skein)
- Hook H/8 – 5.00 mm
- Yarn needle
- Scissors
Gauge
Base: 9 Rounds = 4” diameter
Stitch used to obtain gauge = sc in the round (Use Rounds 1-12)
Not important, gauge will affect the size of project and gaps between stitches
Finished Size
Small: 6″ x 18″
Large: 9″ x 18″

Stitch Abbreviations (US Terminology)
- BLOsc – Back Loop Only Single Crochet
- ch – Chain
- FLOdc – Front Loop Only Double Crochet
- fsc – Foundation Single Crochet
- mc – Magic Circle
- sc – Single Crochet
- Sc2tog – Single Crochet 2 Together
- sl st – Slip Stitch
- sk – Skip
- st – Stitch
Special Stitches
Overlay Mosaic Crochet: See my tutorial on the blog.
The basics of Overlay Mosaic Crochet in the Round:
- Charts are worked from bottom to top.
- Worked from right to left on Right Side only.
- Every row worked in a different color.
- Drop the yarn strand on the WS and pick it up the next round.
- Blank boxes (SC) are worked in BLO of previous row.
- X-filled boxes (DC) are worked in FLO of stitch 2 rows below.
- Every round begins with a ch 1 with the new color.
- Every round ends with a sl st through the first st to join.
Pattern Notes
- Stitches between *asterisks* are repeated around as many times as directed.
- Stitches in (parenthesis) at the end of the round indicate number of stitches in the round.
- This pattern is worked in the round. At the end of each round, do not sl st to join; instead continue working the next round seamlessly – unless noted elsewhere in the pattern.
- Do not turn at the end of each round – unless noted elsewhere in the pattern.
- Stitch markers should be used to mark the beginning of your rounds to make it easy to find your place.
- The ch-space made in Round 1 of the “Leg” will be the basis for the heel.
- The fsc sts made in Round 16 of the “Cuff” create a loop to hang the stocking.
- By turning your work in Round 17 of the “Cuff”, the sc sts are able to lay with RS showing once the cuff is folded down. The ridge made from working the the BLO makes it easier to fold down the cuff.
- In each round of the “Heel”, decrease by 4 stitches.

Purchase the ad-free Pattern
This pattern has been provided to you for free on this website. However, it may be easier and more enjoyable to purchase a beautifully-designed, ad-free pattern. You may print it or save it in your digital files for later use.
Pattern
Part 1 – Toe
Please LIKE the video, SHARE it with another crochet friend, SUBSCRIBE to my channel, and COMMENT about your chosen colors for your stocking.
Written Instructions
Begin with Color A. Make a mc.
Round 1: Work 6 sc in mc. (6 sc)
Round 2: 2 sc in 1st st and in each st around. (12 sc)
Round 3: *2 sc in 1st st, sc in next st,* repeat around. (18 sc)
Round 4: *2 sc in 1st st, sc in next 2 st*, repeat around. (24 sc)
Round 5: *2 sc in 1st, sc in next 3 st*, repeat around. (30 sc)
Round 6: *2 sc in 1st, sc in next 4 st*, repeat around. (36 sc)
Round 7: *2 sc in 1st, sc in next 5 st*, repeat around. (42 sc)
Round 8: *2 sc in 1st, sc in next 6 st*, repeat around. (48 sc)
If making the bigger version, see instructions below. If making the smaller version then, Rounds 9-12: Sc in each st around. (48 sc)
Larger Version
Round 9: *2 sc in 1st, sc in next 7 st*, repeat around. (54 sc)
Round 10: *2 sc in 1st, sc in next 8 st*, repeat around. (60 sc)
Round 11: *2 sc in 1st, sc in next 9 st*, repeat around. (66 sc)
Round 12: *2 sc in 1st, sc in next 10 st*, repeat around. (72 sc)
Rounds 13-16: Sc in each st around. (72 sc)
Part 2 – Foot
Chart
This section features Overlay Mosaic Crochet. Not sure how to read the chart or work up the stitches? Read this blog post.

Written Instructions
Row 1: With Color A, BLOsc in each st across.
Row 2: With Color B, BLOsc in each st across.
Row 3: With Color A, *BLOsc x4, FLOdc, BLOsc x2, FLOdc, BLOsc, FLOdc, BLOsc x5, FLOdc, BLOsc, FLOdc, BLOsc x2, FLOdc, BLOsc x3,* repeat across.
Row 4: With Color B, *BLOsc, FLOdc, BLOsc, FLOdc, BLOsc, FLOdc x2, BLOsc x5, FLOdc, BLOsc x5, FLOdc x2, BLOsc, FLOdc, BLOsc, FLOdc,* repeat across.
Row 5: With Color A, *FLOdc, BLOsc x3, FLOdc, BLOsc x4, FLOdc, BLOsc, FLOdc, BLOsc, FLOdc, BLOsc, FLOdc, BLOsc x4, FLOdc, BLOsc x3,* repeat across.
Row 6: With Color B, *BLOsc x5, FLOdc x4, BLOsc x7, FLOdc x4, BLOsc x4,* repeat across.
Row 7: With Color A, *FLOdc, BLOsc x10, FLOdc, BLOsc, FLOdc, BLOsc x10,* repeat across.
Row 8: With Color B, *BLOsc, FLOdc x4, BLOsc x2, FLOdc x4, BLOsc x3, FLOdc x4, BLOsc x2, FLOdc x4,* repeat across.
Row 9: With Color A, *FLOdc, BLOsc x5,* repeat across.
Row 10: With Color B, *BLOsc x3, FLOdc x3, BLOsc x3, FLOdc x3, BLOsc, FLOdc x3, BLOsc x3, FLOdc x3, BLOsc x2,* repeat across.
Row 11: With Color A, *FLOdc, BLOsc, FLOdc, BLOsc x5, FLOdc, BLOsc x3, FLOdc, BLOsc x3, FLOdc, BLOsc x5, FLOdc, BLOsc,* repeat across.
Row 12: With Color B, *BLOsc x5, FLOdc x3, BLOsc, FLOdc, BLOsc x5, FLOdc, BLOsc, FLOdc x3, BLOsc x4,* repeat across.
Row 13: With Color A, *BLOsc x2, FLOdc, BLOsc, FLOdc, BLOsc x5, FLOdc, BLOsc x3, FLOdc, BLOsc x5, FLOdc, BLOsc, FLOdc, BLOsc,* repeat across.
Row 14: With Color B, *BLOsc, FLOdc, BLOsc x9, FLOdc, BLOsc, FLOdc, BLOsc x9, FLOdc,* repeat across.
Row 15: With Color A, *BLOsc x2, FLOdc, BLOsc, FLOdc, BLOsc x5, FLOdc, BLOsc x3, FLOdc, BLOsc x5, FLOdc, BLOsc, FLOdc, BLOsc,* repeat across.
Row 16: With Color B, *BLOsc x5, FLOdc x3, BLOsc, FLOdc, BLOsc x7, FLOdc x3, BLOsc x4,* repeat across.
Row 17: With Color A, *FLOdc, BLOsc, FLOdc, BLOsc x5, FLOdc, BLOsc x3, FLOdc, BLOsc x3, FLOdc, BLOsc x5, FLOdc, BLOsc,* repeat across.
Row 18: With Color B, *BLOsc x3, FLOdc x3, BLOsc x3, FLOdc x3, BLOsc, FLOdc x3, BLOsc x3, FLOdc x3, BLOsc x2,* repeat across.
Row 19: With Color A, *FLOdc, BLOsc x5,* repeat across.
Row 20: With Color B, *BLOsc, FLOdc x4, BLOsc x2, FLOdc x4, BLOsc x3, FLOdc x4, BLOsc x2, FLOdc x4,* repeat across.
Row 21: With Color A, *FLOdc, BLOsc x10, FLOdc, BLOsc, FLOdc, BLOsc x10,* repeat across.
Row 22: With Color B, *BLOsc x5, FLOdc x4, BLOsc x7, FLOdc x4, BLOsc x4,* repeat across.
Row 23: With Color A, *FLOdc, BLOsc x3, FLOdc, BLOsc x4, FLOdc, BLOsc, FLOdc, BLOsc, FLOdc, BLOsc, FLOdc, BLOsc x4, FLOdc, BLOsc x3,* repeat across.
Row 24: With Color B, *BLOsc, FLOdc, BLOsc, FLOdc, BLOsc, FLOdc x2, BLOsc x5, FLOdc, BLOsc x5, FLOdc x2, BLOsc, FLOdc, BLOsc, FLOdc,* repeat across.
Row 25: With Color A, *BLOsc x4, FLOdc, BLOsc x2, FLOdc, BLOsc, FLOdc, BLOsc x5, FLOdc, BLOsc, FLOdc, BLOsc x2, FLOdc, BLOsc x3,* repeat across.
Part 3 – Leg
Written Instructions
(small version) Row 1: With Color A, BLOsc x20, ch 24, sk 24 st, BLOsc x4.
(large version) Row 1: With Color A, BLOsc x25, ch 37, sk 37 st, BLOsc x10.
Rows 2-25: Repeat Rows 2-25 of Foot.
Part 4 – Cuff
Written Instructions
Round 1: With Color A: sc in each st around. (48 (72) sc)
Rounds 2-15: Repeat Round 1
Round 16: Sc in 1st st and in next 27 st, place a stitch marker, fsc 8 st, sl st to sc with stitch marker, sc in next st 20 st. (48 (72) sc, 8 fsc)
Round 17: Ch 1, turn, dc in BLO in 1st st and each sc st around, skipping all fsc, sl st to join. (48 (72) dc)
Round 18: Sc in 1st st and each st around. (48 (72) sc)
Rounds 19-32: Repeat Round 18.
Round 33: With Color B, Repeat Round 18.
Fasten off.
Embellishment
Create a long chain or i-cord with Color B, and weave it though dc sts from Round 17.
Attach tassels or pom poms to cord for extra embellishments.
Part 5 – Heel
Written Instructions
Place a stitch marker in each of the 2 corners of the heel.
Join Color A at one corner.
Round 1: ch 1, sc2tog, sc across bottom until 2 sts remain, sc2tog x2, sc across top until 2 sts remain, sc2tog.
Round 2: sc2tog, sc across bottom until 2 sts remain, sc2tog x2, sc across top until 2 sts remain, sc2tog.
Rounds 3-9 (3-12 for large version): Repeat Round 2 (decreases by 4 sts each round). Fasten off leaving a long tail for sewing.
Sew opening closed with long yarn tail.
Weave in all ends.
Purchase the ad-free Pattern
This pattern has been provided to you for free on this website. However, it may be easier and more enjoyable to purchase a beautifully-designed, ad-free pattern. You may print it or save it in your digital files for later use.