Lady Bug C2C Square – Free Chart – Corner-to-Corner
Crochet a lady bug square using C2C (Corner to Corner) crochet technique! The chart for this pattern is found free below. After working up this square, you can turn it into a pillow or make several similar squares to make a blanket.
Keep reading to learn more!
Note: Affiliate links are found throughout this post, meaning if you make a purchase after clicking one of those links, I may earn a small commission at no extra cost to you. View our disclosure policy here.
Welcome to the 2nd installment of the Spring Bug Blanket CAL!
The second square in the Spring Bug CAL is the Lady Bug Square designed by me, Erin of Juniper & Oakes. If you are just joining in, and need more info about the this CAL, read this post.
I’ll fill you in really quick. Nichola of Elimee Designs is hosting a blanket CAL using C2C with the theme of insects. This CAL is ran very similar to the Nordic Winter C2C CAL where different crochet designers share a new free blanket square chart on her blog in blog hop fashion. You can also buy the ebook and get all the designs (WITH written instructions) all at once.
Below, you will find the chart and written instructions to be forever free on my blog. If you scroll to the very bottom of the post, you will find instructions on how to get the ad-free PDF of just this square direct from my website.
Can’t work this pattern right now? Pin it for later!


After grabbing the pattern, make sure you hop on over to the Juniper & Oakes Crochet Facebook group. You can ask questions and post pictures of your WIPs and finished squares. It will be a lot of fun!
If you don’t have Facebook, you can still participate in the CAL by creating your squares on your own. Definitely post pictures and share about the CAL on any social media you have. Be sure to tag me @juniperandoakes and @elimee_designs and use #juniperandoakes so we can see your progress!
C2C Colorwork Tips
Corner-to-Corner or C2C
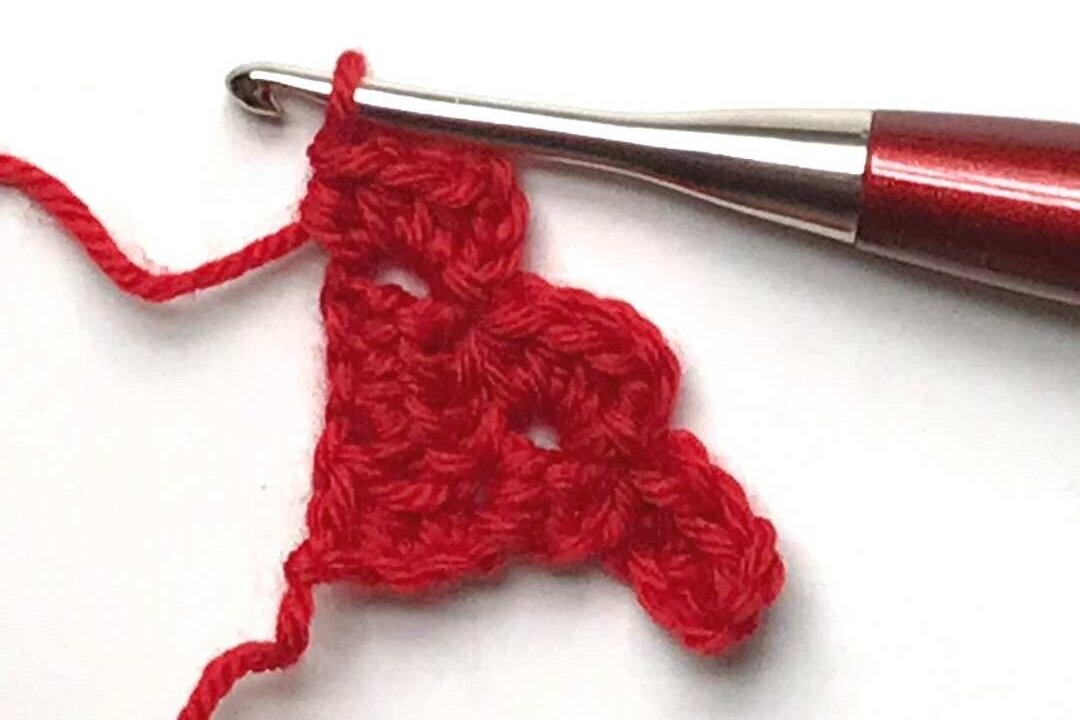
You’ll be using hdc C2C crochet techniques to create the square. You’ll need to know how to do the hdc C2C crochet stitch, made from half double crochets, chains, and slip stitches. Click here for my blog post on this technique, which includes a video tutorial a well. The traditional C2C stitch consists of a ch 2 + 3 dc to form one C2C pixel, and each increase is ch 6 + 3 dc. To make my blanket a more manageable size, I used ch 2 and 3 hdc for each pixel, where each increase was ch 5 + 3 hdc.
This design also includes color changes. You can do these by either carrying the colors, or by creating yarn bobbins that you join to the square as you need a different yarn color. If you don’t know how do to color changes, watch this clip of my video about this the Nordic Star square.
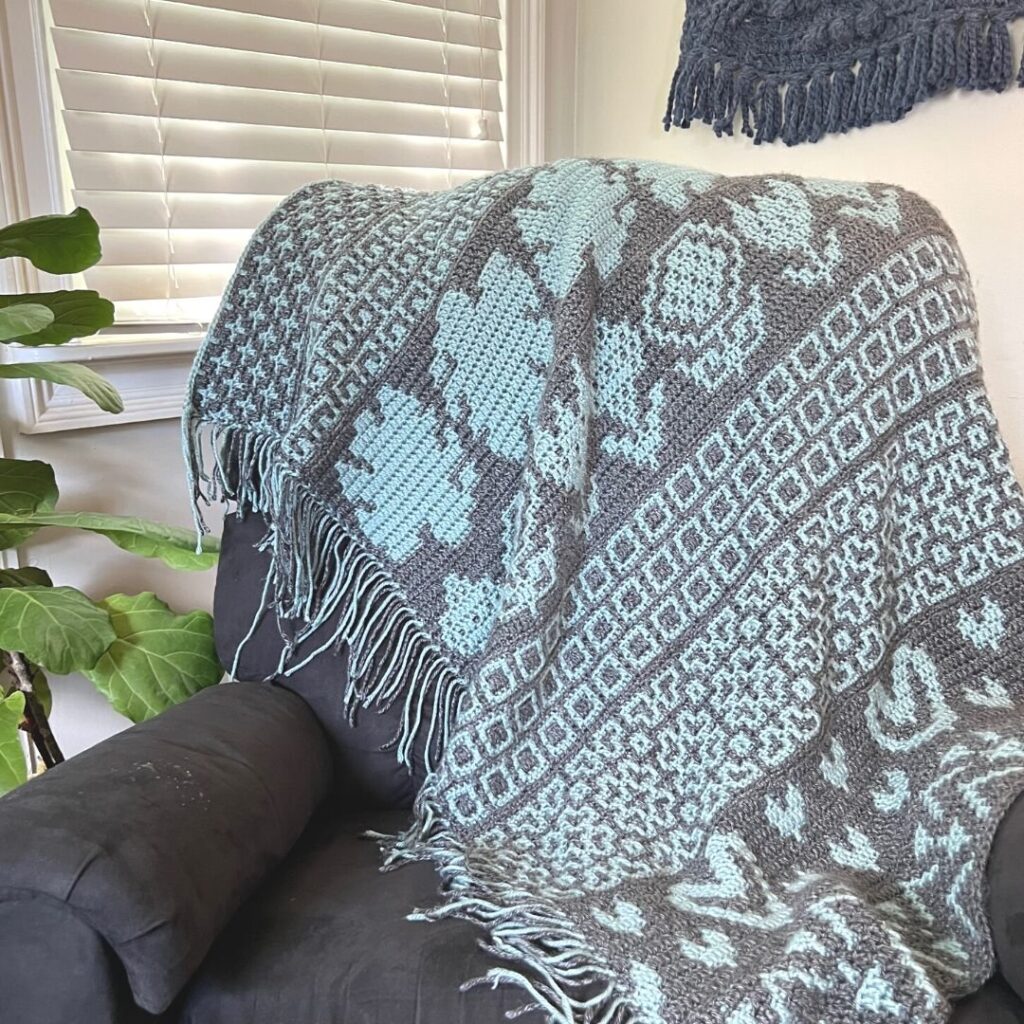
Love Blanket CALs?
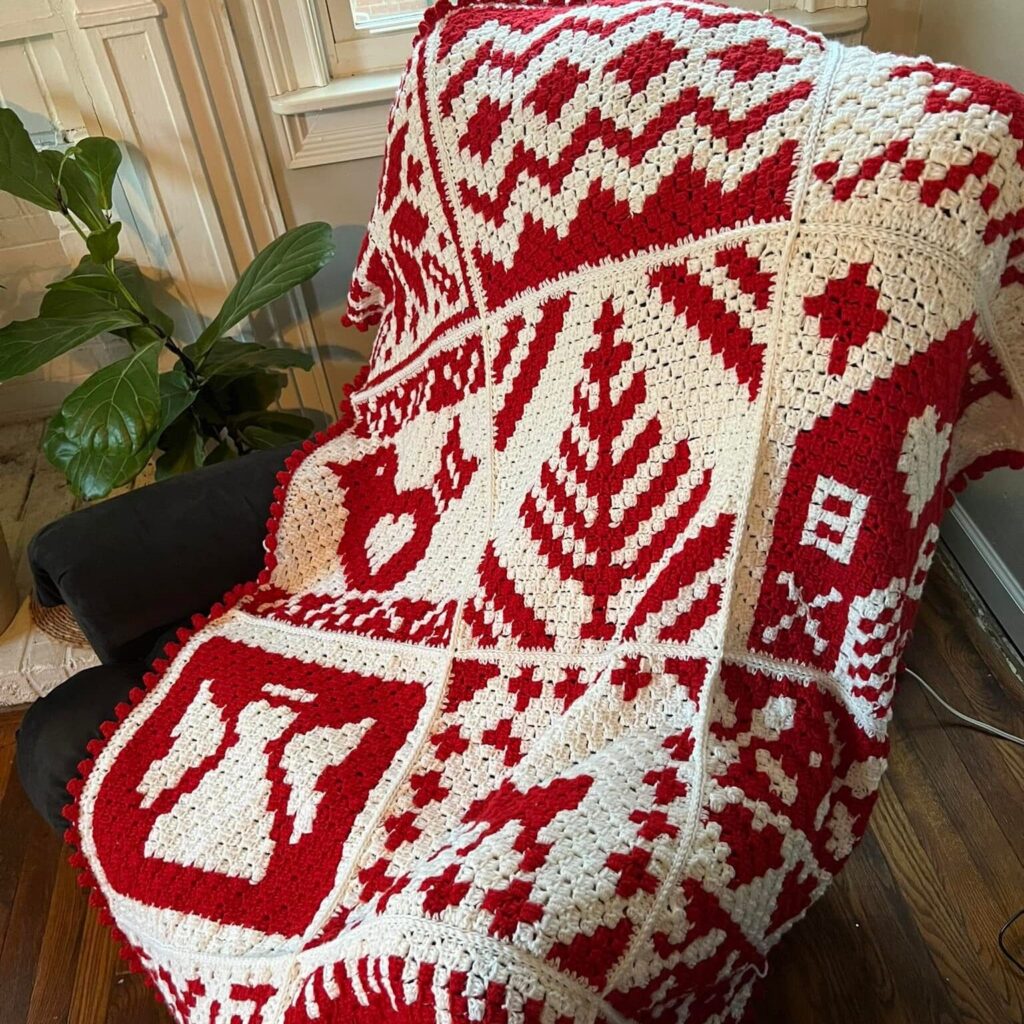
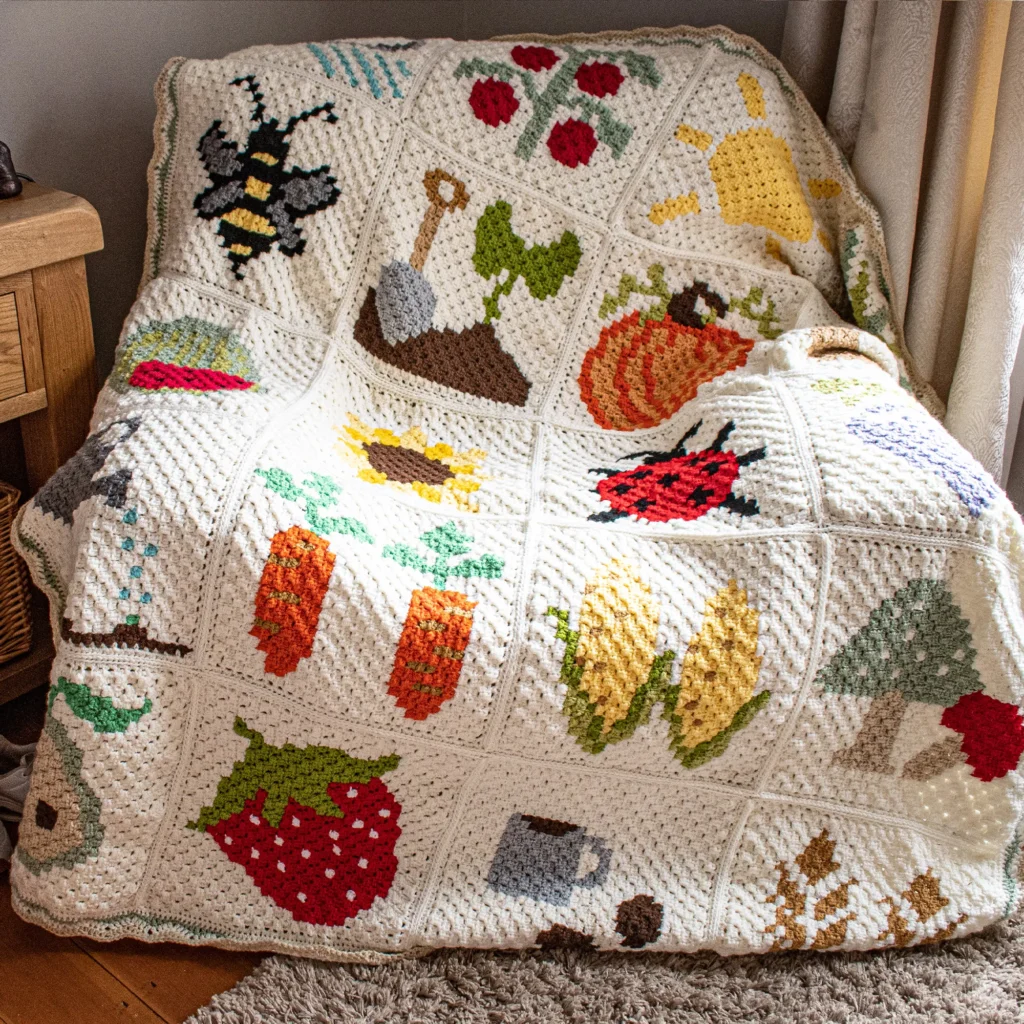
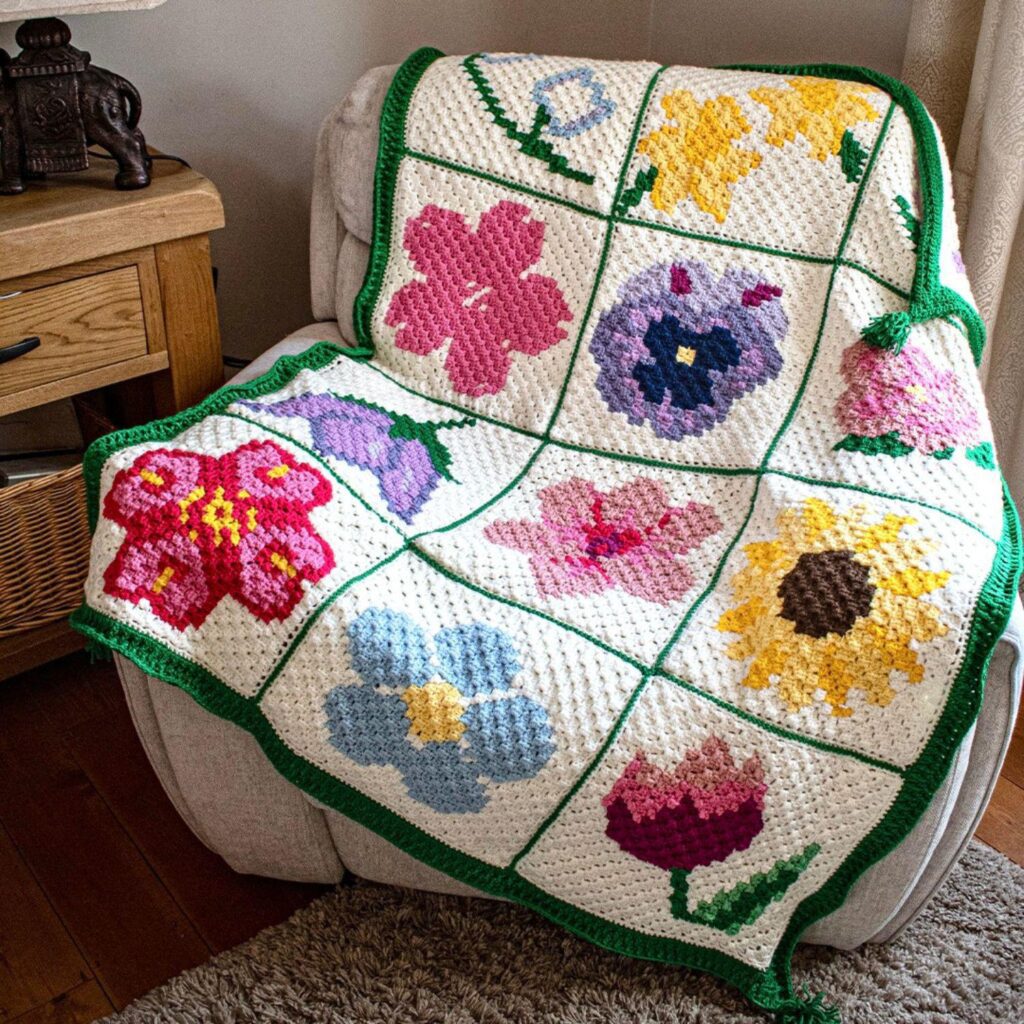
Here is a selection of some others I’ve designed for.






Lady Bug C2C Square
Skill Level: Intermediate
Gauge
Doesn’t matter, as long as you’re consistent.
Size
Approximately 12” x 12”.
How big will my square be?
The answer depends on many factors: yarn, hook, tension, etc. You can get a good estimate at the size of your blanket by using this C2C calculator by Tasha at Stardust Gold Crochet. All you have to do is crochet a swatch of four rows of C2C stitches using your yarn and hook of choice. Then fill out the calculator at the bottom of THIS page and it’ll tell you how big your square will be.


Pattern Notes
- Find more info about the CAL here.
- The pattern below has a free graph and written instructions for this square only, but you can purchase the whole ebook here.
- This is a C2C design.
- It is worked from the bottom right corner to the top left corner.
- Since it is a square, you do not have to worry about increasing on one side and decreasing on the other.
- Each C2C pixel/square consists of 3 half double crochets and a ch-3.
- Check out my tutorial if you’re unfamiliar on this technique, including color change.
- Rows 1 – 25 you will be increasing and rows 26 – 49 you will be decreasing.
- The odd-numbered rows are worked up and the even-numbered rows are worked down.
- The even-numbered rows are the Right Side and the odd-numbered rows are Wrong Side.
- This square was designed in 3 colors, but you can choose whatever colors you want! Get creative! I won’t get offended if you take creative liberties on the color scheme. Be sure to share pictures in my FB group so we can see what you come up with!
The eBook
As mentioned earlier, if you would like the complete blanket pattern today, purchase the ebook now! The ebook includes charts, written instructions, AND color blocks, for each square, plus pictures and video tutorials on C2C crochet, instructions on joining the squares and how to add a border.
The Chart
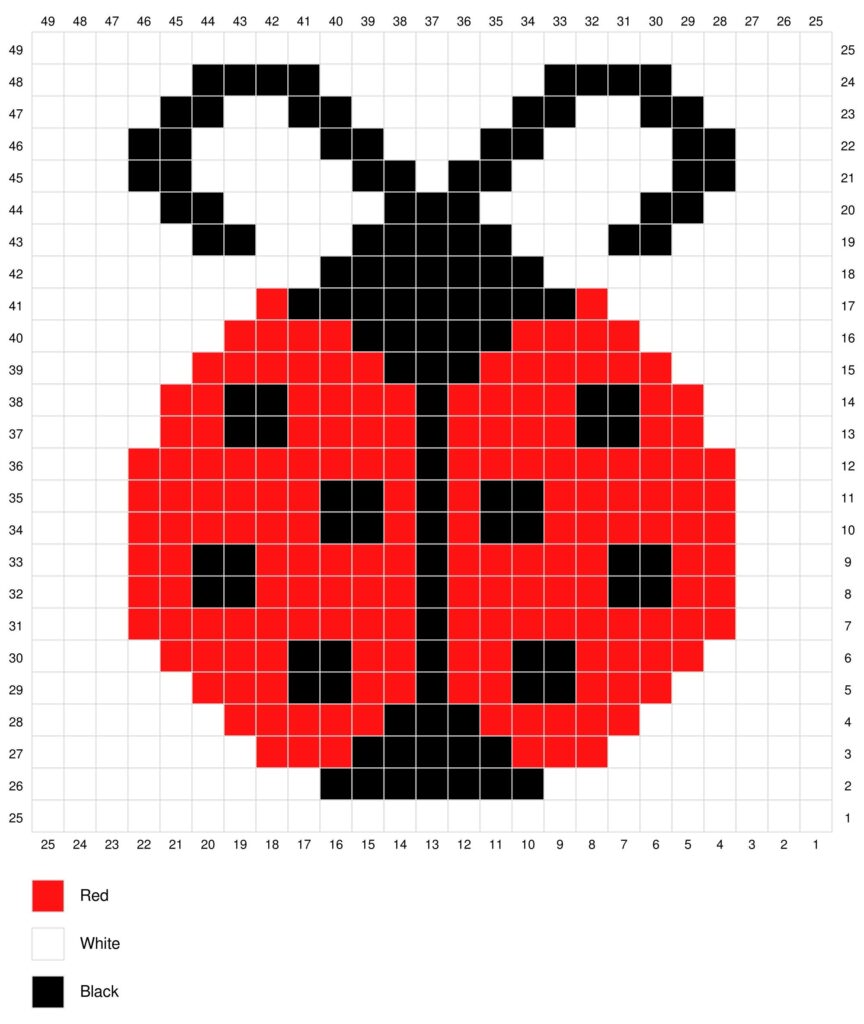

Written Instructions
The written instructions for this pattern can only be found in the full blanket CAL ebook.
Ready, Set… CROCHET!
Action Items
- Work up the Lady Bug square.
- Post a picture of your finished square in the J&O FB Group.
- Head back to the CAL page on Monday for the next installment of the CAL.
- OR purchase the ebook to get the complete pattern all at once.
If you have any issues, questions, or tips, please post them on the J&O FB Group.


