Crochet a Simple Envelope Border
Mastering the Envelope Border: Say Goodbye to Weaving Ends in Your Overlay Mosaic Crochet Projects!
Have you ever finished an overlay mosaic crochet project and been left staring at all those loose ends, wondering what on earth to do with them? We’ve all been there! But guess what? I’ve got the perfect solution to make your life a whole lot easier: the envelope border!
This nifty technique will hide those pesky ends, saving you hours of weaving them in. Let’s dive in and learn how to create a simple envelope border that will take your projects to the next level.
Don’t want to read all of the details? Watch this video that explains it all!
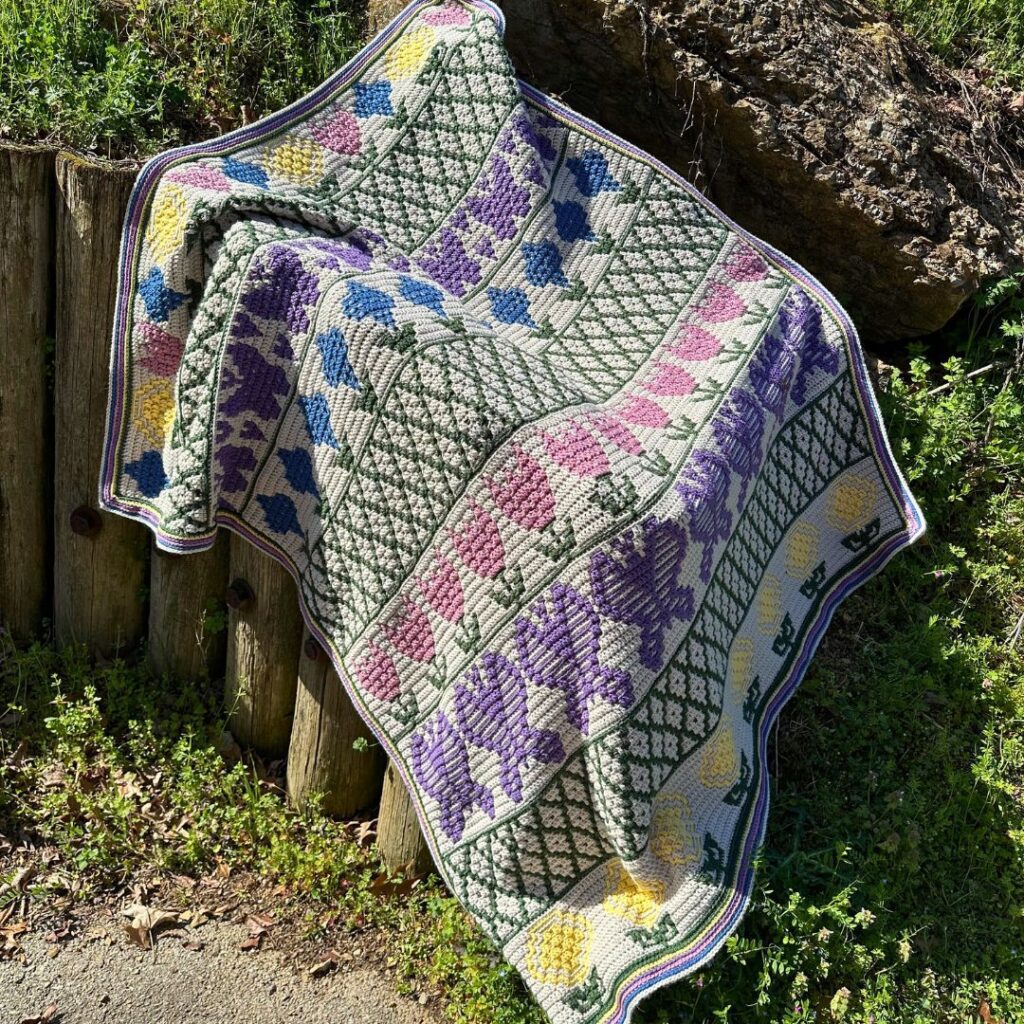
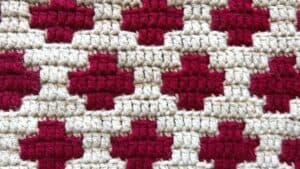
Mosaic Crochet Blankets
Before we start… here are some examples of overlay mosaic crochet blankets. Some are free patterns while others are paid.


Envelope Border
What You’ll Need:
- Your almost finished crochet piece
- Yarn (matching your project)
- A crochet hook
- Scissors
Step-by-Step Guide to Adding an Envelope Border
Picture tutorial is pending… If you prefer pictures: browse though THIS post for a more complicated border.
1. Prepare Your Ends
First things first, let’s tidy up those ends. I like to tie two ends together in a neat knot nearest the blanket, which keeps everything secure. Snip the ends to about 1-2 inches. This helps reduce bulk and makes crocheting the border easier.
2. Starting the Back Border
Flip your work so the wrong side is facing up. Make a slip knot with your yarn and start at the bottom of your piece. Work a single crochet into the front loop only across the edge. Remember, we usually work in the back loop for overlay mosaic, but for this round, front loops only!
3. Handling the Corners
When you reach a corner, do a single crochet in the front loop, chain one, turn your work, and continue with single crochets in the front loop. This keeps your corners neat and your border looking fabulous. (Some people prefer to chain two, so try they both and pick your favorite!)
4. Working the Sides
For the sides, work single crochets through both legs of the border stitches. This might sound a bit tricky, but trust me, it’s a game-changer! It helps keep your border even and secure.
5. Moving to Round Two
Switch things up a bit for the second round. Now, we’ll do back loop single crochets. Follow the same process for corners and sides, making sure you’re always working in the back loop.
6. Finishing the Back Border with Round Three
Repeat the back loop single crochets for the final round of your back border. By now, your piece should be looking pretty fantastic!
7. Adding the Front Border
Flip your work back to the right side and repeat steps 2-6 to add the front border. This is where the magic happens! Your piece will start looking clean and professional.
8. Seaming the Borders Together
With both the front and back borders completed, it’s time to seam them together. Do this using back loop single crochets through the loops that are touching each other. This step ensures that all your loose ends are tucked away neatly inside the envelope border.
9. The Final Touches
Make sure all your ends are hidden inside the border, trim any excess yarn, and finish off with a slip stitch join. Ta-da! Your envelope border is complete, and your project looks flawless without a single loose end in sight.
Why You’ll Love the Envelope Border
- Time-Saver: No more hours spent weaving in ends!
- Neat Finish: Gives your projects a polished, professional look.
- Easy to Learn: Even if you’re a beginner, you’ll pick this up in no time.
I hope you found this tutorial helpful! The envelope border has truly been a game-changer for my crochet projects, and I’m sure it will be for yours too.
Envelope borders not your thing? Try twisted fringe instead!
More Resources
Want to practice your envelope borders more? Check out these posts:
- Envelope Border – HDC method
- Checkered Mosaic Envelope Border (includes pictures!)
- Mosaic Crochet Tutorial
If you have any questions or need further help, drop a comment below or better yet, ask a question in my Juniper & Oakes Crochet Community on Facebook and someone will answer your question. And don’t forget to share your beautiful creations with me on social media!
Happy crocheting! 🧶
Looking for more crochet tips, tricks, and tutorials? Make sure to subscribe to my blog and follow me on Instagram for all the latest updates!
Feel free to explore more crochet wonders and ideas on my blog at Juniper & Oakes. Let’s keep those hooks busy and creativity flowing!


Do
You have a pdf of this pattern?
Hi Deborah,
Yes, you can purchase the PDF on my website here: https://shop.juniperandoakes.com/products/mosaic-crochet-dishcloth-washcloth-zigzags-geometric-design-cotton-yarn
Happy Crocheting
Erin