Envelope Border Christmas Afghan CAL
Welcome to the LAST installment of the Mosaic Nordic Blanket Crochet-A-Long. If you are just joining in, and need more info about the CAL, read this post.
I’ll fill you in really quickly. We are all creating an heirloom winter blanket together over in the Juniper & Oakes Crochet Community FB Group. Each Monday in October, November, and into December, a new overlay mosaic crochet chart was released on my blog in blog hop fashion, as there are 7 other designers who helped design this blanket!
We have all 9 sections finished!
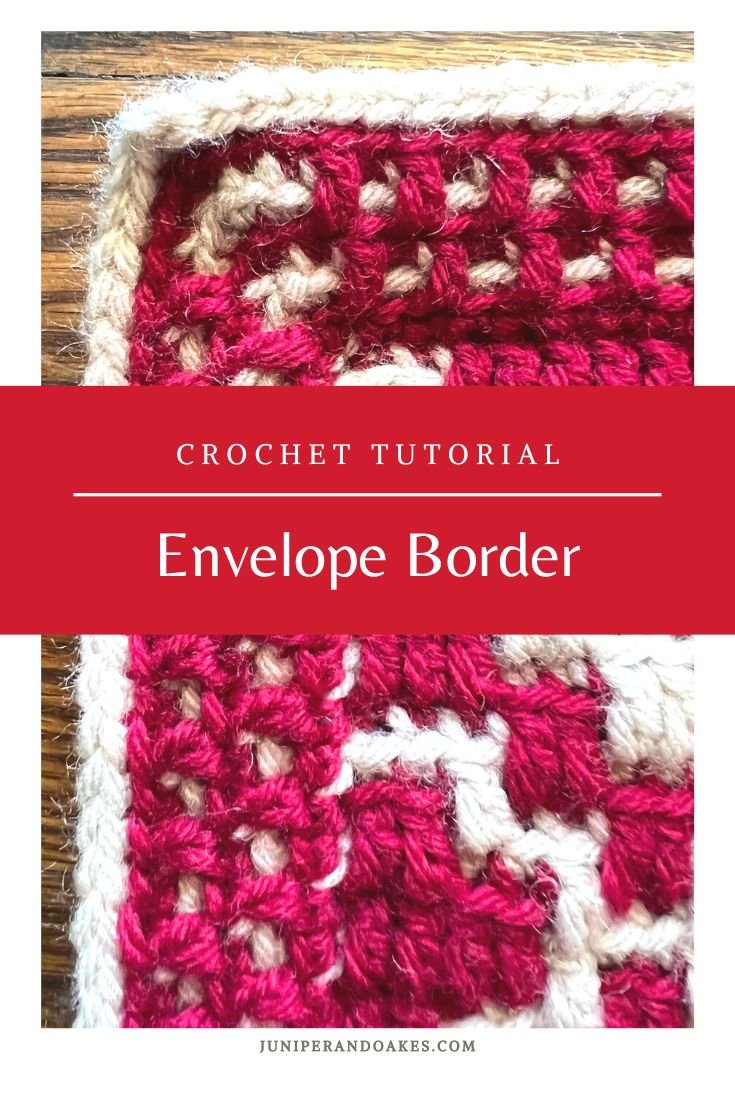
Now I think it is finally time to wrap up this project and add an envelope border to hide in all of those ends! (I know you’ve been wondering what we do with them).
NO! We do not weave them in. We’re going to hide them! You can always finish off your blanket another way if you wish, but this is a very common method for finishing off overlay mosaic crochet blankets.
Whatever you decide to do, you can always come back and reference this post later when you need it.
NOTE: THIS METHOD OF CREATING THE ENVELOPE BORDER IS FOR IF YOU WORKED UP YOUR BORDER STITCHES WITH A SC THROUGH THE POST OF THE STITCHES AS I DID IN THE MOSAIC NORDIC CAL. IF YOU WORKED REGULAR SC AS I USED FOR THE MONTHLY MYSTERY CAL, FOLLOW THIS PATTERN FOR THE ENVELOPE BORDER.
Don’t need to use this right now? Pin it for later!

After learning how to make the blanket border, make sure you hop on over to the Juniper & Oakes Crochet Community. You can ask questions, and post pictures of your WIPs and finished blankets!
If you don’t have Facebook, you can still participate in the CAL by creating your squares on your own. Definitely post pictures and share about the CAL on any social media you have. Be sure to tag me @juniperandoakes and use #MosaicNordicCAL so we can see your progress.
Don’t miss an update.
I will be sending out an email each time a new design is released. You will be the first to be notified of the next part of the CAL or any other news. Sign up now!
This section of the Mosaic Nordic CAL was designed by myself, with help of all the other great mosaic crochet designers out there! The concept of the envelope border is not an original one, and I have adapted several border concepts to come up with this pattern. I’d like to thank Tinna, BebaBlanket, & Heather Noble Designs for your inspiration & help!
I am actually releasing 2 different envelope borders today – one for the Mosaic Nordic CAL and the other for the Monthly Mosaic Mystery CAL. I worked the beginning & ending border stitches differently, causing the envelope border to need different methods. (Sorry to be confusing, but I was still learning myself when I started the MMMCAL).
The purpose of the envelope border is to cover up all those pesky ends without having to weave them in.
Since it’s also called a “double border,” meaning we crochet 2 borders and seam them together – the process is time consuming, but very worth it in my opinion! I hope you agree!
How to Add an Envelope Border
Stitch Abbreviations: (U.S. Terms)
- BLO: Back Loop Only
- ch: Chain
- dc: Double Crochet
- FLO: Front Loop Only
- sc: Single Crochet
Video Walkthrough:
Please LIKE this video, and COMMENT with your favorite blanket border stitch, and SUBSCRIBE to my YouTube channel. THANK YOU!
Back Border
Note: To make your border less bulky, consider going down a hook size.
Round 1: With Color A, sc in the FLO of any stitch along the bottom of blanket, sc in FLO in each stitch. In each corner, *sc in FLO, ch 1, sc in FLO*. Along the side, sc through both legs of the border stitches. Invisible join to first stitch. (see note below)


Round 2: Ch 1, BLOsc in each stitch around. In each corner, *BLOsc, ch-1, BLOsc* in each corner. Invisible join to first stitch.
Rounds 3-5: Repeat Round 2. Fasten off.


NOTE: Each round ends with an invisible join.
Invisible Join
- Work last stitch
- Remove hook from loop.
- Insert hook through back of 1st stitch of row
- Grab dropped loop
- Pull yarn loop though.
- Untangle hook & yarn.
(May also use sl st to join.)


Front Border
Round 1: With Color B, Repeat Round 1 of Back Border.


Round 2: With Color A, Repeat Round 2 of Back Border.
Round 3: With Color B, work similarly as before, but now alternating between BLOsc and FLOdc into Round 1.
Round 4: Repeat Round 2
Round 5: Repeat Round 3, but staggering the stitches so that the FLOdc stitches align with the BLOsc stitches from Round 3, and the BLOsc stitches align with the FLOdc from Round 3.


Finishing
- Secure ends by tying two together along each side.
- Trim ends to about 1inch in length.
- With Color A, BLOsc through BOTH borders. (The loops that are closest together on the blanket), ensuring that the ends are enclosed in the envelope border.
- Fasten off.
- Weave in (or hide) all ends.
Overlay Mosaic Crochet:
The technique used in this blanket is overlay mosaic crochet. Click here for my blog post on this technique, which includes a video tutorial a well.
The Yarn: Worsted
Wool Ease by Lion Brand – or any worsted yarn in two colors
- Color A: Linen
- Color B: Cranberry
Purchase the yarn here!


The Hook: 5mm
I used a H/5.00 mm Streamline Swirl hook from Furls Crochet to make my blanket. Furls sent me this hook for me to use for my 2022 mosaic projects. This hook feels so good in my hands and the yarn slides easily across the nickel. If you have never tried a Furls hook, I suggest you head on over to their website and order one now.
Purchase the hook here!


The eBook:
As mentioned earlier, the free charts for each blanket section are available on the designers’ blogs, but if you would like the complete blanket pattern with all the written instructions and printable charts, purchase the ebook now!
Purchase the Ebook here!


Ready, Set… CROCHET!
Action Items:
- Purchase the ebook to get the complete pattern all at once
- Get caught up on blacket.
- Add the envelope border
- Post a picture of your finished squares in the J&O FB Group
If you have any issues, questions, or tips, please post them on the J&O FB Group
Need more overlay mosaic crochet patterns??
Work up the 2022 Monthly Mosaic Mystery CAL! It’s never too late to join, even if it’s not 2022 anymore!
The Fine Print
This pattern and its images are the property of Juniper and Oakes ©2023. The pattern is for your personal use only. Please do not copy/paste, distribute, or alter and claim as your own. You may sell products made by this pattern, but please credit @juniperandoakes and remember to link back to juniperandoakes.com or credit Juniper & Oakes on the craft fair tag.
You may post pictures on social media and tag @juniperandoakes and use the hashtags #juniperandoakes and #jaobookmark. If you make this pattern, please email a picture to [email protected] and I will include it in a gallery on my website. You can also post pictures on my Facebook Page, or in the Juniper + Oakes Crochet Community Facebook Group.
This post may contain affiliate links. View our disclosure policy here.
Let me know if you run into a problem. I respond quickly and will help any way I can to clarify any confusion or challenging stitches.


