Back Loop Only Single Crochet Join for Granny Squares
Looking for an easy and attractive way to join blanket squares? In this tutorial, I’ll give you everything you need to know to seam your granny squares together with this textured back loop only single crochet join. This joining method creates interesting raised ridges that remind me of zippers running across your blanket. This border helps each square stand out and elevates the look of your whole project!
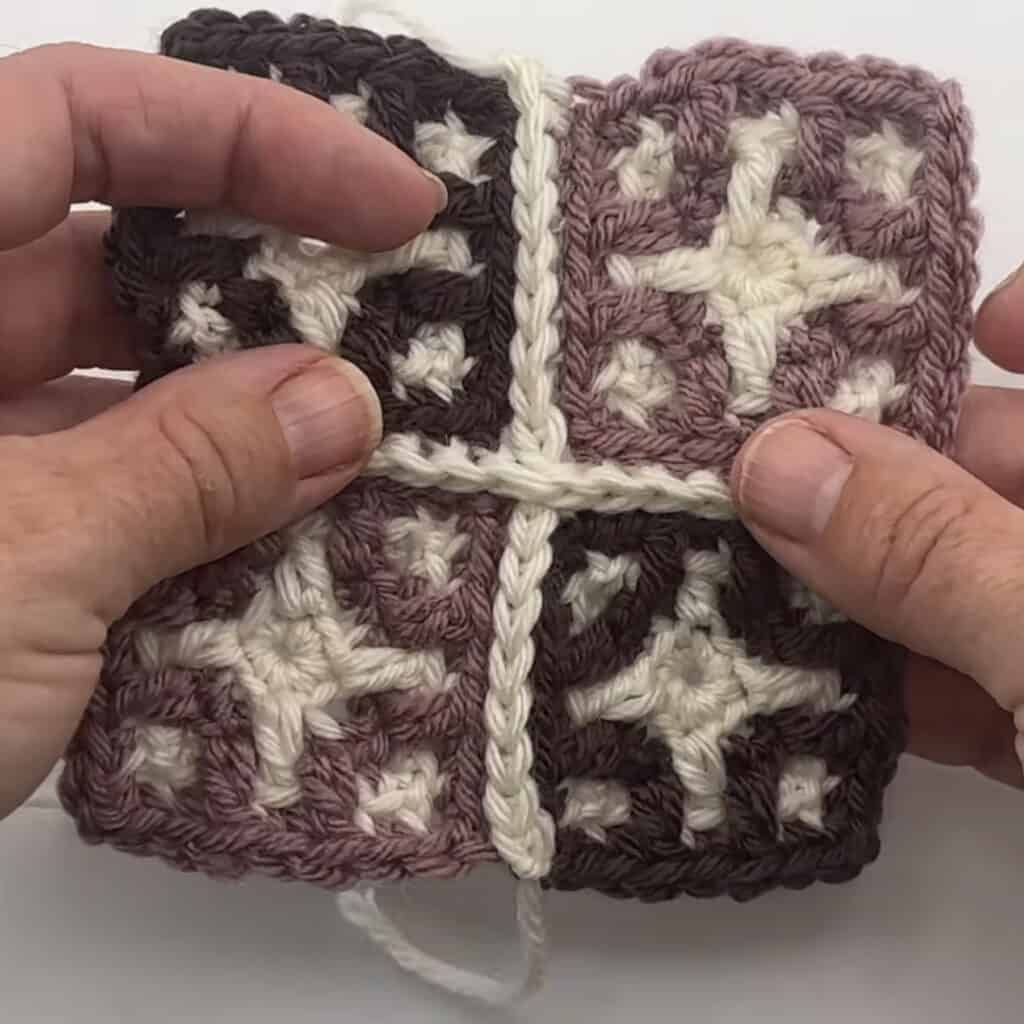
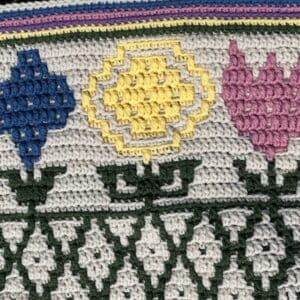
This simple BLO single crochet join works beautifully for granny squares, like in the Mosaic Grannies Collection or the Frosted Windowpane Blanket. You can also use it for pillows (like the 4th of July Mosaic Pillow), or anywhere you’re looking for a simple and beautiful way to finish a granny square project.
What You’ll Learn
- An easy method for joining granny squares using back loop only single crochet (BLOsc)
- How to arrange your squares before joining
- How to hold your squares as you work
- Exactly where to place each stitch
- How to add any number of squares you like to a granny square project
Joining Squares with Back Loop Only Single Crochet
In this method, squares are joined with wrong sides together so the decorative raised seam faces outward on the right side. You will seam horizontally (row by row) first, then vertically to connect the rows.
This is a simple, beginner-friendly method. And I’ve provided detailed photos and a video tutorial to help you along.
This post contains affiliate links. While I may receive compensation when you purchase and item from a link, your price doesn’t change and all recommendations are my own. See affiliate disclosure policy.
Don’t have time to make this now? Pin the image below for later.

Patterns Using this Joining Method


The Mosaic Grannies Collection

This joining method is used for the Mosaic Grannies Collection, a year-long crochet-along.
The full experience – including community, early access, and bonuses – lives inside the Crochet Collective.
Bonuses included inside the Collective:
- Monthly Sip & Stitches to show off your squares
- Written instructions AND mosaic chart AND color blocks for each square (not guaranteed on the blog)
- Early access to squares – there’s several in there already!
- Multiple Seaming & Border Options


You can also purchase all 12 granny square patterns in an eBook from my shop (you can add the pattern to your Ravelry library from there). The patterns will be released gradually throughout the year, allowing you to enjoy a slow, relaxed crochet rhythm. You’re welcome to work along month by month—or jump in and stitch at your own pace as patterns become available.

Frequently Asked Questions
Why is my seam pulling or puckering?
Sometimes this can happen if you hold the yarn too tightly. Try using a looser tension. If it helps, you may want to go up a hook size.
Can I seam vertically first?
Sure! It doesn’t really matter if you seam horizontally or vertically first. What matters is that you keep track of which squares you’re joining and ensure that you’re joining them in the order that you want.
Why are the sides of my squares not flush?
This is normal with this joining method. To put a neat edge on your project, add a border around the outside, like this one.
What are some other joining methods I can try?
You could try a slip stitch join, a similar technique that gives you a flatter border. Or if you don’t want to see the seam at all, you could always sew them together with a tapestry needle using a mattress stitch. Any of these methods look great and allow you to create a project in your own unique style! I’d love to see what you come up with.
Video Tutorial to Join Granny Squares with Back Loop Only Single Crochet
This method is used to join squares in the Mosaic Grannies Collection. You’re almost there!
How to Join Granny Squares with Back Loop Only Single Crochet
Step 1 — Arrange Your Squares
- Lay out all squares in a grid in the order you want them.
- Keep the squares in position as you work. Don’t let them get shuffled.
- Number the rows if it helps.

Step 2 — Seam the Squares Horizontally (Row by Row)
You will seam within each row first, joining squares side by side, before connecting the rows.
To join two squares:
- Hold two squares with wrong sides together, with the edges to be joined touching, facing you.

- Make a slip knot with joining color and place it on your hook.
- Insert your hook through the back loop only (BLO) of the corner stitch of the front square, then through the matching back loop only of the corner stitch of the back square (the loop that is facing you).

- Work a single crochet through both loops: yarn over, pull through both back loops (2 loops on hook), yarn over, pull through both remaining loops.

- Continue working BLOsc through both back loops across the entire edge, matching stitch for stitch.
** If you don’t have the same number of stitches across each square, add or skip a stitch to keep the squares aligned.

- When you reach the far corner of the first two squares, continue joining the next two squares in the same manner. Again, hold the next two squares with wrong sides together. Find the corner stitches of the next two squares and work through the BLO of those two squares, making sure that your loop is taut and the working yarn is on the back of the work. Make sure the stitches are taut to avoid a big gap in your seam.

- Continue joining squares, two at a time, until you have joined all of the squares in your first two rows.
- When you reach the far corner, work one final BLOsc through the corner stitches. Chain 1 and fasten off.
- Repeat to join all squares in Row 1 into a strip. Then repeat for the remaining rows.
- Repeat again with the next rows of squares until all of the rows have been joined horizontally (the vertical seams will be loose at this point).

Step 3 — Seam the Rows Vertically
- Now connect the horizontal strips to form the full blanket (or panel).
- Turn your work 90° so that the horizontal seams run left to right in front of you (or right to left for left-handed crocheters)

- Fold the project to so that your wrong sides are together and the edges to be joined are touching, facing you.

- Beginning at the corner stitch, work BLOsc through the back loops of both strips all the way across, exactly as you did when seaming horizontally.
- When you reach a horizontal seam junction, simply work through the corner stitch on each side. The existing seam is already worked into that stitch, and that is completely fine. Work into that same stitch. Then “jump” the seam and go into the corner stitches on the next two squares.


- Continue to the far corner, work one final BLOsc, chain 1, and fasten off.
- Repeat to join all rows, completing the blanket (or panel).

- Add a border for a clean, even edge.
Pin this Tutorial for Later!

The Fine Print
This pattern and its images are the property of Juniper and Oakes ©2026. The pattern is for your personal use only. Please do not copy/paste, distribute, or alter and claim as your own. You may sell products made by this pattern, but please credit @juniperandoakes.
Please post pictures on social media and tag @juniperandoakes and use the hashtag #juniperandoakes. You can also post pictures in the Juniper + Oakes Crochet Community Facebook Page.
Let me know if you run into a problem. I respond quickly and will help any way I can to clarify any confusion or challenging stitches.