Twisted Fringe for Mosaic Crochet Projects – Free Tutorial
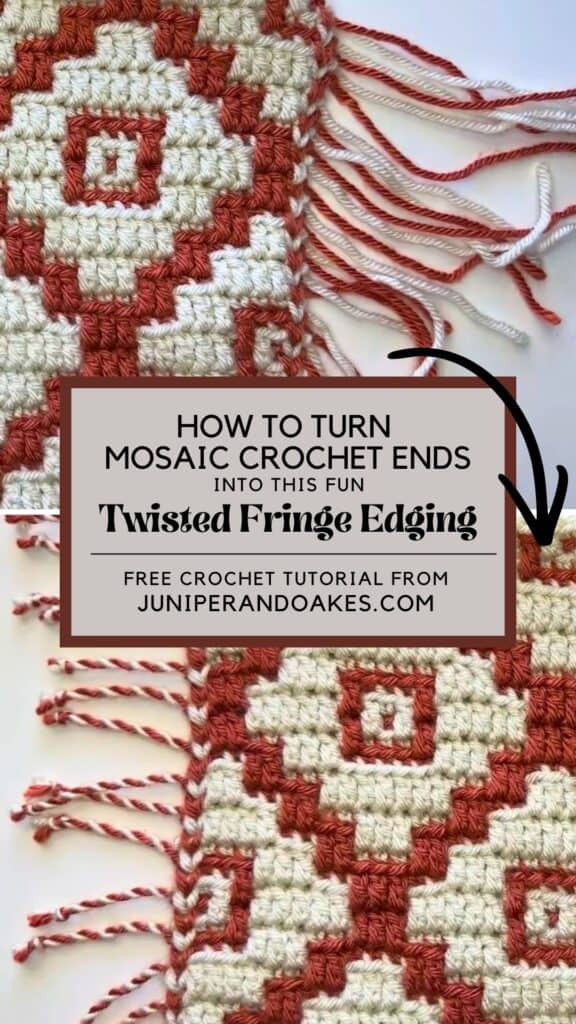
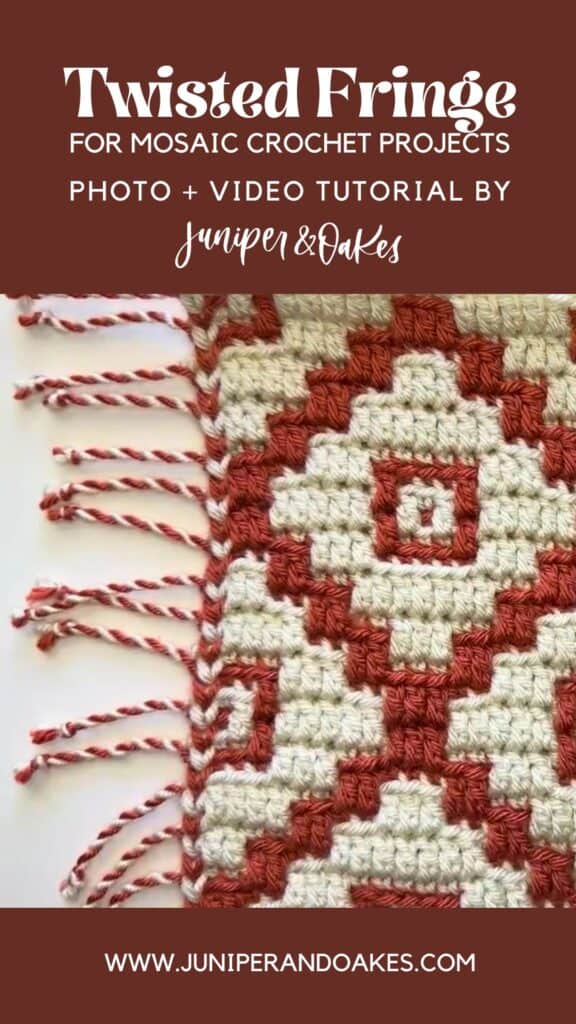
Hey there crocheters! Don’t want to weave in your mosaic crochet ends? Why not turn them into this pretty, fun twisted fringe? I’ll show you how, with a free photo and video tutorial, below.

What You’ll Find in This Twisted Fringe Tutorial
- An easy method for turning mosaic crochet ends into twisted fringe
- Helpful tips for keeping your twists even and consistent
- Detailed written instructions, photos, and video instructions, so you can follow along however you learn best
- Project ideas that use the twisted fringe edging
How to Make a Twisted Fringe on Mosaic Crochet
As you know, when you’re working in mosaic crochet, each row leaves you with an end on each side. You can leave it there as a simple fringe or you can create an envelope border to hide your ends.
OR you can twist those strands together to create this fun twisted fringe that I’m about to show you. This method is really easy to do! This fringed edging would be really cute at the end of a scarf, or perhaps a on table runner, a tablecloth, a wall hanging, or even a mosaic crochet blanket!
Because you change colors each row, each little twist will have two colors, which gives it a fun stripey effect.
This post may include affiliate links. View our disclosure policy here.
Can’t work this Edging right now? Pin it for later!
Crochet Projects Using the Twisted Fringe
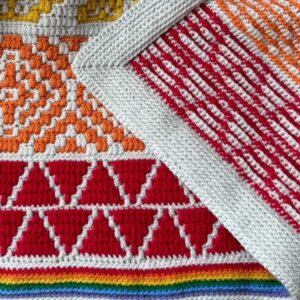
Want to try out this technique? Check out one of these great crochet patterns that feature a twisted fringe edging!
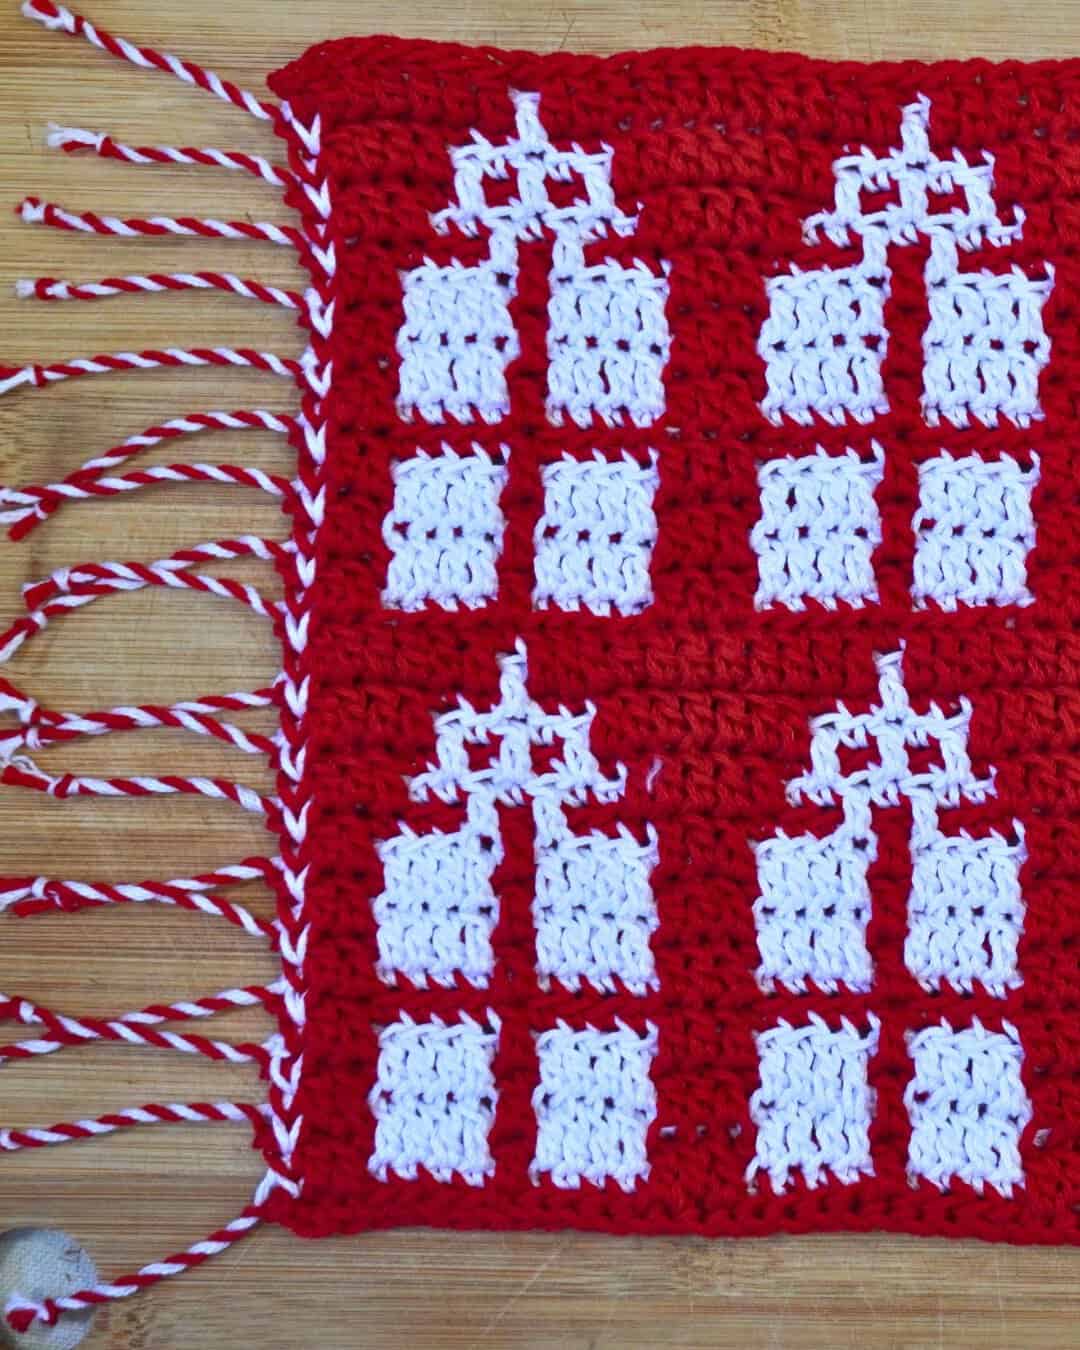
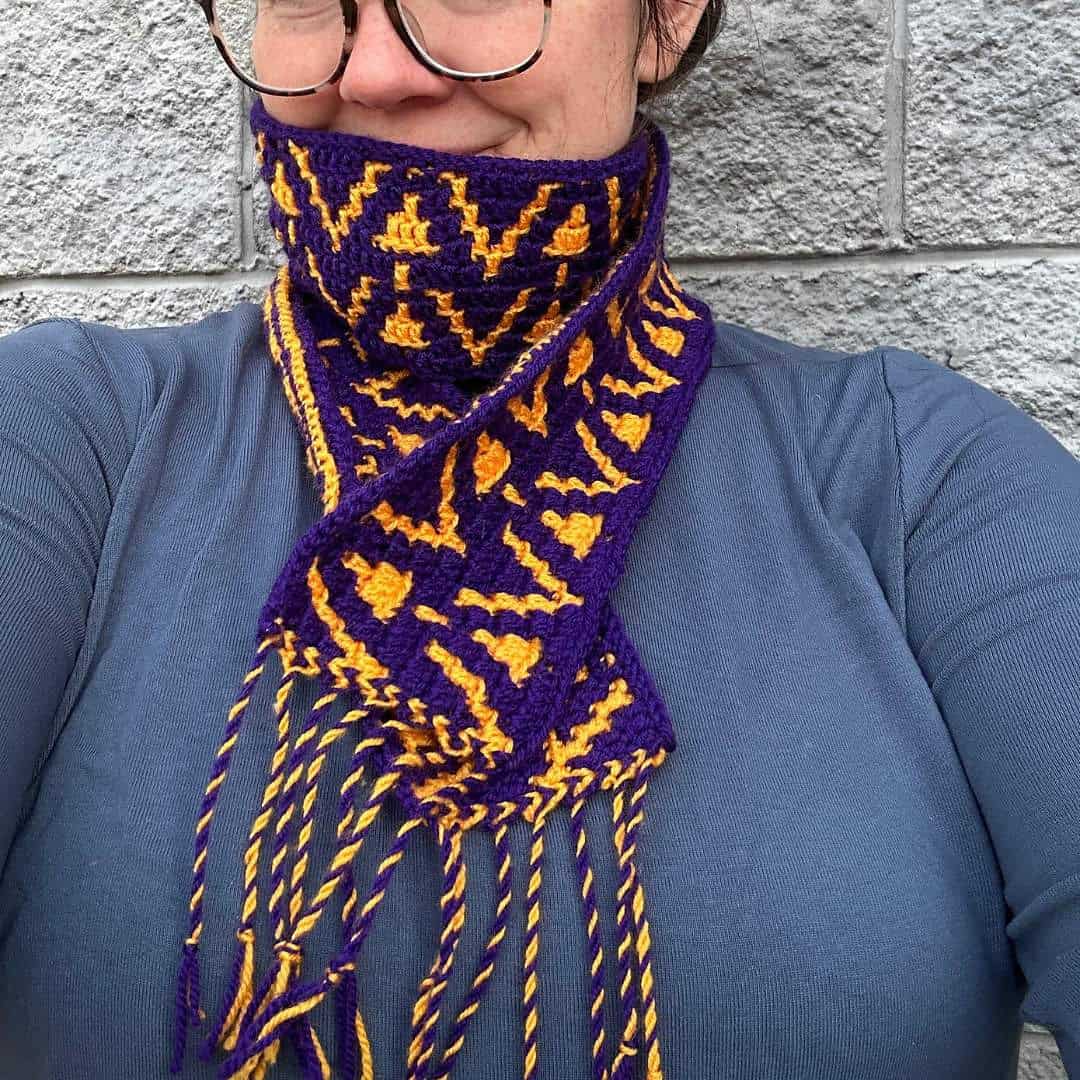
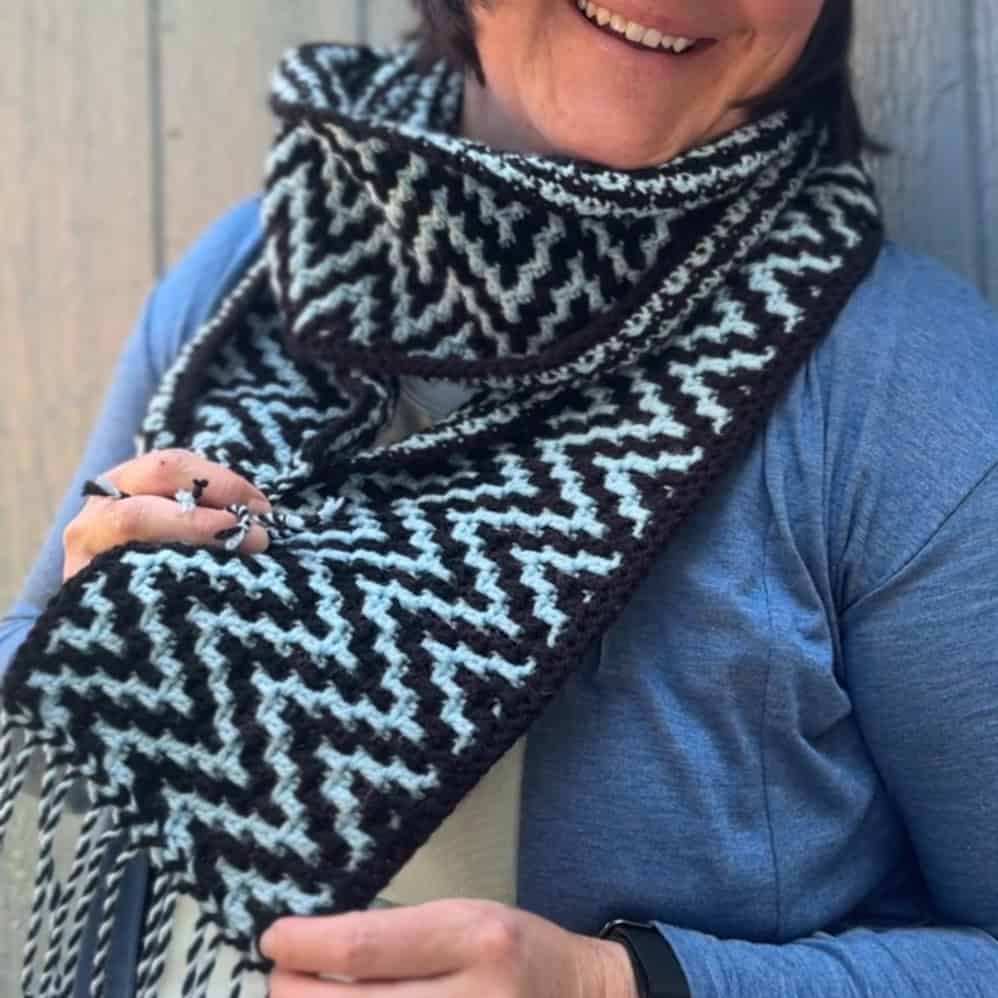
Crochet Tutorial for the Twisted Fringe
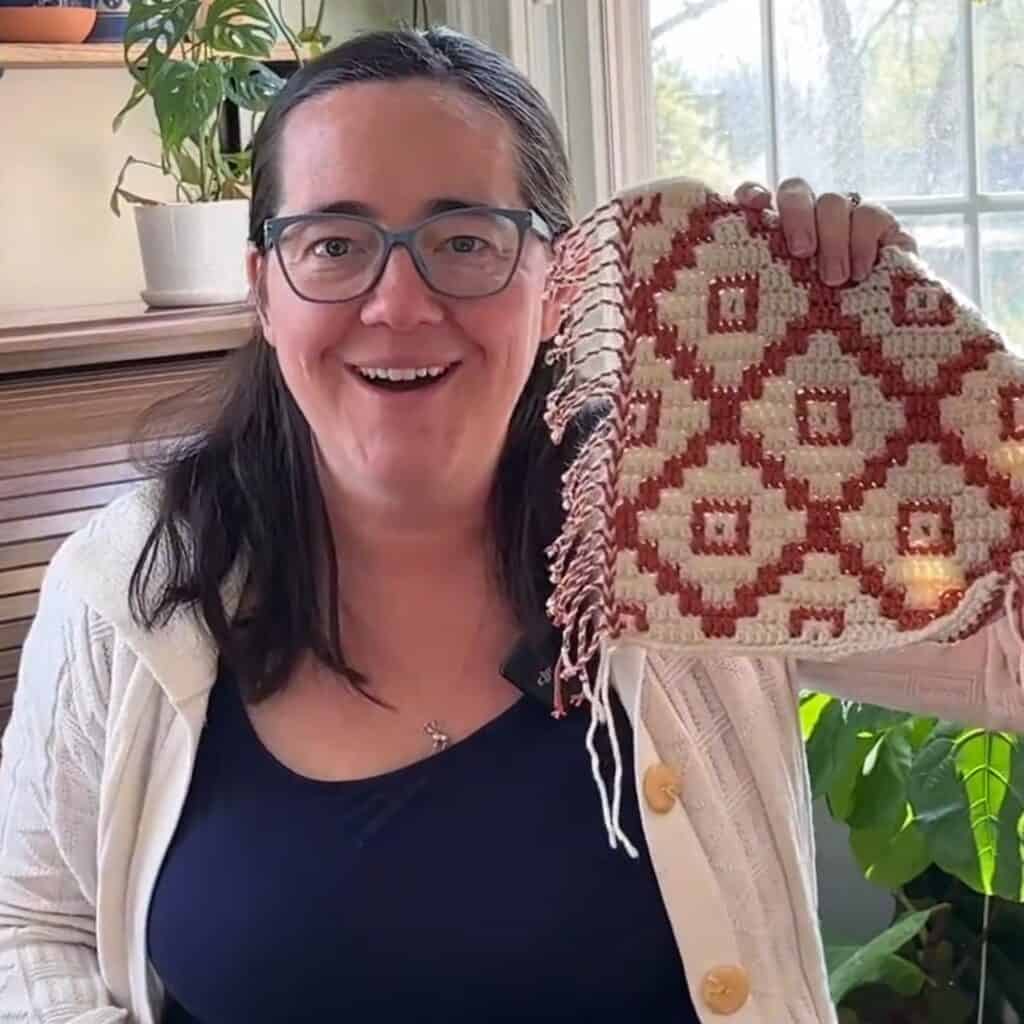
Easy Crochet Twisted Fringe Video Tutorial
Learn how to create a twisted fringe on your mosaic crochet blanket border with this YouTube video. Or keep scrolling for the written instructions.
Written Instructions for the Twisted Crochet Fringe Edging
Below you will find step-by-step instructions for creating a twisted fringe on your mosaic crochet project.
- Work with two yarn ends at a time. Grab one strand and twist it in one direction (I usually give mine about 5 or 6 clockwise turns). Keep holding that strand while you pick up the second one with your other hand.
- Twist the second strand in the same direction, giving it about the same number of turns.
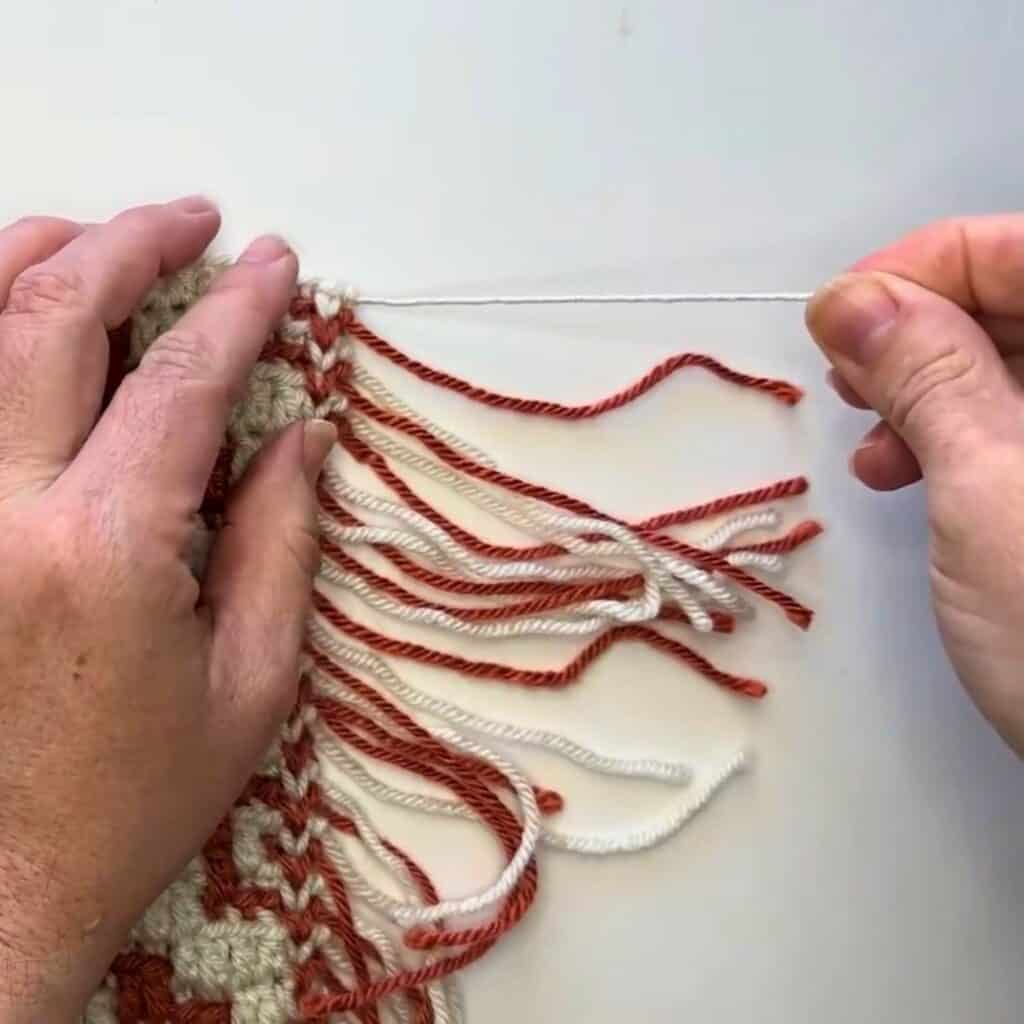
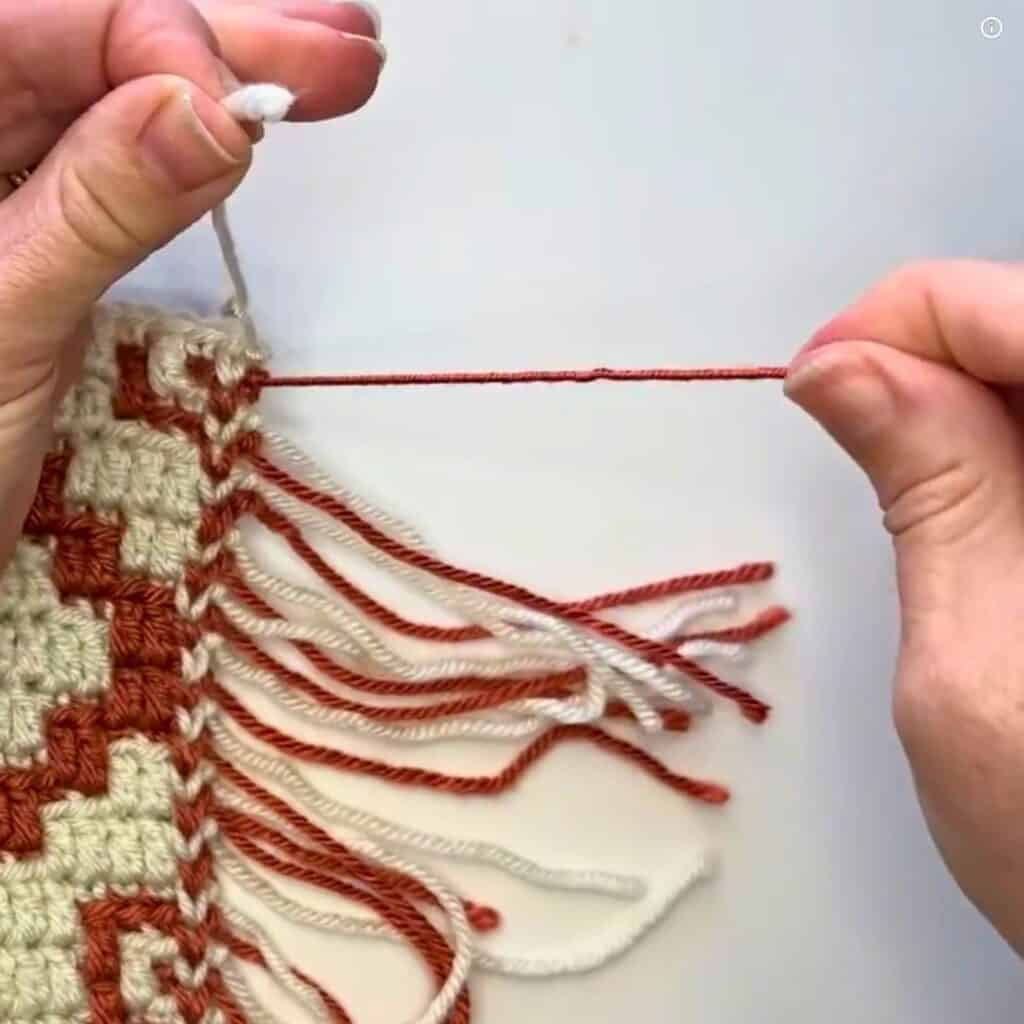
Tip: Make sure you twist both yarn ends in the same direction. If you twist the first strand clockwise, twist the second one clockwise, too. Try to give each strand about the same number of twists so your fringe looks nice and even.
- Once both strands are twisted, hold them together, wrap them around your finger, and tie a knot. Pull it tight.
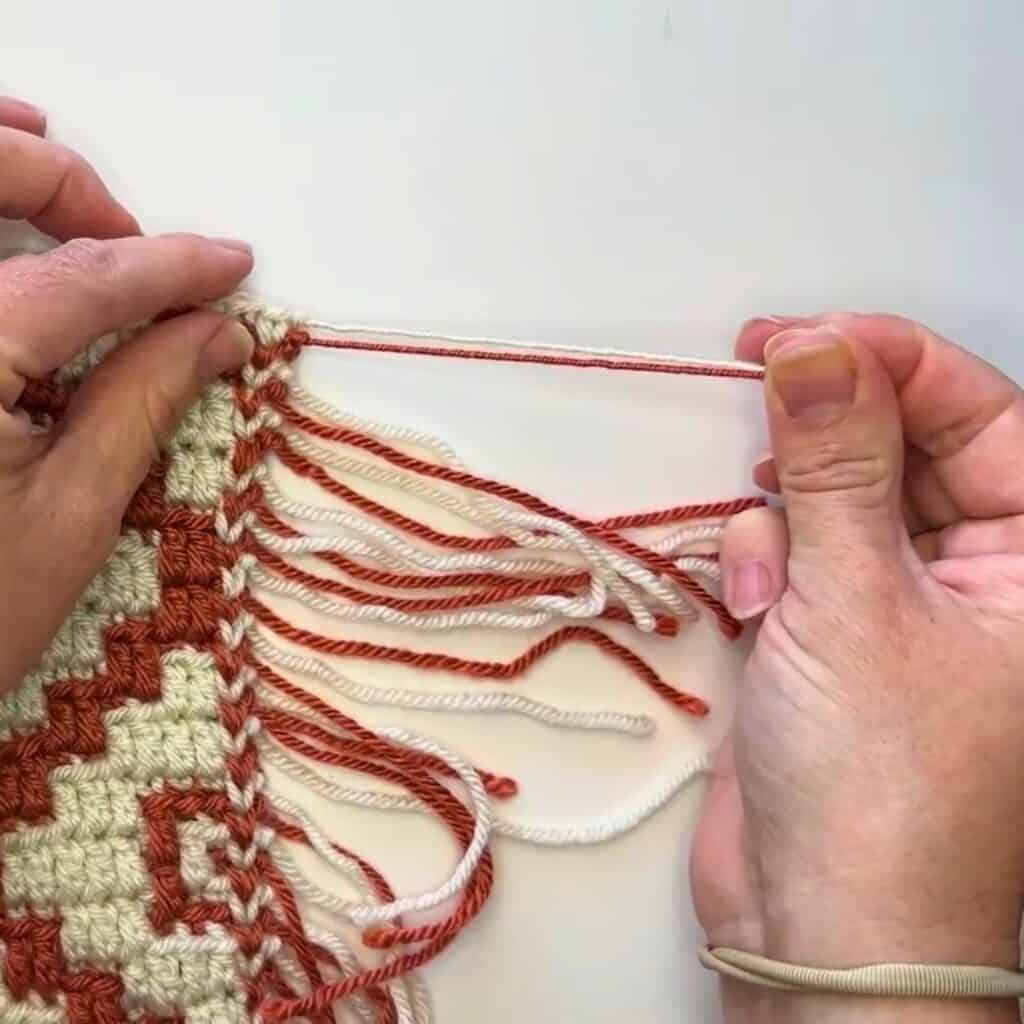
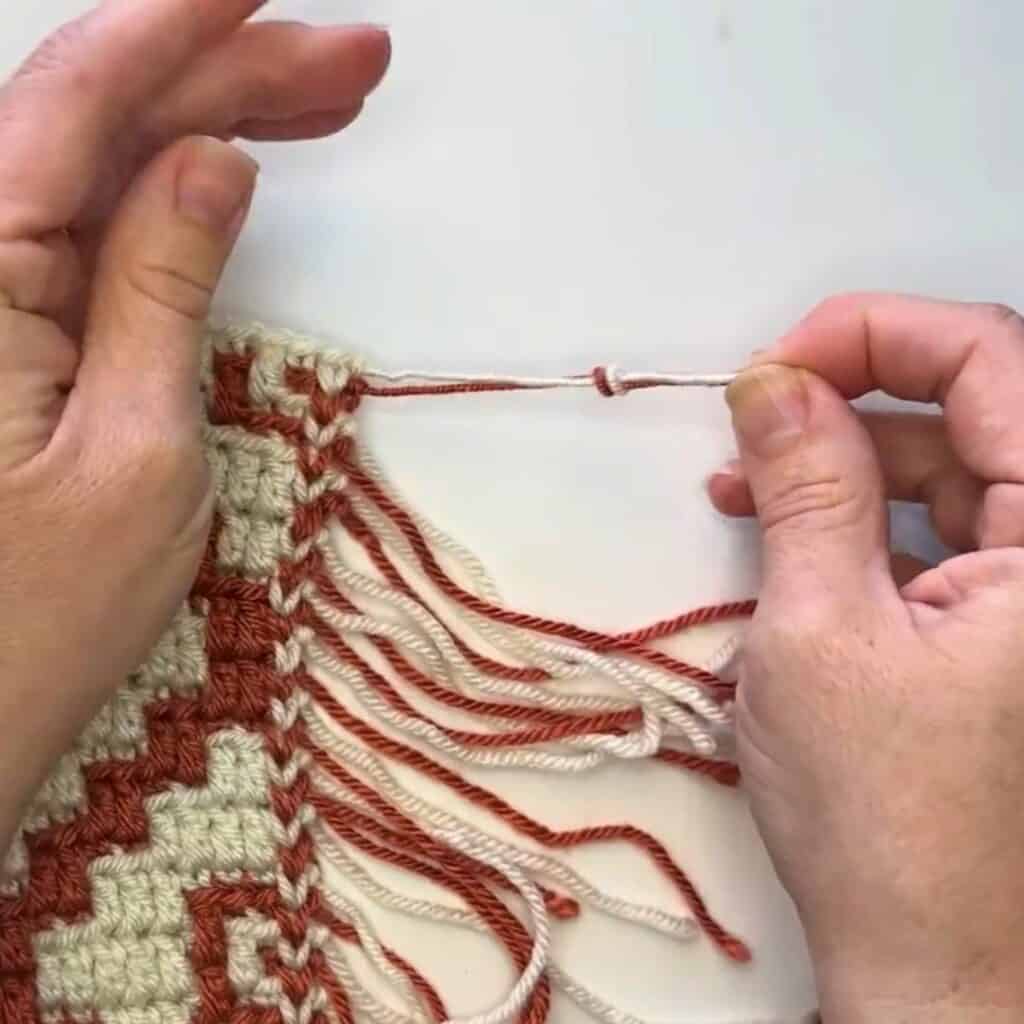
- Voila! Let go, and you’ll have that fun, twisty fringe!
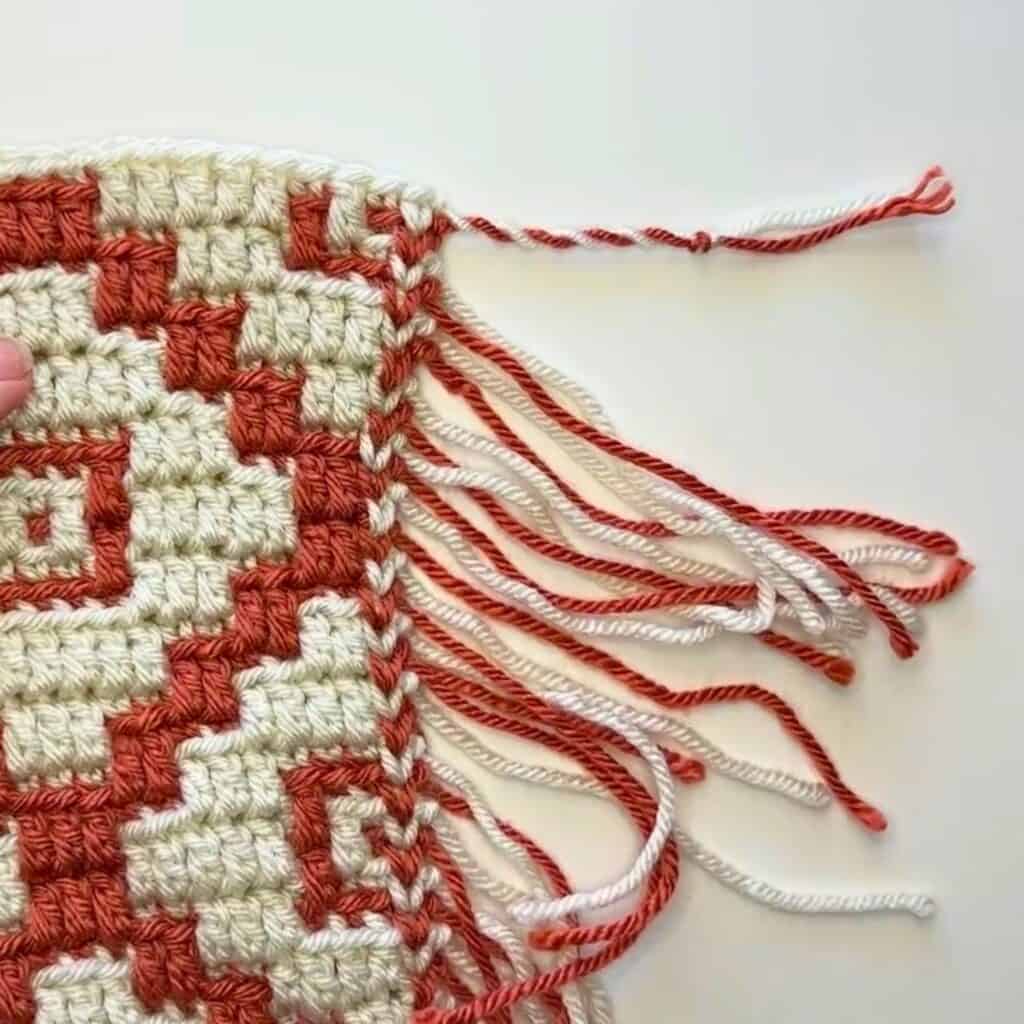
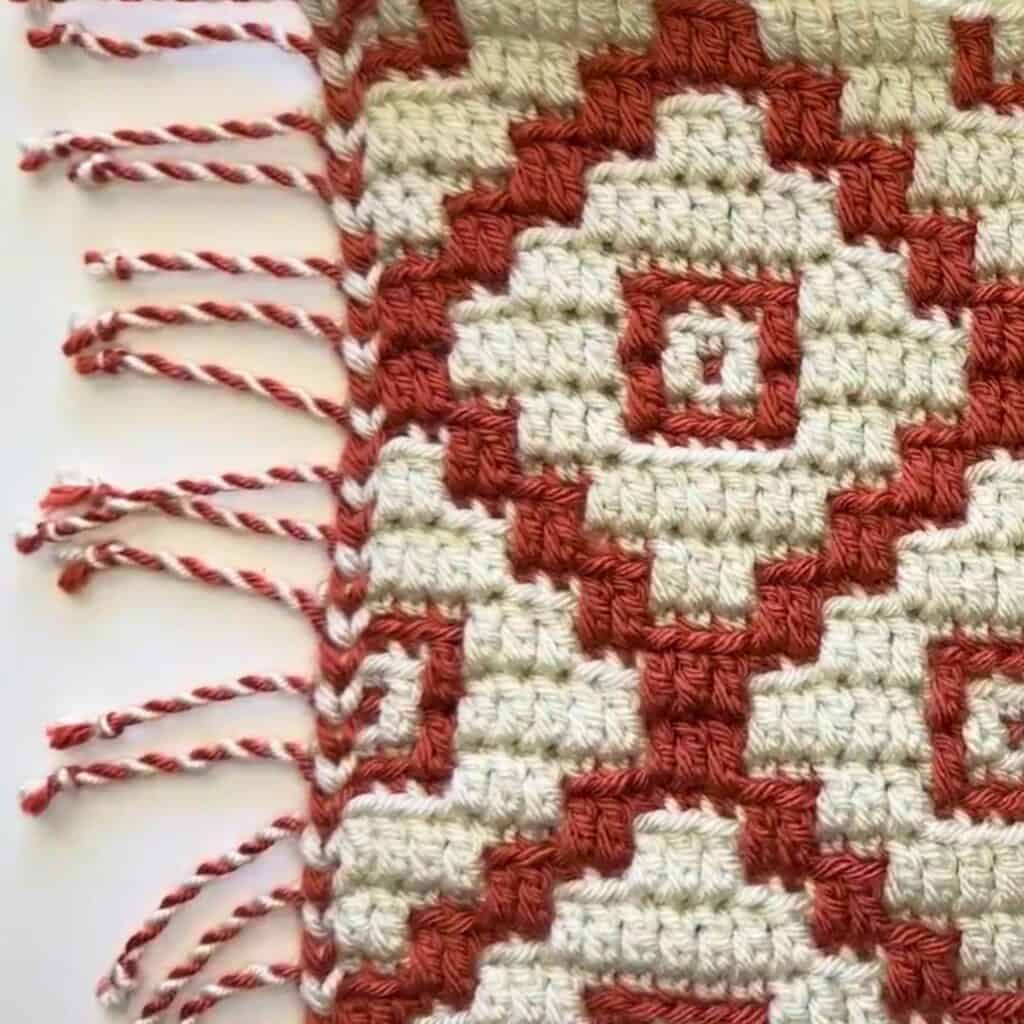
- Repeat these steps for all the strands along each side of your project.
Tip: The trickiest part is getting your knot in the right spot. Since the fringe twists when you let go, the knot may not end up exactly where you expect. You might have to guesstimate a bit, and that’s okay! Just do your best to place your knots in roughly the same spot so your fringe looks nice and even.
That’s all there is to it! Have you ever tried making a twisted fringe before? What crochet project would you like to use it on? Leave a comment below and let me know.
Frequently Asked Questions
My project has an Odd number of rows. How can I do the twisted fringe with an odd number of ends?
Since you need two strands for each twist, if your project has an odd number of rows, you’ll have one end left over on each side. You can just weave in those two extra ends.
Is this twisted fringe only for mosaic crochet projects?
Not at all! This method works great for overlay mosaic crochet because the technique naturally leaves loose ends down each side of the project. However, if you like the twisted look, you can always tie on strands of yarn in a similar manner as you would for a simple fringe, then twist them as shown below.
What are some other options for finishing my mosaic crochet project?
If you prefer a different look for your edges, you can leave your loose ends as a simple fringe, weave them in, or hide them inside an envelope border. Learn more about different ways to finish mosaic crochet ends here.