How to Crochet the Shell Stitch – Free Tutorial
Need a simple but but elegant stitch pattern for your next crochet project? Closed Scallops (AKA Shell Stitch) is a fancy-looking technique that’s easier than you may think! Just place 5 double crochets in one stitch to create this interesting texture. Learn how to crochet the shell stitch with this free tutorial!
This post may include affiliate links. View our disclosure policy here.
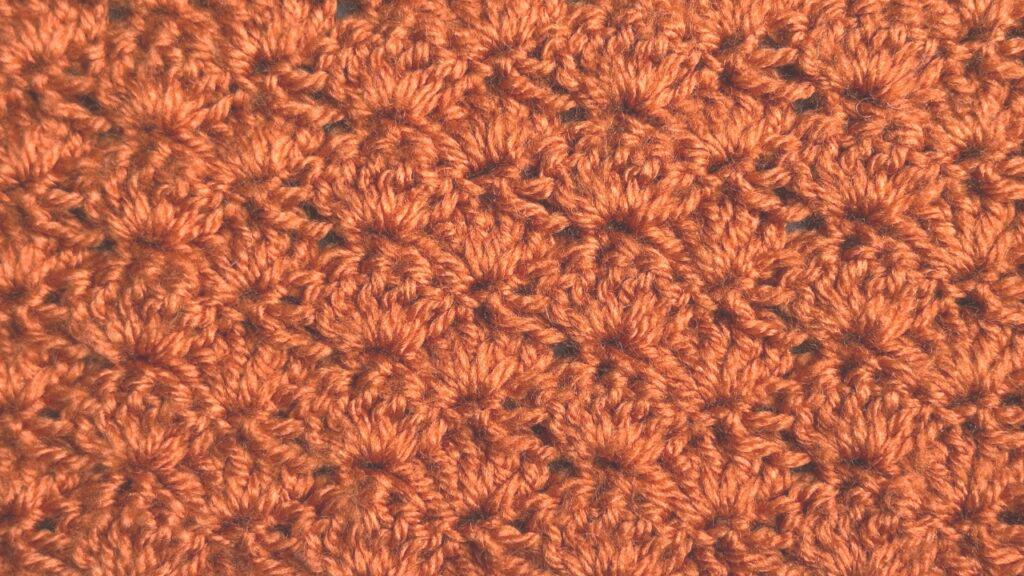
What is the Shell Stitch?
The Closed Scallops (also known as the Shell Stitch) is created by working 5 DC into a SC, skip 2 stitches, work a SC, skip 2 stitches, and repeat. In the end you have these cute rows of shells!
This pattern is perfect for baby blankets, tote bags, or any project that needs a infusion of texture without a bunch of holes. Worked around the edge of a project, shells also make a beautiful scalloped border.
Can’t work this Stitch right now? Pin it for later!

More Shell Stitch Crochet Projects
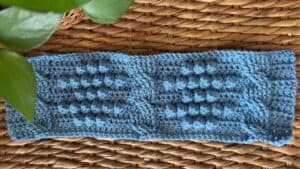
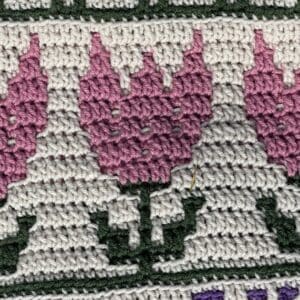
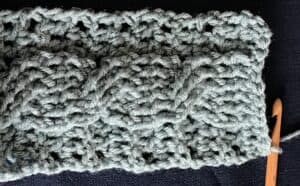
Here are some great patterns featuring the shell stitch:


Try Out More Interesting Stitches in the Rainbow Blanket CAL

If you’re a fan of interesting crochet stitch patterns, you can practice the shell stitch along with 11 other stitches in a stitch sampler adventure! We’ll be running this as a crochet-a-long (CAL) in March-April 2025. Head over to the CAL page and join the fun!

Choosing the right yarn & hook
This yarn I used for this tutorial is Amigo by Hobbii. This DK-weight acrylic comes in over 50 brilliant colors! But of course, the yarn weight and hook size you choose will depend on your project and how it will be used.
No matter what yarn weight you choose, you will definitely want something with good stitch definition that shows off the gorgeous texture of the stitches. Avoid fuzzy or furry yarns. Also, light or bright colors catch the highlights and shadows and work better for showing off textures than dark ones.

Match your hook size to the yarn you choose. You may need to make a swatch or two to figure out which size gives you the desired tension. I love the Streamline Laurel Wooden hook from Furls Crochet, which comes in sizes F/3.75mm through P/10mm. I use Furls hooks often and highly recommend you try them out!
What project will you use the shell stitch on? If you use this crochet shell stitch tutorial for one of your crochet projects, be sure to share pictures in my FB group and show us how you used this fun technique!
Crochet Tutorial for the Shell Stitch

Shell Stitch (Closed Scallops) Video Tutorial
This video walks you through how to crochet the shell stitch.
Written Tutorial for the Shell Stitch
Below you will find step-by-step instructions for creating the shell stitch.
Notes
- CH 1 the beginning of the row does NOT count as a stitch.
- CH 3 at the beginning of a row does NOT count as a stitch.
- SC sts are worked in the middle DC of the shell.
If you use these instructions exactly as written, you will create Section 8 of the Rainbow Blanket CAL. To use this stitch pattern in another project, ignore the color changes and row/stitch counts. Adjust the length of your starting chain and row counts to achieve your desired measurements.
Abbreviations
- CC – Contrasting Color
- CH – Chain
- DC – Double Crochet
- HDC – Half Double Crochet
- MC – Main Color
- rep – repeat
- SC – Single Crochet
- SK – Skip
- st – stitch
Written Instructions
Rows 1-2: In MC, CH 1, HDC in first st and each st across, turn. (132 sts)


Row 3: In CC, CH 3, 2 DC in first HDC, SK next 2 sts, SC, *SK 2 sts, 5 DC in next st, SK 2 sts, SC in next, rep from * to end, finishing with 3 DC in final HDC, turn. (21 shells, 2 half shells, 22 sc)


Row 4: CH 1, SC in first st, *SK 2 DC, 5 DC in next SC, SK 2 DC, SC in 3rd DC; repeat from * ending with SC in turning CH, turn. (22 shells, 23 sc)
Row 5: CH 3, 2 DC in first st, SK 2 DC, SC in 3rd DC, *SK 2 DC, 5 DC in next st, SK 2 sts, SC in next, rep from * to end, finishing with 3 DC in final SC, turn. (21 shells, 2 half shells, 22 sc)
Rep Row 4-5 until this section reaches just under 4” high after an ODD row.
Final Row: CH 1, HDC in each st across. (132 sts)
End on an EVEN row.
Fasten off and weave in ends.
Have you ever used this stitch before? If you have any other tips or tricks for the shell stitch share them in the comments below.