Mosaic Crochet Snowflake Square – Free + Easy Pattern
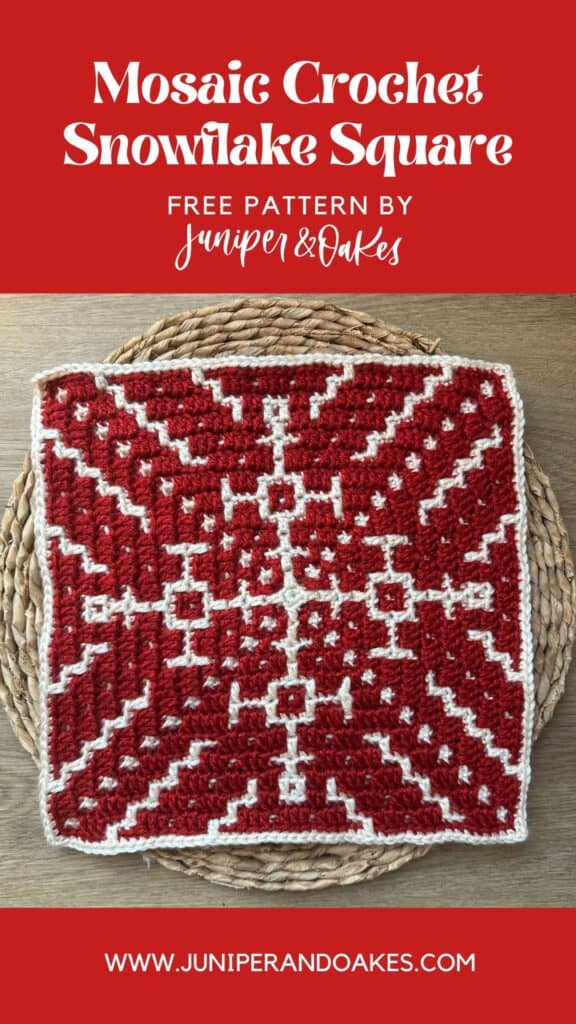
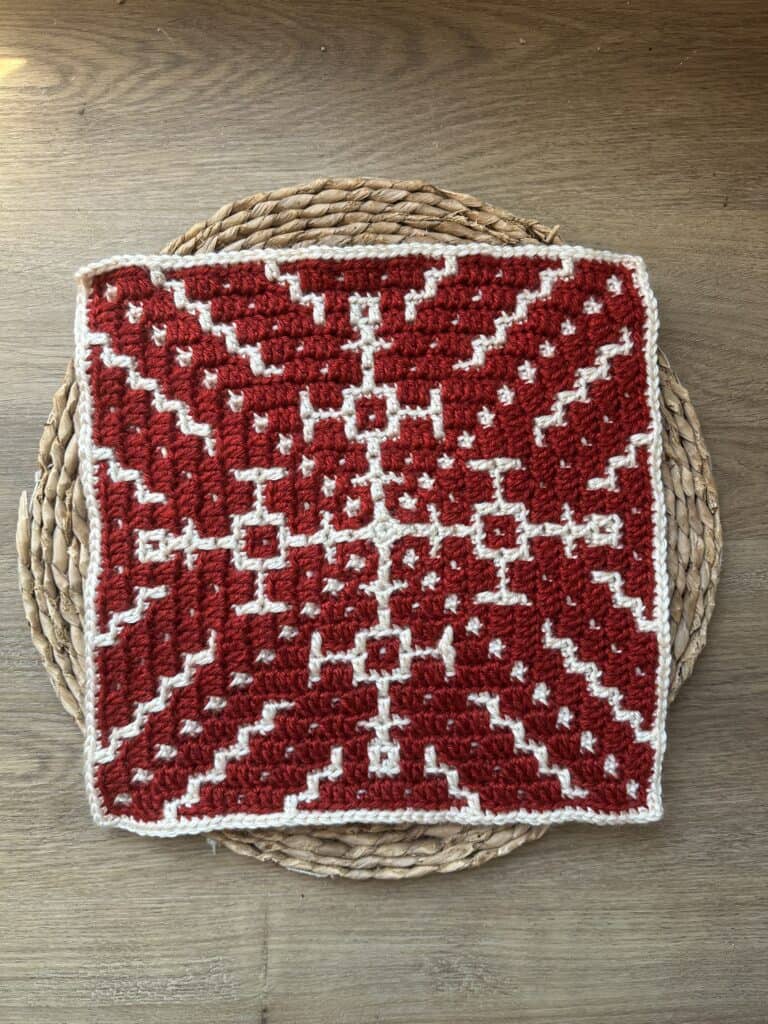
Looking for a festive mosaic crochet snowflake square to add to your winter projects? This pretty design has a lovely, intricate look, but it’s much easier to crochet than you might think! With its crisp snowflake motif and relaxing, rhythmic stitches, it’s a fun way to add a little winter magic to your crochet.
This design is Section 2, Square A of the Frosted Windowpane Blanket CAL. The square looks extra special when finished, but the pattern is surprisingly relaxing to work through, making it a lovely addition to your cozy winter stitching.
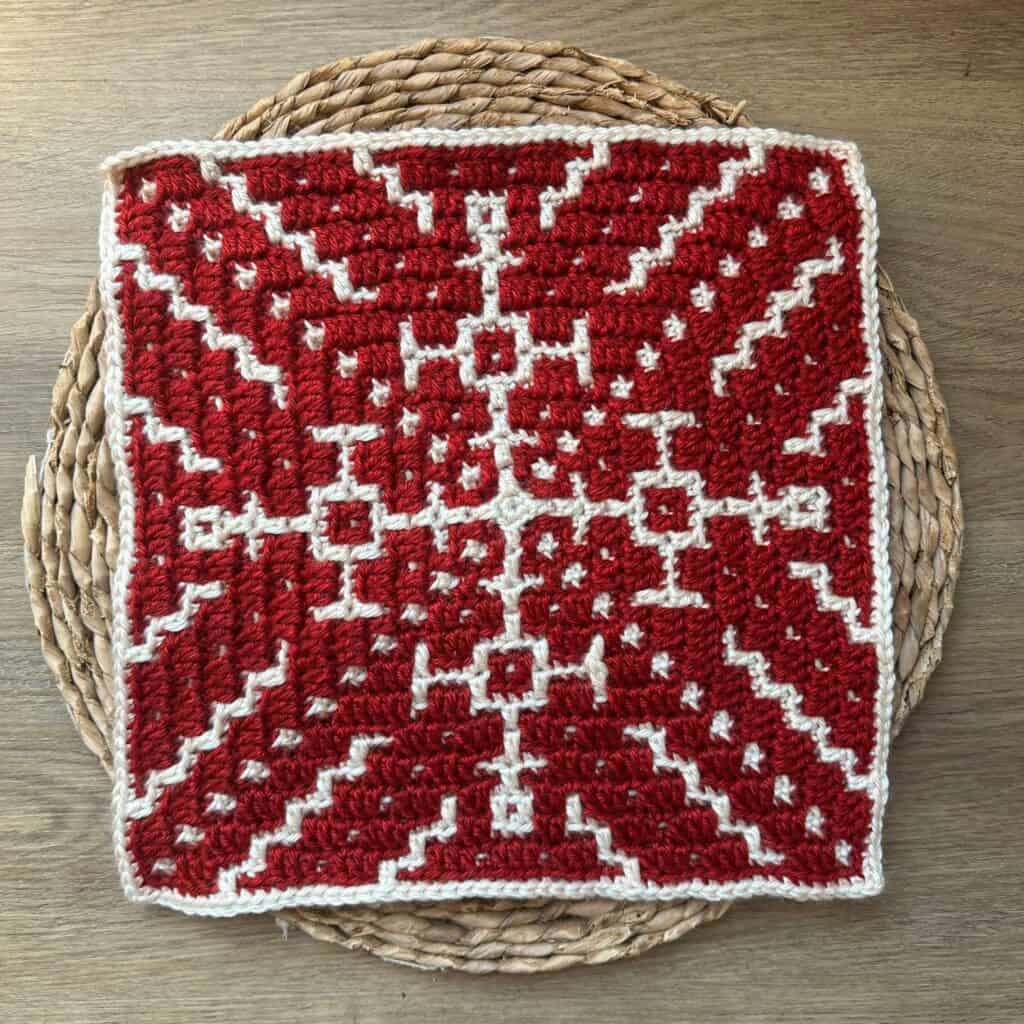
At a Glance
- Finished Size: approx. 12″ x 12″
- Skill Level: Easy
- Technique(s): Overlay mosaic crochet in the round, from the center out
- Yarn: Worsted/medium (#4) weight yarn
- Hook: H/8 (5.00mm)
The Frosted Windowpane CAL
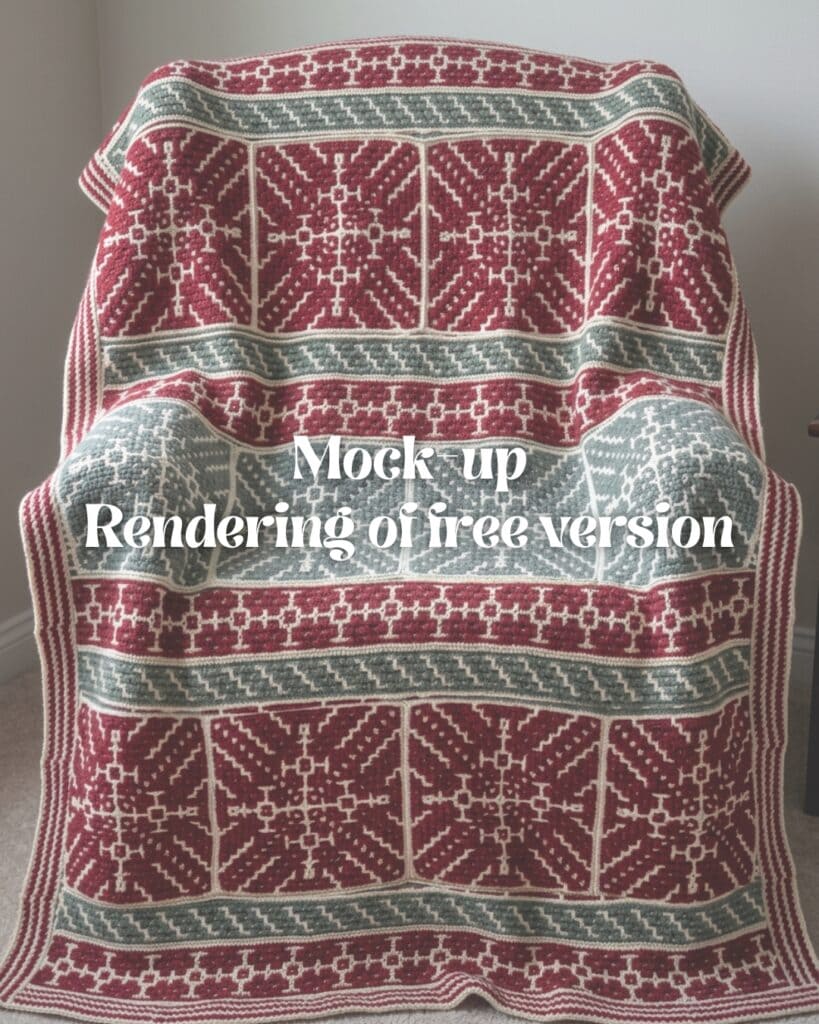
This mosaic crochet snowflake square is part of the Frosted Windowpane CAL, hosted by Juniper & Oakes in 2026. This section, along with one blanket strip will be provided for free on the blog (written instructions only).
You’re welcome to try out the CAL with the free patterns on the blog. The free version will give you a taste of the full blanket that’s a bit simpler than the full version but just as beautiful. Visit the CAL post to learn more.

If you fall in love with this project and want to explore even more wintry mosaic crochet designs, you can grab the Frosted Windowpane CAL Bundle any time! The bundle includes the complete pattern eBook with written instructions and charts for all 2 strips and 3 snowflake squares, a festive project bag featuring the blanket design, and a two-month membership to the Crochet Collective with talk-through videos, live events, and giveaways.


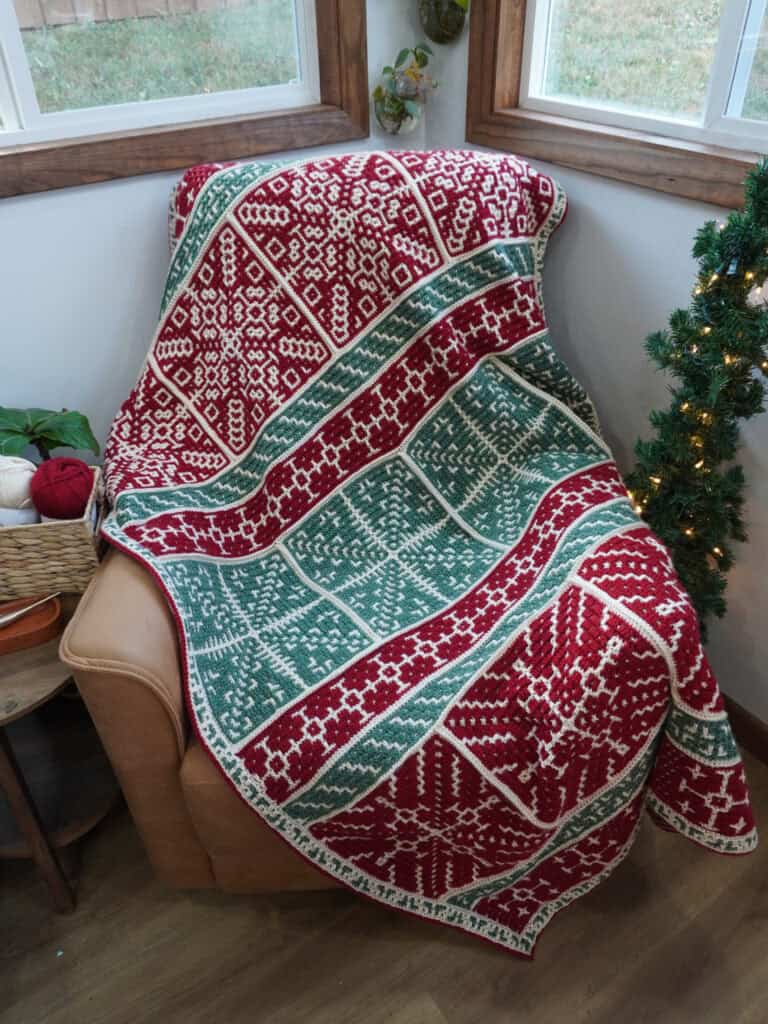
The Full Frosted Windowpane Blanket 
The Free Version of the Blanket
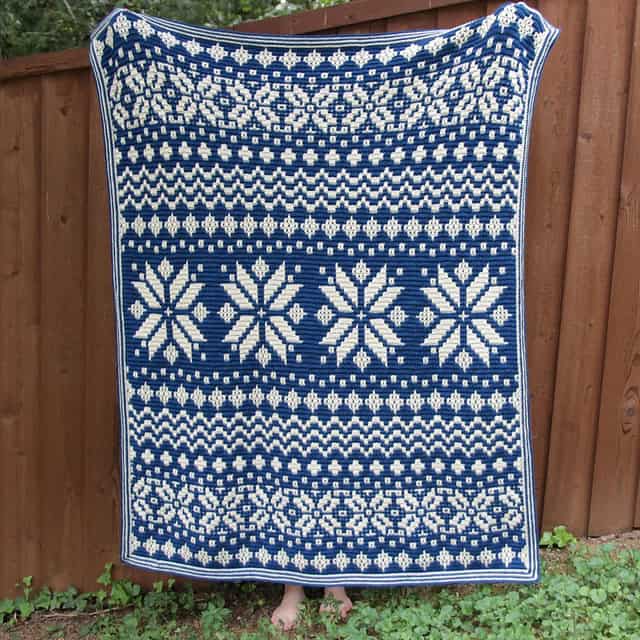
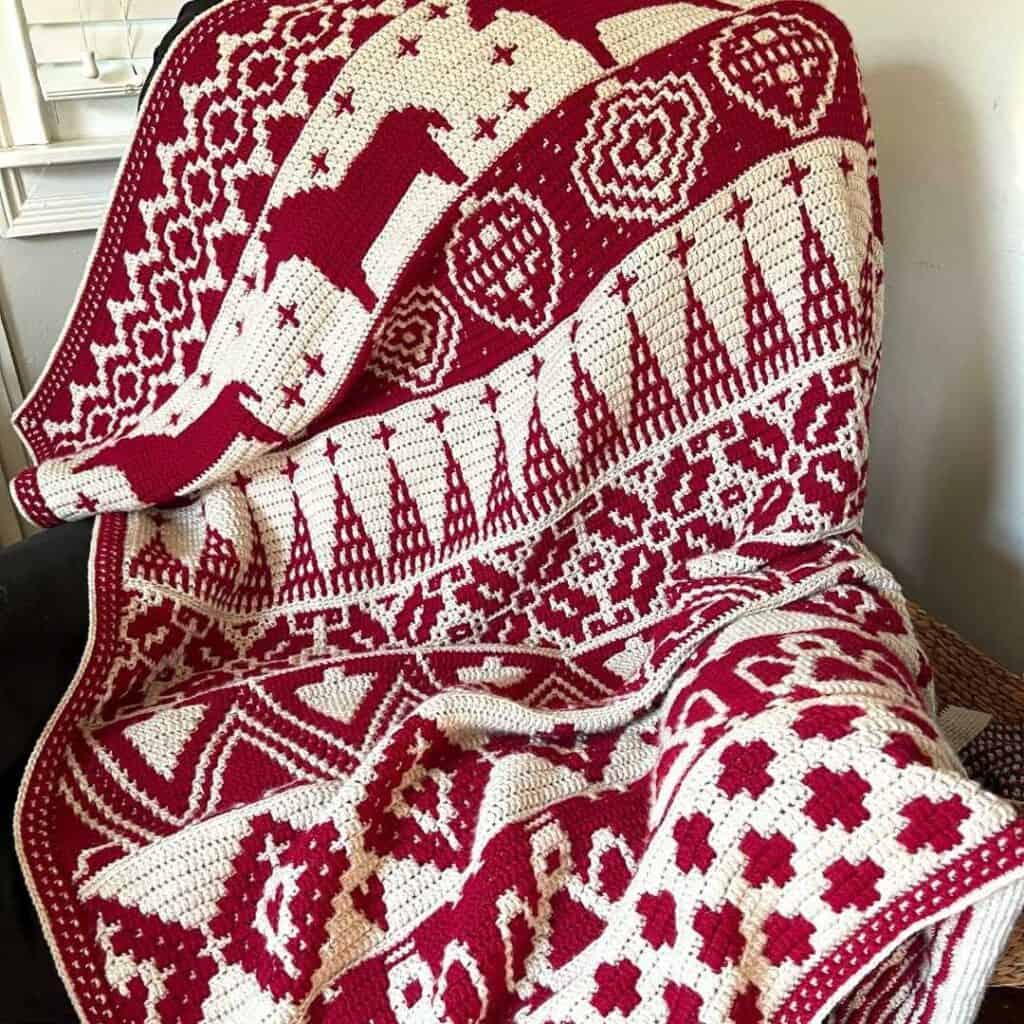
More Mosaic Winter Blanket CALs

What You’ll Love About This Mosaic Crochet Snowflake Square
- Delicate snowflake design that’s easier than it looks
- Worked in overlay mosaic crochet in the round, with yarns carried throughout and no ends to weave in!
- Free written instructions available on the blog
- Crochet charts and the complete blanket pattern, with additional strip and square designs, available in the PDF eBook
Choosing Colors for Your Snowflake Squares
If you’re making the free version of the Frosted Windowpane Blanket, you’ll work this square in two different color combinations to add variety throughout your blanket. To match the sample, you’ll need:
- Eight squares in red and white
- Four squares in green and white
Of course, you can choose any colors you like, or even use more than two colors! I always love seeing the creative combinations people come up with, so feel free to make this design your own. Whether you stick with classic Christmas colors or try something completely different, you can create a look that’s uniquely yours.
Don’t have time to make this now? Pin the image below for later.
Where to Get the Mosaic Crochet Snowflake Square Pattern
The written pattern for this square will always be available for free on this blog. To get the mosaic crochet pattern chart, you can purchase the CAL bundle, which includes charts and written instructions for this and 4 other beautiful wintry mosaic crochet designs.
OR
Scroll down to view the written instructions for free on the blog!
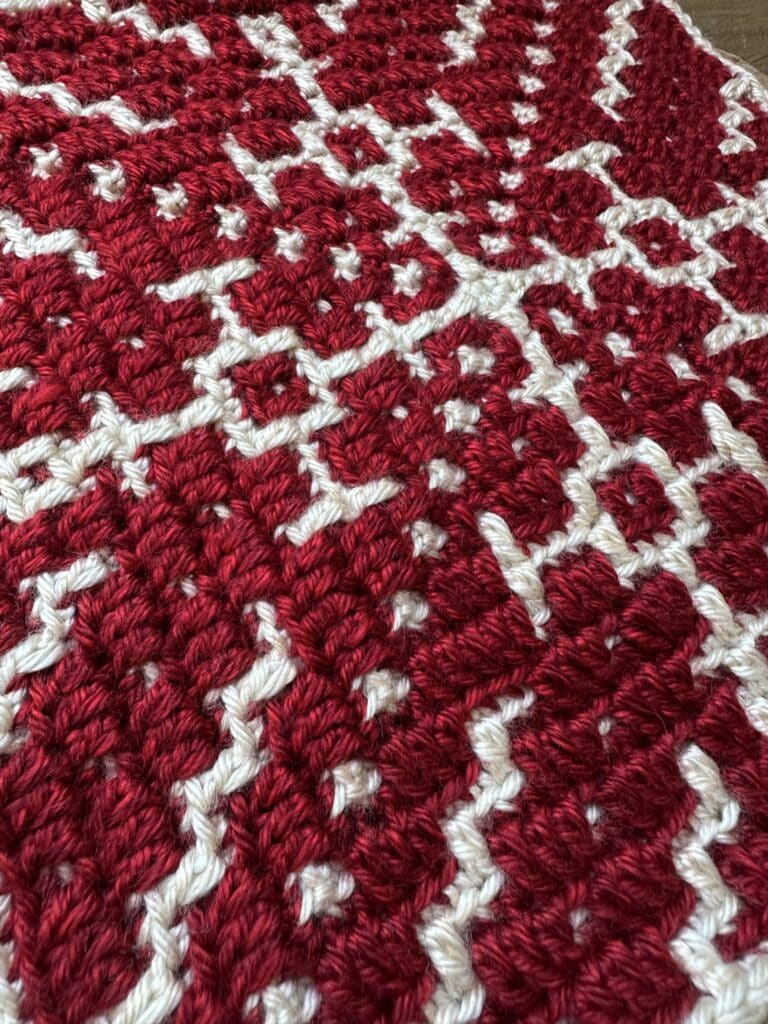

This mosaic crochet snowflake square is Section 2, Square A of the Frosted Windowpane CAL.
For the free version of the blanket, make 8 of these squares in red and white and 4 in green and white.
Free Pattern for the Mosaic Crochet Snowflake Square
Skill Level: Easy
Materials
- Yarn: Lion Brand Heartland Yarn (100% Acrylic; 251 yds/230 m per 142 g skein)
- Color A: Acadia (Cream) – 7 skeins (1700 yards)
- Color B: Redwood (Red) – 6 skeins (1350 yards)
- Color C: Rocky Mountains (Green) – 4 skeins (775 yards)
- Hook: 5mm/H
- Tapestry Needle
- Scissors
Gauge
8.5 Rounds in 4″ x 4″ square
Finished Measurements
This square, approx. 12″ x 12″; full blanket, approx. 48″ x 64″ (unblocked)
Stitch Abbreviations (US Terminology)
- BLOhdc – Back Loop Only Half-Double Crochet
- BLOsc – Back Loop Only Single Crochet
- ch – Chain
- FLOdc – Front Loop Only Double Crochet
- mc – Magic Circle
- RS – Right Side
- sc – Single Crochet
- sk – Skip
- sl st – Slip Stitch
- st – Stitch
- sp – Space
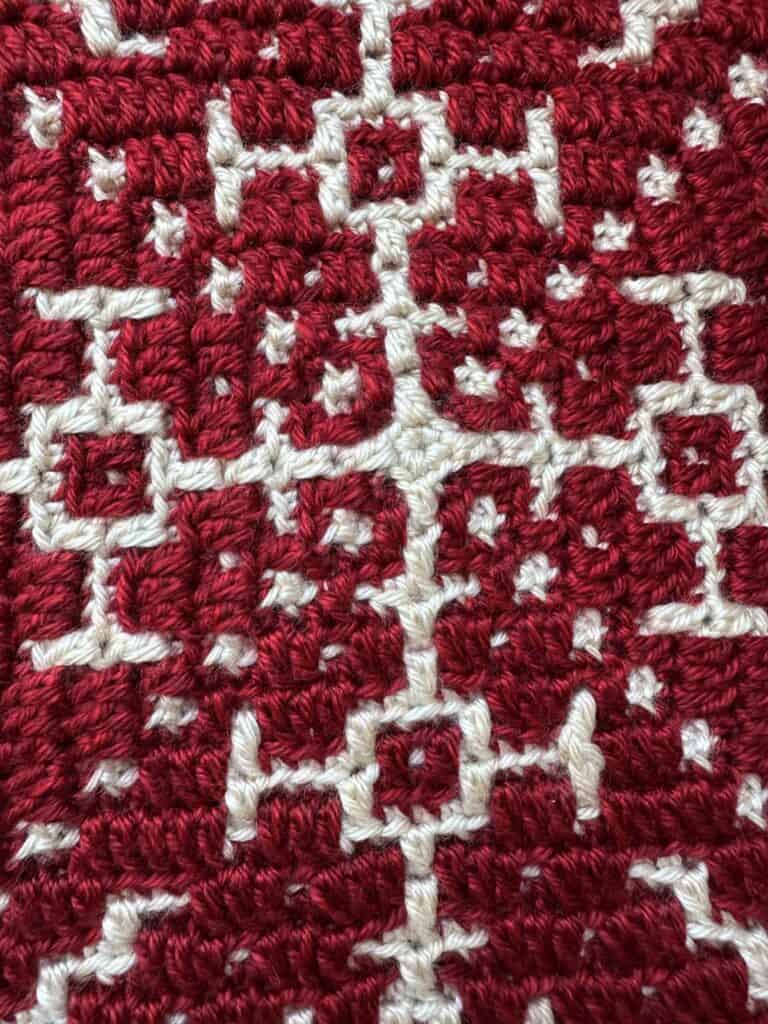
Special Stitches & Techniques
This pattern uses overlay mosaic crochet worked in the round, from the center out. The techniques are described below, but you can also watch this video tutorial to familiarize yourself with the method. The following stitches and techniques are used throughout the square:
Corner
(BLOsc, ch1, BLOsc)
Worked together into the BLO of the ch 1 of the corner in the row below.
Back Loop Only Single Crochet (BLOsc)
Insert hook through the back loop of indicated stitch, yo, pull up a loop, yo pull through both loops on hook.
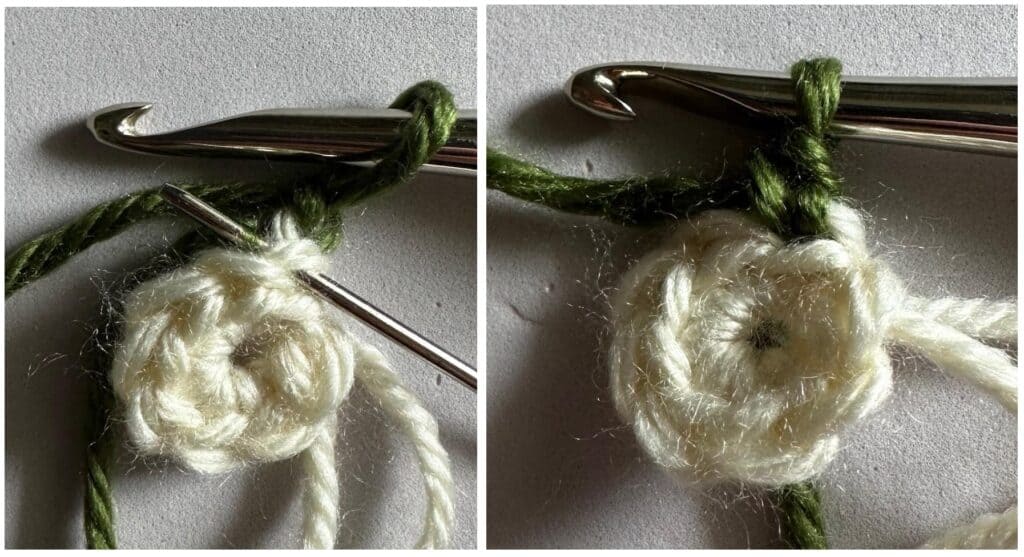
Back Loop Only Half-Double Crochet (BLOhdc)
Yarn over, insert hook into the back loop only of indicated stitch, yarn over, pull up a loop, yarn over, pull through all loops.
Front Loop Only Double Crochet (FLOdc)
Yo, insert hook through the front loop of the stitch 2 rows below, yo, pull up a loop, yo, pull through two loops on hook, yo, pull through remaining loops.
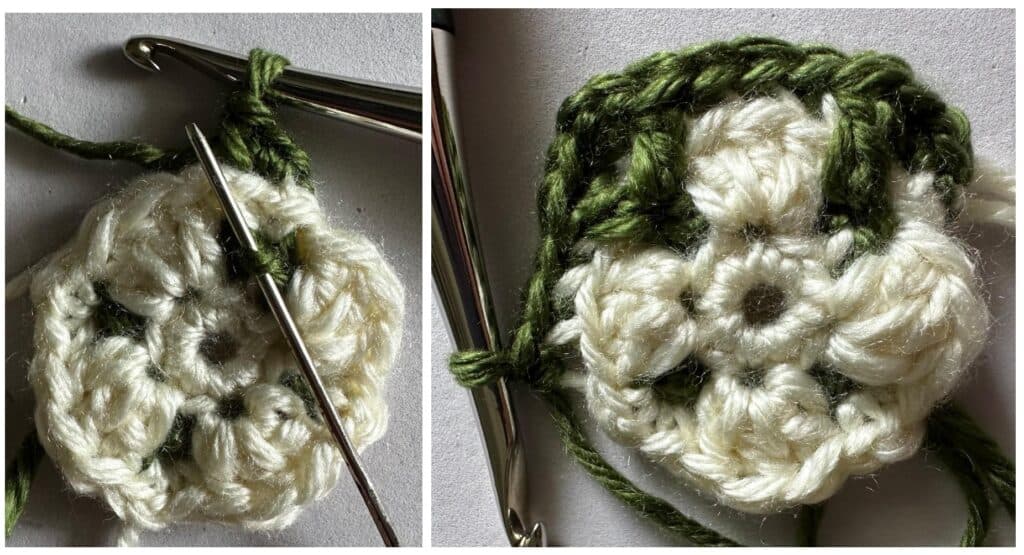
Invisible Join
Work last stitch, Remove hook from loop, Insert hook through back of 1st stitch of row, Grab dropped loop, Pull yarn loop though. (May also use sl st to join.) Click here for a video tutorial.

Pattern Notes
- Pattern is worked in the round from the center out.
- Work each round in alternating colors.
- The colors on the chart indicate how the finished project will look, not what color you are using for that stitch.
- Ch 1 at the beginning of a round does not count as a stitch.
- Sts between *asterisks* are repeated on each side of the square
- Each round (except Round 1) begins with the Corner sts (BLOsc, ch1, BLOsc) –which are worked together into the BLO of the ch1 of the corner in the round below.
- Carry the unworked yarn under the first BLOsc of each corner, then drop the unworked yarn to the wrong side of the work and continue working.
- Work an invisible join after each round.
Written Instructions for the Winter Mosaic Crochet Blanket Strip
Instructions
After each round, work an invisible join.
Round 1: With Color A, make a mc, ch 1, 8 sc in mc.
Round 2: With Color B, ch 1, *Corner (see Special Stitches), BLOsc x1, repeat from * around.
Round 3: With Color A, ch 1, *Corner, BLOsc x1, FLOdc x1, BLOsc x1, repeat from * around.
Round 4: With Color B, ch 1, *Corner, BLOsc x1, [FLOdc x1, BLOsc x1] x2, repeat from * around.
Round 5: With Color A, ch 1, *Corner, BLOsc x3, FLOdc x1, BLOsc x3, repeat from * around.
Round 6: With Color B, ch 1, *Corner, BLOsc x1, FLOdc x1, BLOsc x5, FLOdc x1, BLOsc x1, repeat from * around.
Round 7: With Color A, ch 1, *Corner, BLOsc x5, FLOdc x1, BLOsc x5, repeat from * around.
Round 8: With Color B, ch 1, *Corner, [BLOsc x1, FLOdc x2] x4, BLOsc x1, repeat from * around.
Round 9: With Color A, ch 1, *Corner, BLOsc x7, FLOdc x1, BLOsc x7, repeat from * around.
Round 10: With Color B, ch 1, *Corner, BLOsc x1, FLOdc x1, BLOsc x1, FLOdc x3, BLOsc x5, FLOdc x3, BLOsc x1, FLOdc x1, BLOsc x1, repeat from * around.
Round 11: With Color A, ch 1, *Corner, [BLOsc x3, FLOdc x1] x4, BLOsc x3, repeat from * around.
Round 12: With Color B, ch 1, *Corner, BLOsc x1, FLOdc x3, BLOsc x5, FLOdc x1, BLOsc x1, FLOdc x1, BLOsc x5, FLOdc x3, BLOsc x1, repeat from * around.
Round 13: With Color A, ch 1, *Corner, BLOsc x5, [FLOdc x1, BLOsc x3] x3, FLOdc x1, BLOsc x5, repeat from * around.
Round 14: With Color B, ch 1, *Corner, BLOsc x1, FLOdc x5, BLOsc x1, FLOdc x3, BLOsc x5, FLOdc x3, BLOsc x1, FLOdc x5, BLOsc x1, repeat from * around.
Round 15: With Color A, ch 1, * Corner, BLOsc x13, FLOdc x1, BLOsc x13, repeat from * around.
Round 16: With Color B, ch 1, *Corner, BLOsc x1, FLOdc x3, BLOsc x3, [FLOdc x3, BLOsc x1] x3, FLOdc x3, BLOsc x3, FLOdc x3, BLOsc x1, repeat from * around.
Round 17: With Color A, ch 1, *Corner, BLOsc x5, FLOdc x1, BLOsc x9, FLOdc x1, BLOsc x9, FLOdc x1, BLOsc x5, repeat from * around.
Round 18: With Color B, ch 1, *Corner, BLOsc x1, FLOdc x3, BLOsc x3, FLOdc x3, BLOsc x1, FLOdc x3, BLOsc x5, FLOdc x3, BLOsc x1, FLOdc x3, BLOsc x3, FLOdc x3, BLOsc x1, repeat from * around.
Round 19: With Color A, ch 1, *Corner, BLOsc x5, FLOdc x1, BLOsc x11, FLOdc x1, BLOsc x11, FLOdc x1, BLOsc x5, repeat from * around.
Round 20: With Color B, ch 1, *Corner, BLOsc x1, FLOdc x3, BLOsc x3, FLOdc x3, BLOsc x1, FLOdc x3, BLOsc x1, FLOdc x2, BLOsc x 3, FLOdc x2, BLOsc x1, FLOdc x3, BLOsc x1, FLOdc x3, BLOsc x3, FLOdc x3, BLOsc x1, repeat from * around.
Round 21: With Color A, ch 1, *Corner, BLOsc x5, FLOdc x1, BLOsc x9, FLOdc x1, BLOsc x2, FLOdc x1, BLOsc x1, FLOdc x1, BLOsc x2, FLOdc x1, BLOsc x9, FLOdc x1, BLOsc x5, repeat from * around.
Round 22: With Color B, ch 1, *Corner, BLOsc x1, FLOdc x3, BLOsc x3, FLOdc x3, BLOsc x1, FLOdc x3, BLOsc x3, FLOdc x2, BLOsc x 3, FLOdc x2, BLOsc x3, FLOdc x3, BLOsc x1, FLOdc x3, BLOsc x3, FLOdc x3, BLOsc x1, repeat from * around.
Round 23: With Color A, ch 1, *Corner, BLOsc x5, FLOdc x1, BLOsc x9, FLOdc x1, BLOsc x11, FLOdc x1, BLOsc x9, FLOdc x1, BLOsc x5, repeat from * around.
Round 24: With Color B, ch 1, *Corner, [BLOsc x1, FLOdc x3, BLOsc x3, FLOdc x3] x2, BLOsc x1, FLOdc x3, BLOsc x1, [FLOdc x3, BLOsc x3, FLOdc x3, BLOsc x1] x2, repeat from * around.
Round 25: With Color A, ch 1, *Corner, BLOsc x5, FLOdc x1, BLOsc x9, FLOdc x1, BLOsc x15, FLOdc x1, BLOsc x9, FLOdc x1, BLOsc x5, repeat from * around.
Action Items:
- Subscribe to the J&O newsletter.
- Grab the CAL Bundle for the full pattern with mosaic crochet charts and other bonuses
- Gather your yarn & hooks
- Lion Brand Heartland (or worsted weight yarn)
- Size H/5mm Hook
- Learn the basics of overlay mosaic crochet.
- & then visit the CAL page to find details about the other section, joining, and border!
The Fine Print
This pattern and its images are the property of Juniper and Oakes ©2026. The pattern is for your personal use only. Please do not copy/paste, distribute, or alter and claim as your own. You may sell products made by this pattern, but please credit @juniperandoakes.
Please post pictures on social media and tag @juniperandoakes and use the hashtag #juniperandoakes. You can also post pictures in the Juniper + Oakes Crochet Community Facebook Page.
Let me know if you run into a problem. I respond quickly and will help any way I can to clarify any confusion or challenging stitches.