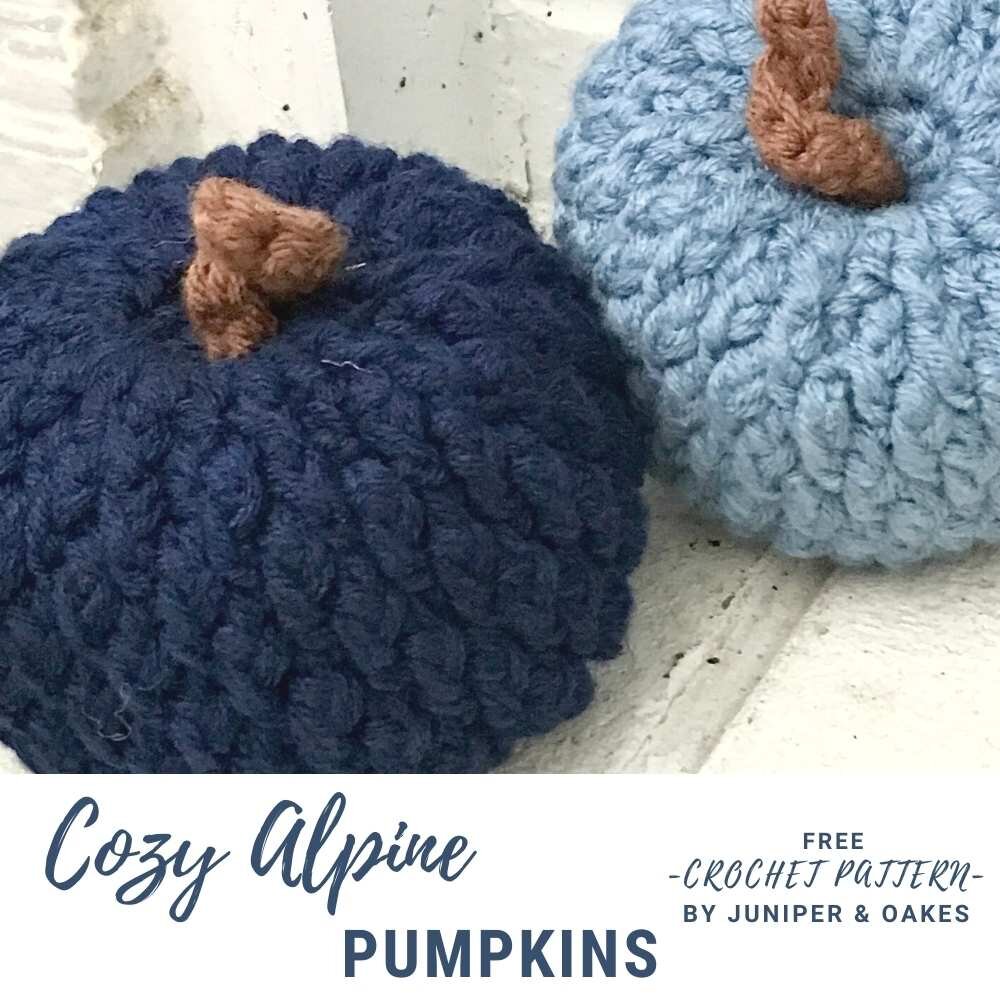
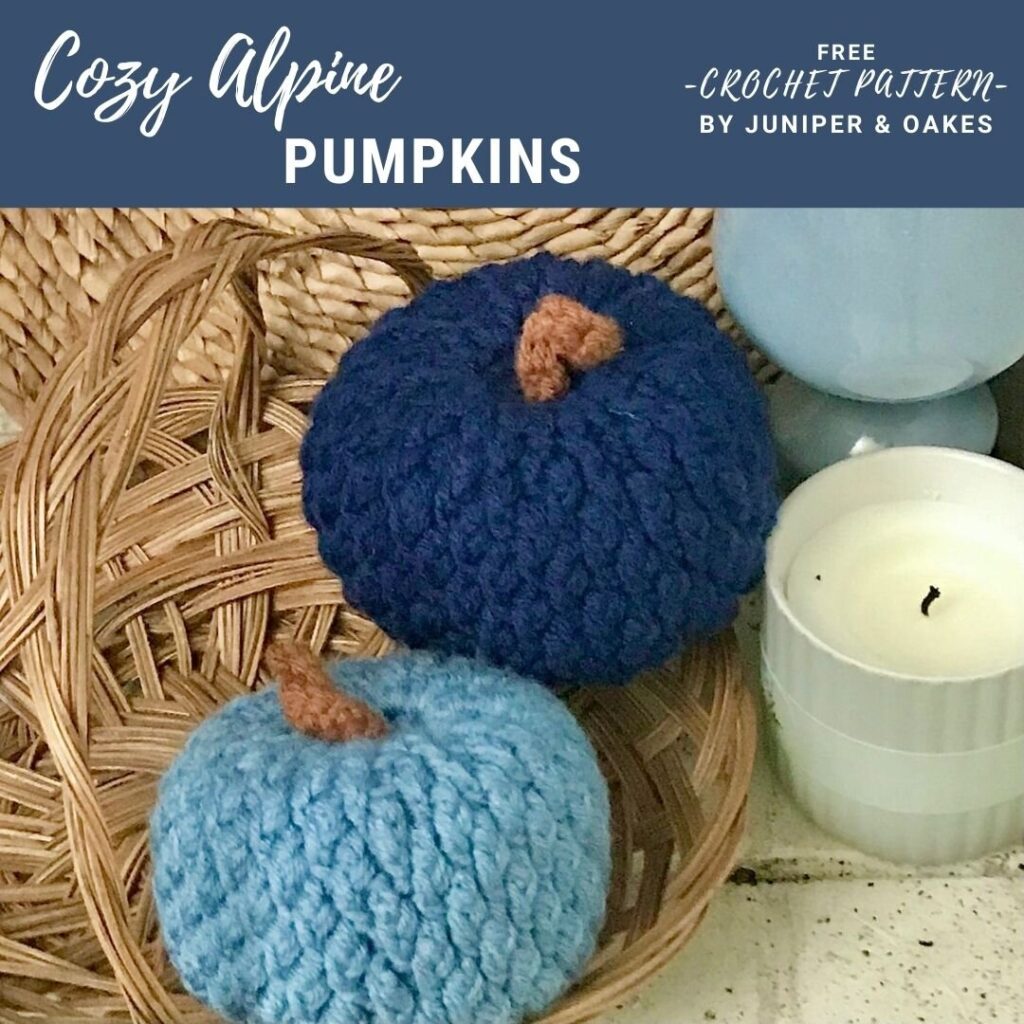
Cozy Alpine Pumpkin FREE Crochet Pattern
Who else has been seeing pumpkins pop up on their social media feeds?
Pumpkins everywhere!
Pumpkins like crazy!
And not just ANY pumpkins but CROCHET pumpkins!
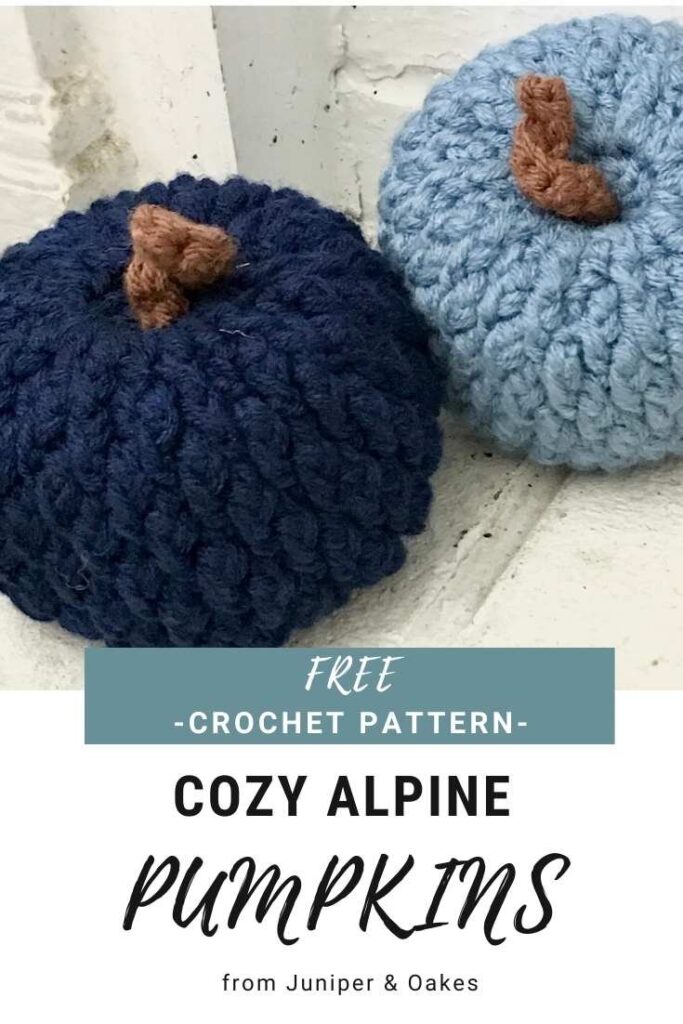
It may be still stifling hot here in East Tennessee, but between all of the pumpkins on Instagram, and the pumpkin muffin I just ate at my favorite coffee shop, I am over here making PUMPKINS like there’s no tomorrow. I have a craft fair coming up, and I am hoping that my customers are in a the mood for pumpkins too. I will be selling my Cozy Bobble Pumpkins using the pattern I designed last year and my newest pumpkin design, the Cozy Alpine Pumpkin.
These pumpkins are so fun to make! Using the popular alpine stitch, they work up quickly and add some unique texture and autumn cheer to any centerpiece or mantel. I am sharing a free version of the pattern below, but you can also purchase an inexpensive printable ad-free PDF from Etsy or Ravelry where you can easily refer to the directions without the annoying pop-ups and ads or having your screen fade to black.
This post contains affiliate links. While I may receive compensation when you purchase and item from a link, your price doesn’t change and all recommendations are my own. See affiliate disclosure policy.
Don’t have time to make up this pattern now? Pin this image for later.

About the Yarn
This yarn was generously gifted to me by WeCrochet to use as a design for the Fall into Autumn Blog Hop. I was able to pick my own yarn and pick my project. I chose to use the Brava Worsted yarn because I am used to working with worsted weight yarn, and really wanted to try out their Brava line, as it seems to be their standard acrylic worsted weight yarn. This yarn is so easy to work with. It is so soft and squishy. There are many colors to chose from. If you’re looking for an acrylic worsted yarn, I would highly recommend Brava Worsted by WeCrochet.
Have you used it? What do you think? You can use my affiliate link to shop this yarn, and browse for other favorites. I used Mighty Stitch in my Monstera Leaf C2C Afghan and the wall hanging too!

Make more pumpkins!
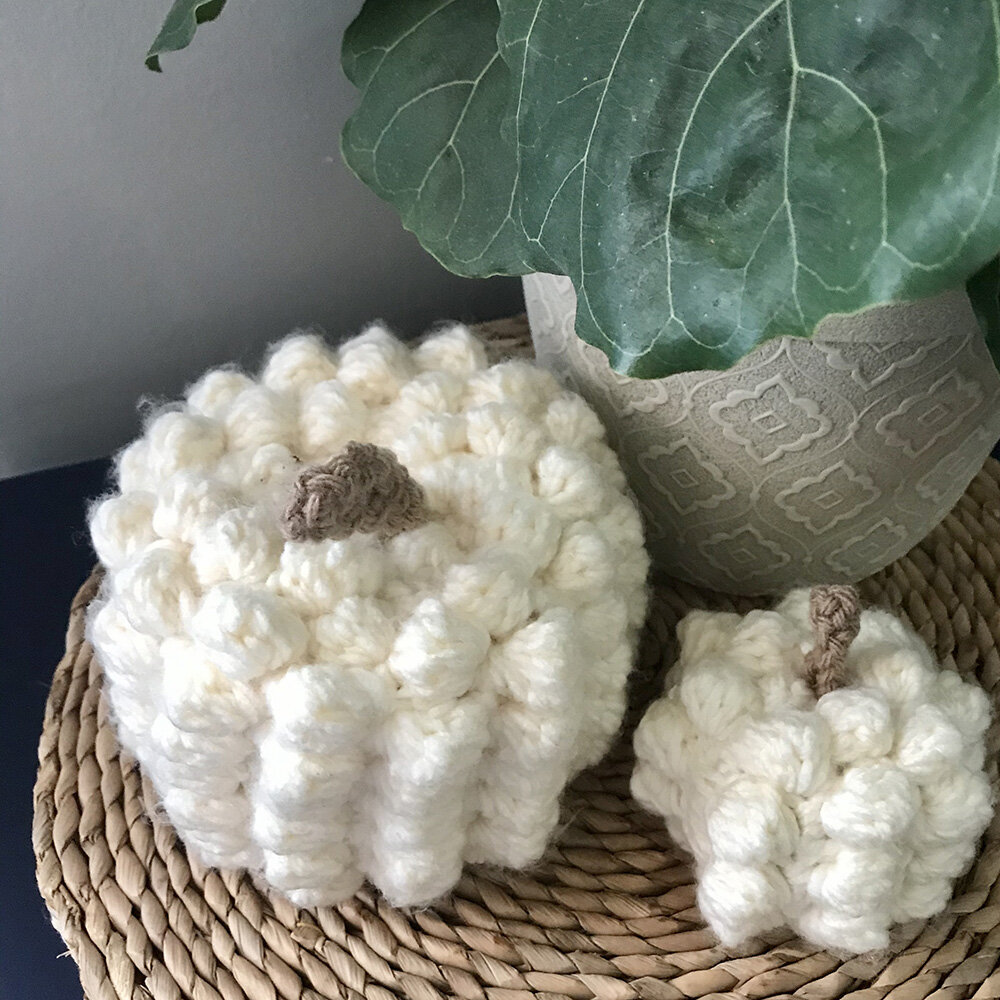
If you enjoy this pattern and are looking for another pumpkin pattern to crochet, look no further than the Cozy Bobble Pumpkin. This pumpkin features the fun bobble stitch to create a crocheted pumpkin patch unlike any other.
This was one of the first pumpkin patterns that I ever published. It’s the one that really got me started designing and publishing and blogging and all the things. Sometimes just a small little design can take you where you want to go.
Cozy Alpine Pumpkin
The Cozy Alpine Pumpkin crochet pattern has been provided to you for free on this website. However, it may be easier and more enjoyable to purchase a beautifully-designed, ad-free pattern. There are pictures and videos to help walk you through your project. You may print it or save it in your digital files for later use.
If you make these pumpkins be sure to post pictures on social media and tag @juniperandoakes and use the hashtag #juniperandoakes and #jaopumpkin. I would love to see your work!
Instructions
Skill Level
Easy/Advanced Beginner
Materials
Yarn: Brava Worsted by WeCrochet (or other worsted weight yarn)
Color 1: Approx 110 yards
Color 2: Just a few feet of yarn in a different color for the stem
NOTE: This pattern uses 2 strands of yarn held together.
Hook H/8 – 5.00 mm
Yarn needle – the longest one you’ve got
Polyfil (or similar)
Gauge
14 stitches x 10 rows in 4″x4” square
Stitch used to obtain gauge = Alpine Stitch in the round (no sc rows)
Measuring gauge is not important for this pattern. Making the pumpkins in differing sizes adds to the look that these pumpkins were plucked from the patch.
Finished Size
Approximately 4 ½” x 3” (using different yarn weights and hook sizes will affect the finished size of your pumpkins)
Stitch Abbreviations (US Terminology)
- ch – Chain
- dc – Double Crochet
- dec – Decrease
- fpdc – Front Post Double Crochet
- mc – Magic Circle
- sl st – Slip Stitch
Special Stitches
Alpine Stitch
Traditionally a 4-row repeat pattern where rows of dc and fpdc stitches are alternated with rows of sc stitches to create a beautiful textured diamond shape pattern on one side and a flat defined pattern on the other side. Because of the way this pattern is written in the round, the sc rows have been omitted and simply works alternating rows of dc/fpdc and fpdc/dc. As a rule of thumb (but not always), if the stitch below is a dc, then work a fpdc. If the stitch below is a fpdc, then work a dc.
Alpine Decrease (Alpine Dec)
Decreases are two stitches worked together. To work the decrease within the Alpine Stitch, work the fpdc and next dc together, staying consistent with the Alpine Stitch. The first part is fpdc and the second part dc. The Alpine stitch should line up. If it doesn’t the stitch is off.The decrease will work up like this:
Yarn over, insert hook around front post of the next stitch, yarn over, pull up a loop, yarn over, pull through 2 loops (2 loops left on hook), yarn over, insert hook into the top of the next stitch, yarn over, pull up a loop, yarn over, pull through 2 loops, yarn over, pull through all 3 loops left on hook
Watch the video below to watch how I do the Alpine Dec. (Be sure to like, comment, and subscribe to my channel! Thanks!)
Pattern Notes
US Terminology
This pattern is worked using 2 strands of worsted yarn held together for stash busting reasons and to add bulk. Using different yarn weights and hook sizes creates different pumpkin sizes, which may be desirable if creating a set.
This pattern is worked in the round, joining to the first st of each round with a sl st.
When a round begins with ch 1, the ch does not count as a st. When a round begins with ch 3, it does count as a st.
Stitches between *asterisks* are repeated. Stitches in (parenthesis) are made in the same stitch or space.
For the stem, you may choose to tie some ribbon or insert a stick for a different look.
Measuring gauge is not important for this pattern. Making the pumpkins in differing sizes adds to the look that these pumpkins were plucked from the patch.
This pattern uses the Alpine Stitch worked in the round. See Special Stitches above for more instruction.
Pattern
Body
With 2 strands of Color A held together.
Make a magic circle.
Round 1: Ch 3, work 9 dc in mc, sl st to 3rd ch. (10)
Round 2: Ch 3, dc in 1st, work 2 dc in every stitch around, sl st to join. (20)
Round 3: Ch 3, (dc + fpdc) in next, *dc in next, (dc + fpdc) in next*, repeat around, sl st to join. (30)
Round 4: Ch 3, fpdc in next, (dc + fpdc) in next, *dc in next, fpdc in next, (dc + fpdc) in next*, repeat around,sl st to join. (40)
Round 5: Ch 1, fpdc in 1st, dc in next, *fpdc in next, dc in next*, repeat around, sl st to join. (40)
Round 6: Ch 3, fpdc in next, *dc in next, fpdc in next*, repeat around, sl st to join. (40)
Round 7-10: Repeat Rounds 5 and 6.
Round 11: Ch1, fpdc in 1st, dc in next, dec with Alpine Stitch across next two stitches, *fpdc in next, dc in next, dec with Alpine Stitch across next two st,* repeat around, sl st to join. (30)
Round 12: Ch 3, dec with Alpine Stitch across next two st, *dc in next, dec with Alpine Stitch across next two st*, repeat around, sl st to join. (20)
Round 13: Ch 1, *dec with Alpine Stitch across next two st*, repeat around, sl st to join. (10) Note: first fpdc is in first stitch.
Fasten off with a long tail
Stem
With 2 strands of Color B held together.
Ch 11.
Round 1: Sc in 2nd ch from hook, sc across.
Note: tightly worked sc will cause the stem to curl slightly.
Fasten off with a long tail.
Assembly
Stuff pumpkin with Polyfil.
With yarn needle, weave tail along one edge around.
Pull the tail tight to close the pumpkin.
Sew yarn across the cinch in a couple different directions to reinforce closure.
To give more shape and indent the pumpkin: push yarn needle up through the center of the pumpkin and pull tight. Repeat 5 times or until desired shape is obtained.
Fasten off and leave tail inside pumpkin.
With yarn needle, separately attach each end of stem to top of the pumpkin, and push yarn needle to the bottom through the center of the pumpkin.
Tie a knot and push the ends back to the top. Fasten off. Leave tail inside pumpkin.
Purchase the Ad-Free Pattern
This cozy alpine pumpkin pattern has been provided to you for free on this website. However, it may be easier and more enjoyable to purchase a beautifully-designed, ad-free pattern. You may print it or save it in your digital files for later use.
The Autumn Harvest Blog Hop 2022
This pattern was featured on the Autumn Harvest Blog Hop and Bundle Sale in 2022. Click here to see the other featured patterns.
Fall into Autumn Blog Hop
This pumpkin pattern was part of a blog hop called Fall into Autumn in 2021, hosted by Sarah with Ned and Mimi and Raelynn with Itchin’ for Some Stitchin’. Be sure to check the Fall into Autumn roundup page to see what other patterns were featured.
The Fine Print
This pattern and its images are the property of the Juniper and Oakes ©2021. The pattern is for your personal use only. Please do not copy/paste, distribute, or alter and claim as your own.
You may sell products made by this pattern, but please credit @juniperandoakes and link back to juniperandoakes.com or credit Juniper & Oakes on the craft fair tag.
If you make this pattern, please email a picture to [email protected] and I will include it in a gallery on my website.You may post pictures on social media and tag @juniperandoakes and use #juniperandoakes and #jaopumpkin. You can also post pictures on my Facebook Page, or in the Juniper + Oakes Crochet Community Facebook Page.
I would love for this pattern to be included in your round-up. Please ask for my permission to use a photo, and please link back to this post. Also, share the link to your round-up post with me so I can promote it as well. Thank you!
Let me know if you run into a problem. I respond quickly and will help any way I can to clarify any confusion or challenging stitches.


